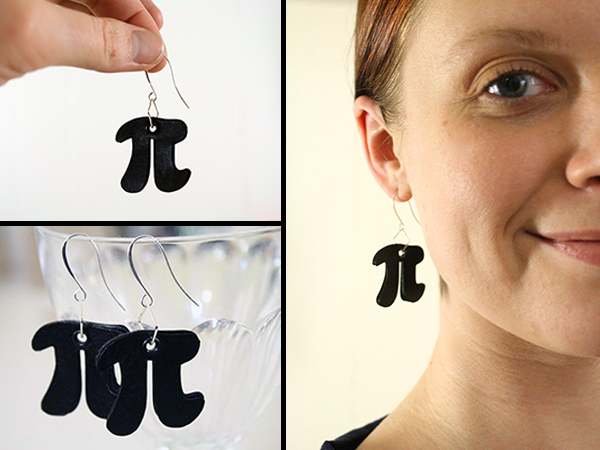
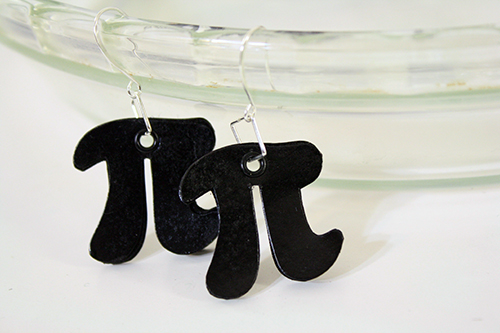
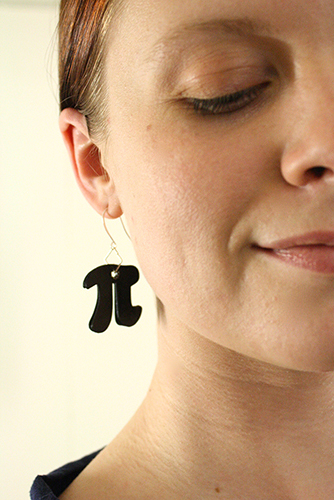
Today is Pi Day. It’s Pi Day because of today’s date. Just think about it for a sec.
I admit, I’m about as skilled at math as beavers are at tree-planting, but I like a good excuse for some thematic crafting, and I’m an amused fan of all the specially themed days that pop up throughout the year. I also have a quiet, occasionally-examined wish to actually get math, which maybe I’ll do something about someday when I have time. Ha. Haha.
For now, jewelry!
Also, if you’re loving Pi Day and want to do some more pi-related crafting, check out this tutorial for paper pi pie! Makes great gift boxes. Especially for things like pie.
———————————————–
What you’ll need:
materials:
- card stock
- spray paint* (in the colour of your choice)
- earring hooks
- jump rings
- old empty cardboard box and/or old newspaper or a dropcloth
- pencil
- scissors
- a small and a large sewing needle
- jewelry or needlenosed pliers
*If you wanna skip dealing with spray paint, use the method outlined in this tutorial, where you paint varnish onto coloured and/or patterned paper, then cut shapes out of it. Note that you’ll want to trace your pi shapes onto the paper before varnishing it.
———————————————–
Putting it all together:
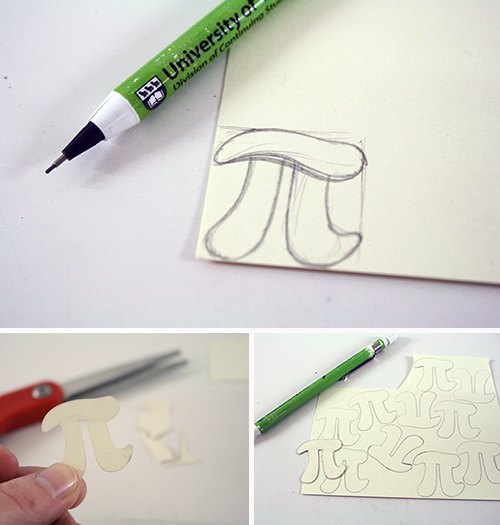
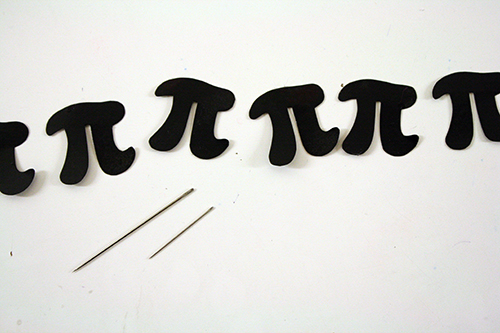
1) Start by drawing a “block letter” pi shape on card stock (don’t make it too thin or delicate, or it’ll be overly fragile), and when it’s formed to your satisfaction, cut it out. Then trace it a number of times onto more card stock, and cut those pi shapes out. For my earrings I used 12 pi cutouts, 6 for each earring.
Or if you like the pi I drew, you can just print this pdf onto card stock and cut out however many pi pieces you want: page of pi shapes I even put two different pi sizes on there for you.
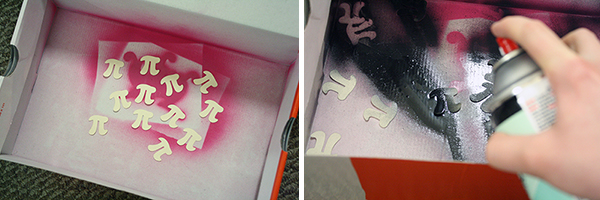
2) Once all your pi shapes are cut out, put them down in your empty cardboard box or on your old newspaper & dropcloth, and spray paint them.
Ok, a few notes about this.
a) Why the heck are we spray painting these? Because it’s fun, because crafting is more hardcore if there are fumes involved* and because a while ago I realized that spray paint does this cool thing where it colours and provides a sort of varnish-like coating at the same time. Thus it colours and toughens your paper, all in one step. (Tip: if you create a paper or cardboard stencil for, say using for a painting project, try giving it a coat or two of spray paint on each side before you use it. It’ll hold up much better for much longer this way.)
*You really should do the spray painting stuff outside. Really. Trust me on this. Spray painting indoors is a bad idea, not really because of any mess (gotta plan against that outside too), but because of the fumes. Ow, my head.
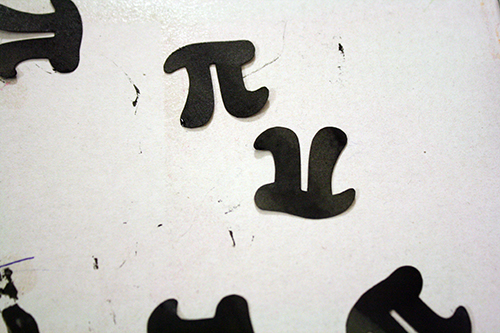
b) You may find with little pieces of paper like this that the force of the spray paint causes them to jump around. After some trial and error, I found that a quick one-side-to-the-other spraying motion from straight overtop of each pi piece worked best. Also, probably best to lay down one piece at a time, not all of them next to each other at once as in the photos above.
c) Maybe kind of obvious, but make sure the spray paint nozzle is pointing in the right direction before you press down. Happily I do not say this from personal unpleasant experience, but that’s because I always remember to check this first.
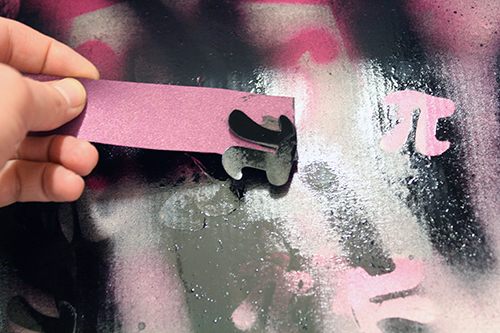
3) After spraying each piece, use a little scrap of card stock like a spatula to pick up each piece and move it to another piece of paper or area of the dropcloth to dry. Normally I don’t mind getting my hands a little dirty, but you want to avoid using your fingers to pick these up in this case, first because you’ll probably smear the paint on the pi pieces, and secondly because spray paint is a bitch to clean off of pretty much anything, fingers included.
4) Lather, rinse, repeat. When the pieces are dry, give them another coat. Then flip them over and spray the back sides.
A couple of things to remember: first, they don’t all have to end up perfect. Only two pieces per earring – one on the front and one at the back – are really going to show clearly. If you end up with at least four pi pieces that look evenly coloured and smooth, you’re golden.
And second, it might be easier to use card stock of the colour you’re planning to paint these. I just wanted the contrast mainly for the purposes of showing things clearly in my photos. Or you could try clear spray paint. Do they have clear spray paint? I imagine such a thing must exist.
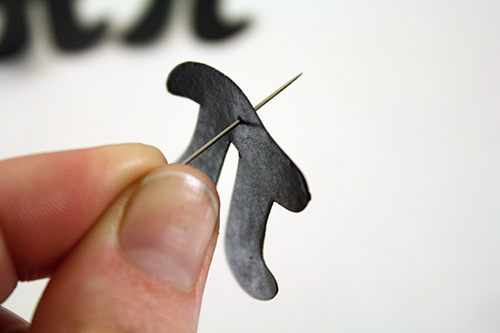
5) When all the pi pieces are fully painted and dried, line them up and choose the 4 nicest ones to be at the front and back of each earring. Take the first pi piece and your small needle, and stick the needle through it at the top middle. Then line this piece up with the second pi piece, and push the needle through both of them, so that the holes line up. Continue till each of the pi pieces has a hole through it in the same place.
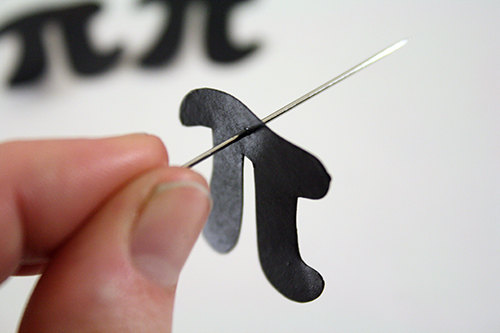
6) Then, use the bigger needle to enlarge the hole in each pi piece. The whole step with the smaller needle is just because a smaller, finer needle will go through in the first place much more easily, and make it less likely that you bend or warp the paper as you push the needle through.
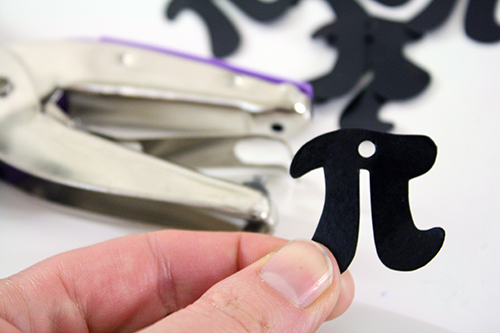
OR if you want and if you have one, you can use a small hole punch instead of the needles. This allows for one of two options:
A) You can have a much bigger hole that each earring’s jump ring goes through, which means each pi piece will swing around much more, independently of the others.
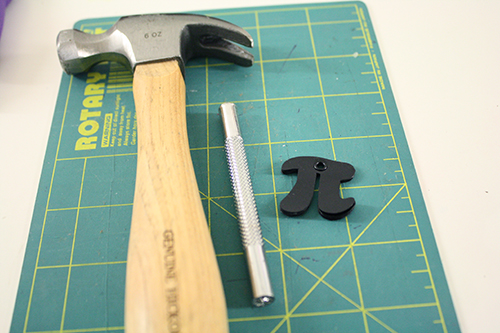
B) You can put a small scrapbooking eyelet in the hole, using an eyelet tool and a hammer (pictured below) to secure it. Gives kind of a funky but polished look, I think. (This is what I did for my earrings.)
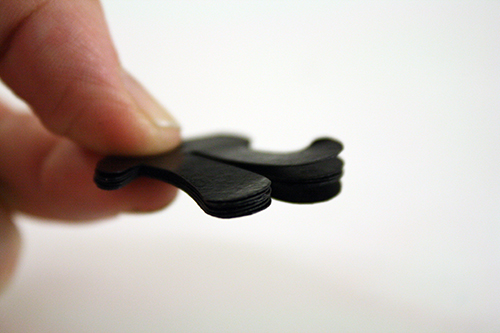
7) Now put all the pi pieces for each earring into a stack, so the shapes and the holes in them all line up. Be sure to put your nicest two pieces at the front and back, with the rest sandwiched between them.
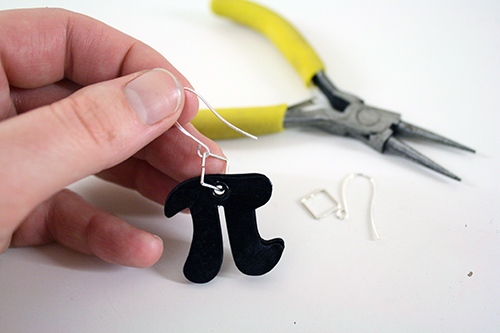
8) Finally, use your jewelry or needlenosed pliers to open the jump ring and insert it through the holes in the paper shapes. If you went with the needle method to make the holes, you may need to enlarge them a bit more at this point, all together (put the large needle through the holes and wiggle it around some, then pull it through), and/or you may need to actually insert the jump ring through one pi piece at a time.
For more detailed information and tips on manipulating jump rings and other jewelry findings, check out step 10 of this tutorial.
Now wear with numerical pride in celebration of Pi Day!

