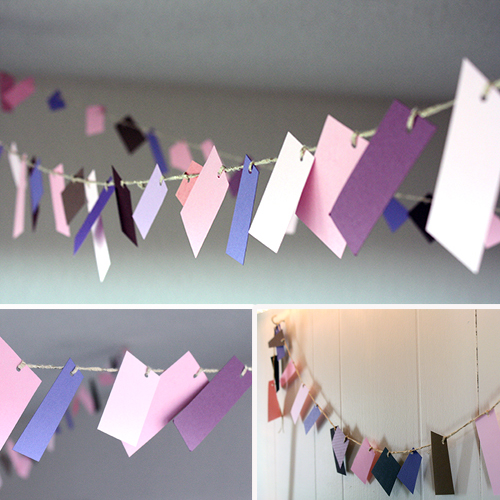
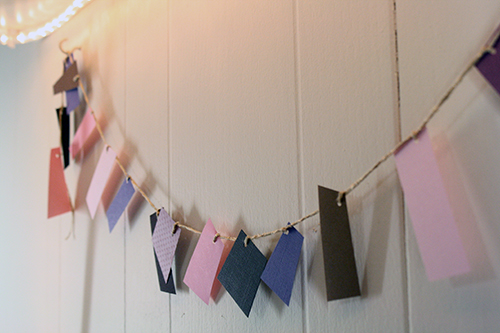
It’s birthday month! I recently discovered via graphs and official information gathering (someone else’s) that this isn’t actually true, but it always seems to me as if there are more birthdays in March than practically any other month. So yeah, apparently not true, but I’m still sticking with calling it birthday month. It’s my birthday month, anyway. I turned 28 yesterday, and had a lovely chill day of working on projects, reading the many lovely birthday messages I received, and being delightfully spoiled by my fiancé with gifts and a delicious meal.
Birthdays are a great excuse for some decorating, and if you don’t have a birthday to celebrate, then you could do some arbitrary spring decorating, or some Easter decorating, or it’s-someone-else’s-birthday-somewhere-out-there decorating. At this time of year, when spring is sort of hovering but not yet willing to fully commit, a bit of warmth and colour indoors is often needed.
Garlands are a lovely way to decorate. But, there are a couple tricky things about garlands that often trip me up. It’s easy to envision yards and yards of beautiful handcrafted garland springing from your hands, but after an hour you have about two feet of garland made. Very lovely garland it is, but how far is two feet really going to get you?
What’s tricky about garlands is that the creating of the objects to go on the garland, and the actual stringing them onto the garland, often take an outrageous amount of time. The trick is to cut down on at least one of those. This tutorial definitely cuts down on the former, and the latter’s not too bad either. You could further eliminate the stringing-things-on time for this project as well – I’ll mention a couple of ideas for doing so at the end of the tutorial.
For other garland ideas, check out these tutorials:
- felt scraps garland (one of my favourites)
- leafy paper garland
- sewn paper garland (another favourite)
- fabric garland (though this one falls into the category of having both the time-consumption problems I mentioned above)
- paper pumpkin garland (great for the fall!)
- or use this tutorial to make colourful felt beads and then string those onto a garland
———————————————–
What you’ll need:
materials:
- colourful paper – any colour or mix of colours, patterned or plain, whatever you have around! It can be computer paper weight, or card stock, or anything in between – doesn’t matter how thick or thin it is for this.
- ribbon / yarn / string / embroidery floss
- paper cutter or scissors – a paper cutter will be faster
- hole punch
- tape or thumb tacks – for hanging the garland when it’s done
———————————————–
Putting it all together:
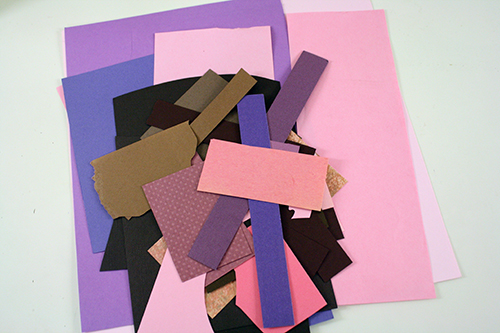
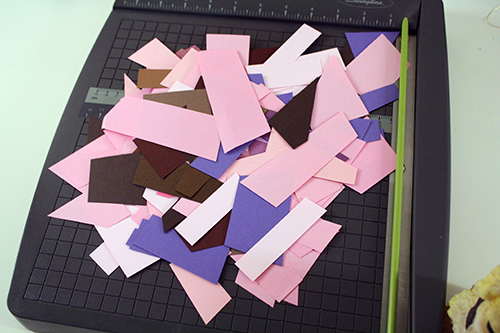
1) Gather a pile of colourful paper of any sizes, shapes and thicknesses. Big scraps, little scraps, whatever you have lying around.
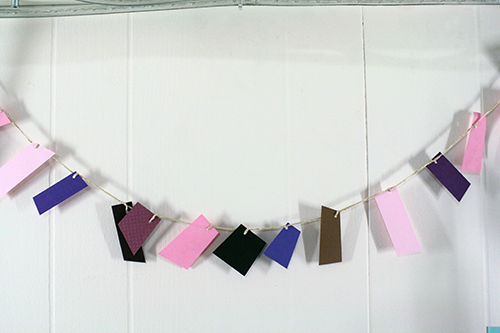
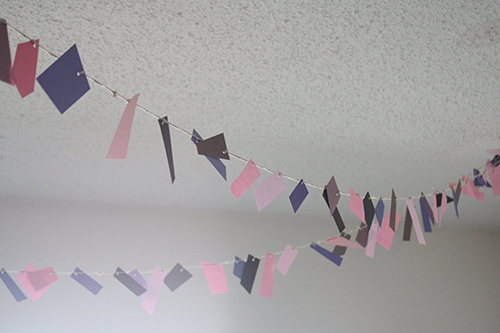
I decided to go with pinks, browns and a bit of purple to give off a cherry blossom vibe, since those are blooming outside right now, and they’re one of the absolute most beautiful things about this city.
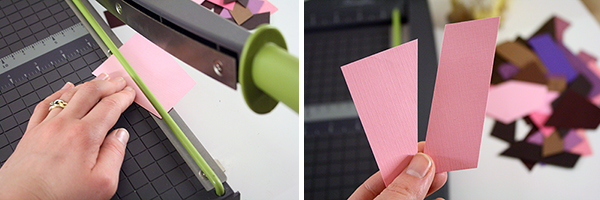
2) Chop the paper up into smaller pieces with straight edges. Doesn’t matter what exact shape, doesn’t matter what exact size, just go for straight edges and funky angles or whatever you like. You could do all the scraps the same size and shape, though one of the things I like about this garland is the randomness of it.
Basically, chop off any edges that are curvy so your left with straight edges at various angles, then chop the scraps into smaller bits, one by one. Size-wise, I’d say go with pieces that are sort of a 2-4 inches long or wide, generally. Not tiny, but not big.
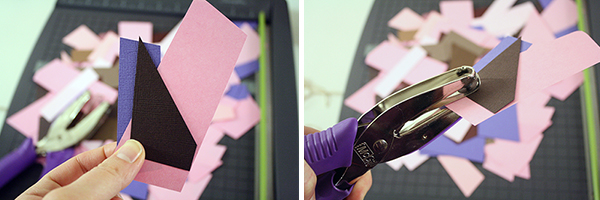
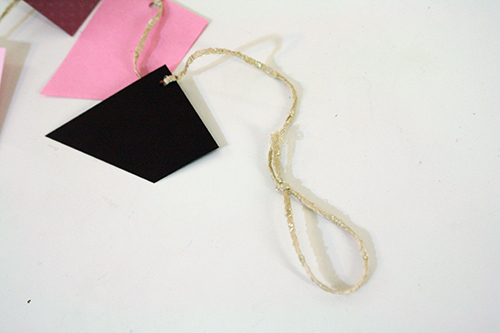
3) Once all your paper is chopped up, grab your hole punch and punch holes at one end of each and ever bit of paper. The hole can be in the middle, in a corner, wherever, just as long as it’s along an edge.
I used a smaller size hole punch because I have one, but a normal sized hole punch will do just fine.
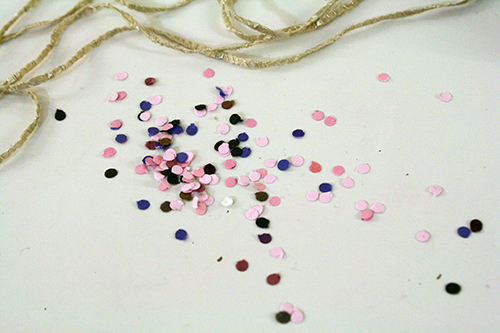
If you’re a confetti kind of person, you might want to keep all those punched-out holes for a bit of matching confetti on your party table!
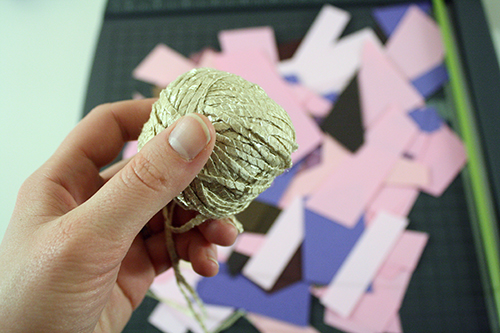
4) Next, grab your ribbon or yarn or string or what-have-you, and cut a few lengths of it. I recommend going with several lengths (how many depends on how much garland you want to make) of no more than 4-5 feet each, instead of one super long length of ribbon. The longer it is, the more annoying it is to work with, and the more likely it is to get snarled and tangled and knotted as you string the paper bits on. Instead, work with shorter lengths, which you can tie together at the end for one long garland.
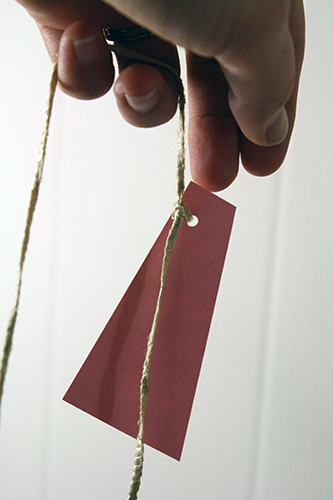
5) Grab a scrap of paper and string it on to one end of the ribbon. (Leave several inches of ribbon for making into a loop to hang the garland by – do this on just two of your ribbon lengths, if you’re going to tie them all together to make one longer garland at the end. If you’re not planning to tie them all together but have separate, smaller garlands, leave several inches at either end of each ribbon length.) Tie the ribbon around the top off the paper scrap – not super tightly or you’ll tear or fold the paper. Then tie it around again, making a double knot.
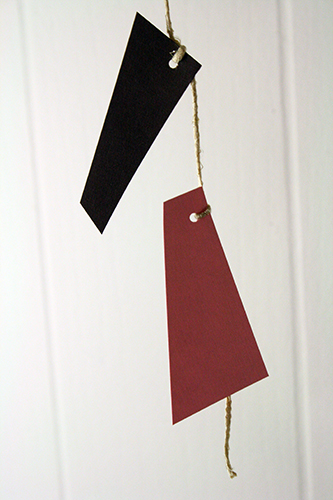
6) From the other end of the ribbon now, string another scrap of paper on, and tie the ribbon around its top an inch or two from the first paper scrap. You don’t need to double knot the ribbon this time – the paper should stay in place and if the ribbon does come a bit loose it won’t matter, since this scrap isn’t at the end of the garland and won’t be able to go anywhere regardless.
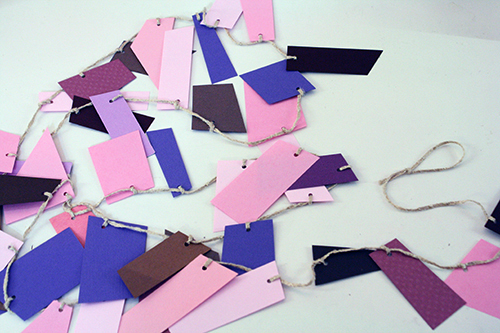
7) Lather, rinse, repeat, until you have paper scraps tied along the entire length of the ribbon (minus a few inches at the ends).
8) To connect two pieces of garland, just knot the two ends together (make the knot very close to the nearest paper scrap on each garland end – if you leave too much space you’ll have an obvious gap in your garland), then trim the ribbon ends coming out of the knots.
9) At the ends of the finished garland, tie a small loop in the ribbon for hanging it up.
10) Decorate!
11) Variations: to simplify a bit, and to cut down on the time it takes to string all the bits of paper onto the garland, you could try attaching the paper pieces in this way instead:
Skip the hole punching, and instead fold a bit of the paper over at one end. Place this folded bit over the ribbon, then glue or tape it in place. You could even use some pretty washi tape to add yet more colour.
You could also skip the ribbon and use your paper scraps to make a sewn paper garland, like in this tutorial. Just maybe sew across the tops of the paper scraps in this instance, instead of down the middle.

