You know that saying about April showers? Well it’s very accurate in my part of the world, at least insofar as there are a lot of April showers. They do bring May flowers too, but that’s a little beside the point since in Victoria we’ve had flowers popping up since sometime in February.
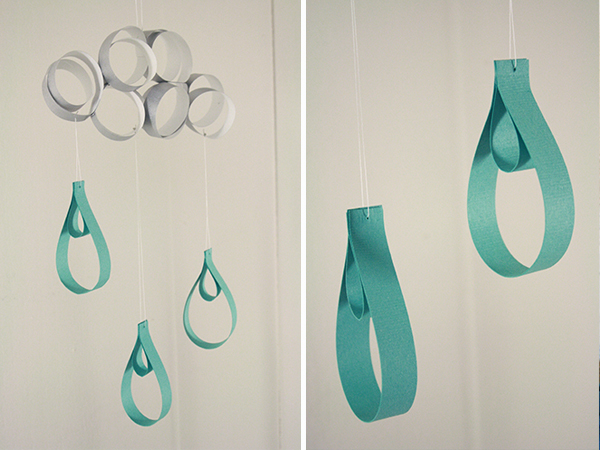
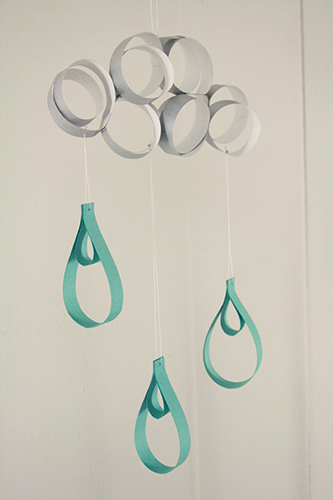
So I’ve had rain on the brain (quite literally, on days when I have to leave the house), and I’ve also been doing a bit of paper crafting lately, and last week I decided to play around a bit with putting the two together. I ended up with a rather darling little paper raincloud mobile, and several ideas for other projects involving shaped strips of paper. I used the raincloud mobile as a new door decoration, since I like changing those up every so often. I’ve also noticed that I can’t put anything on our door that’s too awesomely geeky or trendy or anything, or it apparently gets stolen. Like the Piranha Plant welcome sign I made for our door. Still annoyed about that.
If anyone does steal my raincloud though (and why, really, would you want to steal a raincloud?), it won’t be hard to replace – this is an inexpensive, simple and pretty quick little project. A fun little craft distraction for a rainy April day!
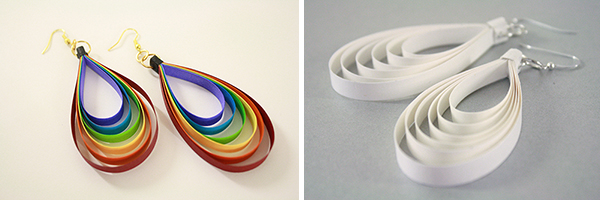
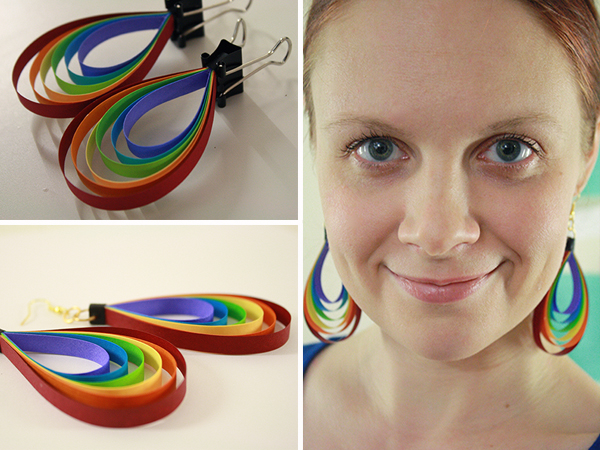
You can also do lots of other things stemming from this idea. For example, make some elegant paper jewelry!
———————————————–
What you’ll need
materials:
- colourful paper, card stock weight – probably in rain and cloud colours, but really do whatever you want. Maybe it’s a pink cloud at sunset. Maybe it’s purple rain. Whatever you like!
- white glue
- thread
- paper cutter OR ruler + pencil + scissors
- small sewing needle
- binder clips/bull clips
———————————————–
Putting it all together
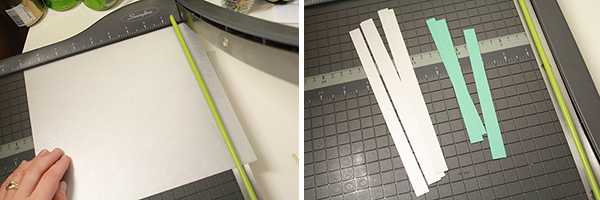
1) Start by cutting long, narrow strips of your papers. Mine were all 1/2 inch wide. You’ll need six strips of your cloud paper, each about 9 -10 inches long.* You’ll need three strips of your raindrop paper that are about 7 – 8 inches long,* and three strips that are about 4 – 5 inches long.*
*Exact length isn’t crucial, just make sure all the strips in each group are the same length as each other.
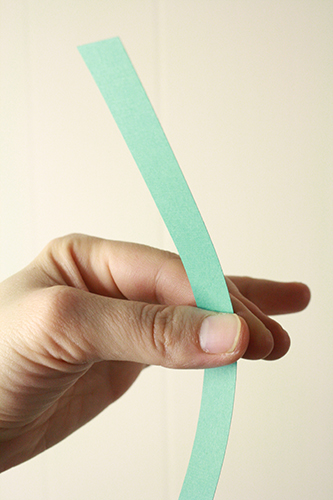
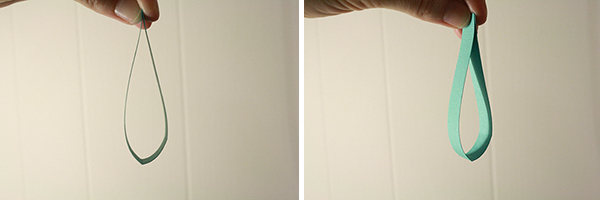
2) Start with the raindrop strips. Take each of the six strips (three short, three long), and using your thumb and index finger, run your thumb along them to give the paper a big of a curve/curl. Same as you would do with scissors to curl ribbon, except this time you’re using the edge of your thumb to do the curling, instead of scissors.
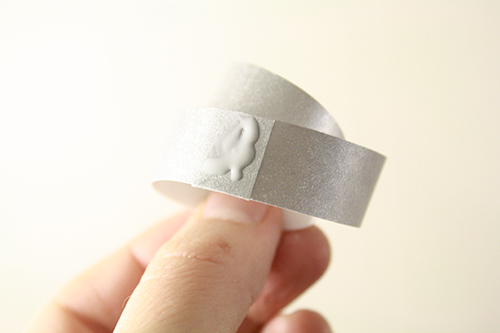
This is a quick but important step before you bend your paper strips into raindrop shapes. If you don’t do this, you’ll likely get an in-elegant little crease or two at the bottom of your loop, like this:
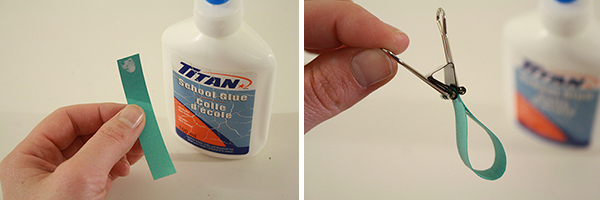
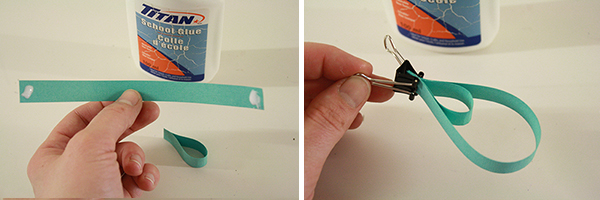
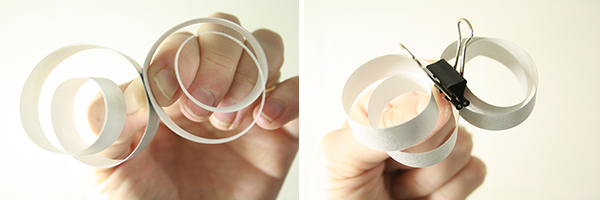
3) Now, dab some glue on the inside top end of one of your short raindrop strips. Then bend the strip around so that the two ends are matched together (where the glue is). Attach a binder clip to hold it in place while it dries. Repeat with the other two short raindrop strips.
4) Next, dab some glue onto each inside end of one of your long raindrop strips. Bend it around one of the small raindrop shapes you made in step 3, so the ends (the top of the raindrop) all match up. Attach a binder clip to hold it in place while it dries, then repeat with the other two long raindrop strips.
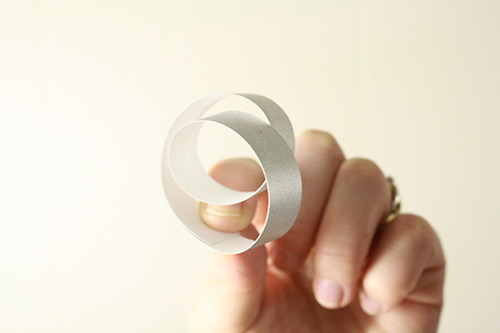
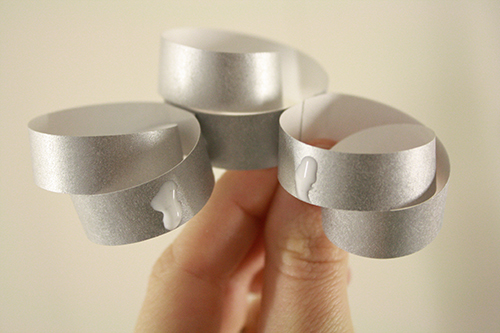
5) Now while those are all drying, you’ll make a bunch (six) of these pieces, to form the cloud:
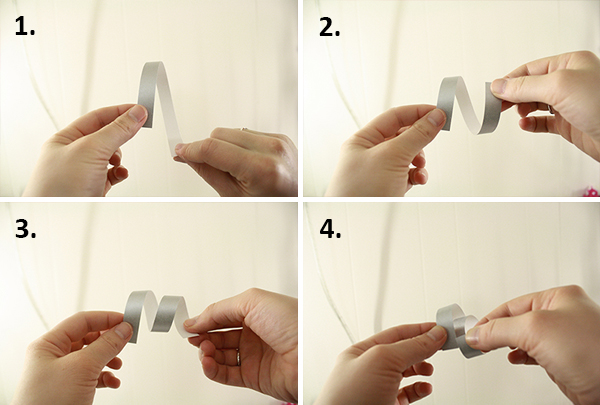
The photo steps below show how to do this.
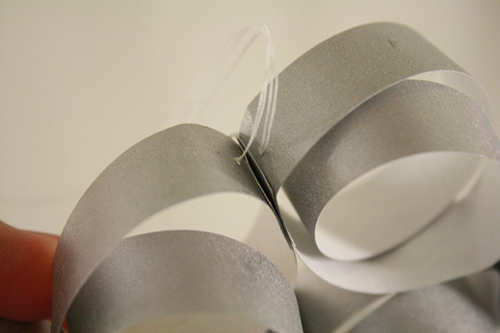
1) Bend the strip around into an open circle.
2) Bend one end of the strip around another full rotation, so you have a curl.
3) Keep bending that same end of the strip around some more, till you have a double curl.
4) Bring that same end of the strip up until it meets and overlaps with the other (far left) end of the strip.
Glue the overlapping ends of the strip together and use a binder clip to hold them in place while they dry.
Repeat for each of your six cloud strips.
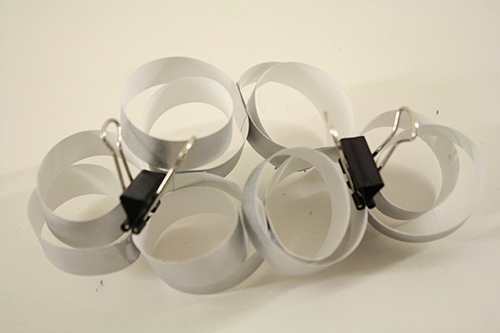
6) Dab some glue on the sides of two of your cloud circles (works best if you do it where the overlapping closure bit is on the circle) and attach them to each other, using a binder clip to… well you know the drill by now.
7) Then, glue a third cloud circle to one of the first two that are now attached, forming a little threesome…
And then glue a fourth cloud circle into the remaining space, making a square of circles.
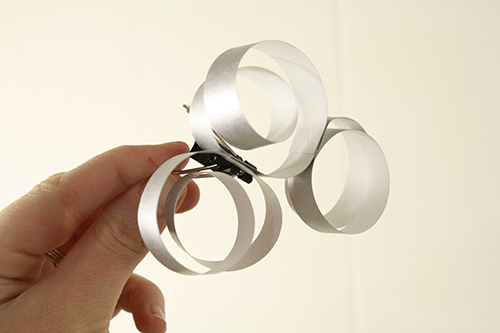
8) Finally, glue the fifth and sixth cloud circles onto either end of the square of circles, clip them and let them dry.
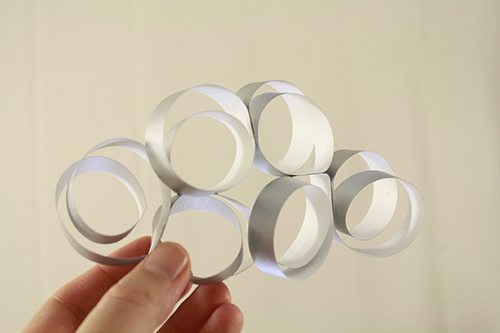
And there’s your cloud:
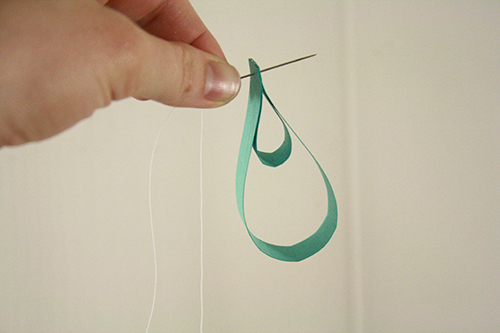
9) Once the cloud is completely dried, it’s time to attach the raindrops. Cut a piece of white thread and thread it onto a small needle. Poke the needle and thread through the top of one of your raindrops.
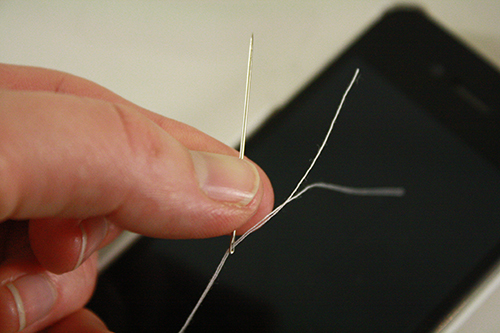
Then, take the other, dangling end of the thread and put it through the needle as well. So now you have a line of thread coming out of either side of the raindrop’s top end, and both ends of the thread go through your needle. (Shown against a dark iPhone screen so you can actually see the thread:)
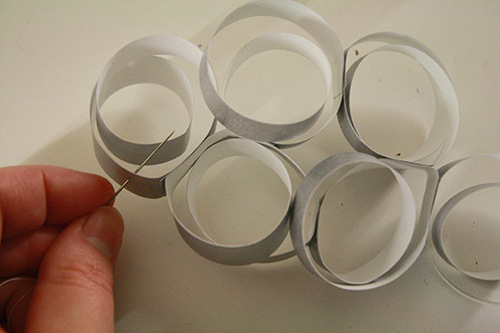
Poke your needle through one of your bottom raincloud circles,
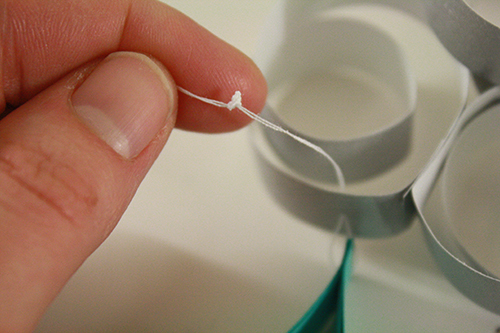
Then tie a bunch of little knots, one on top of the other, in the thread, so that it stays in place. Trim any excess thread. You’ll want to work out where along the thread to tie your knots, so that the raindrop hangs down just as far as you wish it to.
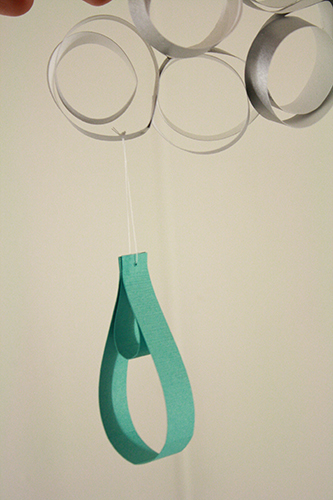
Repeat this with all three raindrops, spacing them out along the bottom of the cloud, and hanging them (if you want) at varying lengths.
10) Then use some thread to make a loop coming from the top middle of the cloud, to hang the whole mobile with.
11) And you’re done! Hang it up and cross your fingers that the weather outside won’t too closely match the weather demonstrated by your handiwork.
12) Try playing around with this technique to make all kinds of other things. I used a bunch of colourful paper strips to make these rainbow earrings:
Try it yourself! Or, check out the pair I made for my Etsy store.

