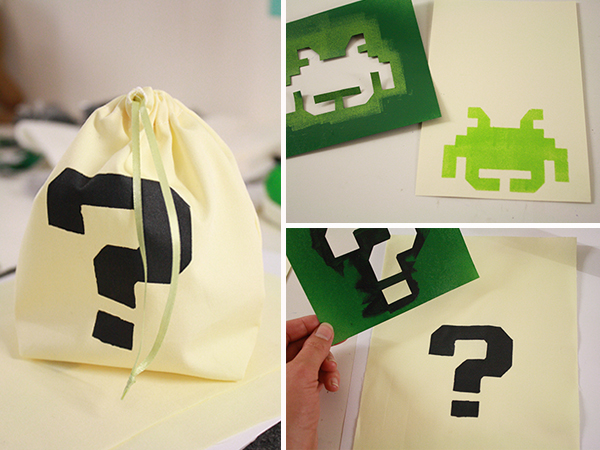
As much as I enjoy doing detailed felt appliqué work, sometimes you need a faster, or just a flatter method for putting a simple image onto cards, or bags, or whatever. That’s when stencilling comes in really handy. Stencilling is, of course, when you use a reusable template of a shape/word/design to lay down a consistent image on a surface.
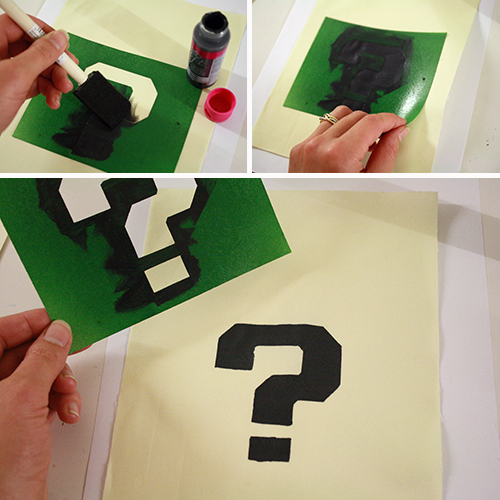
Ugh, remind me to avoid dictionary-style definitions from now on. Here, it’s doing this:
It’s a very handy way to quickly make lots of the same image. I’ve used it for making cards and stationary, pillows and sachets, goodie bags, and for putting my logo on shipping materials. You can do all kinds of other things with it.
The thing is, I often find myself wanting to stencil images that I can’t just go out and buy a stencil for. And now I’ve learned I can make myself a stencil far more cheaply and easily than buying one anyway. Today, I will show you how.
———————————————–
What you’ll need
materials:
- card stock
- spray paint (any colour)
- spray-on repositionable adhesive (WTF is this? It’s basically a spray-on glue, but one that lets you unstick whatever you’ve sprayed it on. Great for stencilling, because it holds the stencil firmly in place, but you can still easily peel the stencil off when you’re done with it. Krylon (the company that also make spray paint and such) has a good version of this, which you should be able to find at craft stores like Michael’s and Hobby Lobby, and perhaps even at some hardware stores. See step 5 for a picture of it.)
- paint (fabric paint or regular acrylic, depending on what material you want to stencil images onto) OR a coloured stamp pad (only if you’re stencilling onto paper)
- sponge brush
- something to stencil onto – paper, fabric, a piece of wood, etc.
- scrap paper or piece of cardboard or plastic
- empty cardboard box or a dropcloth or lots of newspaper (something to spray paint over top of)
- pencil (& probably an eraser too)
- scissors
———————————————–
Putting it all together
The main trick with stencils is they need to be made of a reasonably durable material, and something that doesn’t get paint-soaked. So the store bought ones are always some type of plastic. Trouble is, it can be hard to get plastic for making your own stencils that is thick enough to be durable, but thin enough to be easily cut and to allow images to be stencilled neatly, right up to the edges and corners of the stencil. Sometimes plastic school folders will work, so you can give that a try.
But what I’ve had the best luck with is this following method, where you use paper to make your stencil, and then you essentially “treat” that paper to make it last. Let us begin.
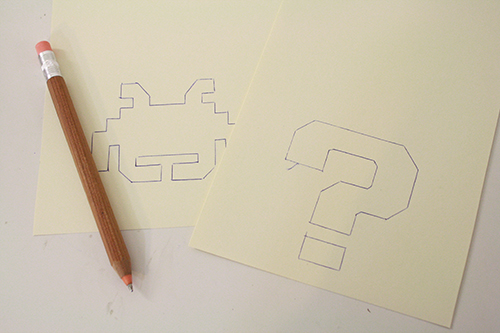
1) Draw or trace the image you want to stencil onto a piece of card stock. Make sure the edges of the image are at least an inch or two in from the edges of the paper.
It does need to be a simple image, a silhouette essentially. The more intricate and delicate sticky-out bits it has, the trickier it will be to stencil it neatly, and the less use you’ll get out of it before it wears out. Because stencils do wear out. But that’s ok, because now you’ll know how to just make a new one when you need to.
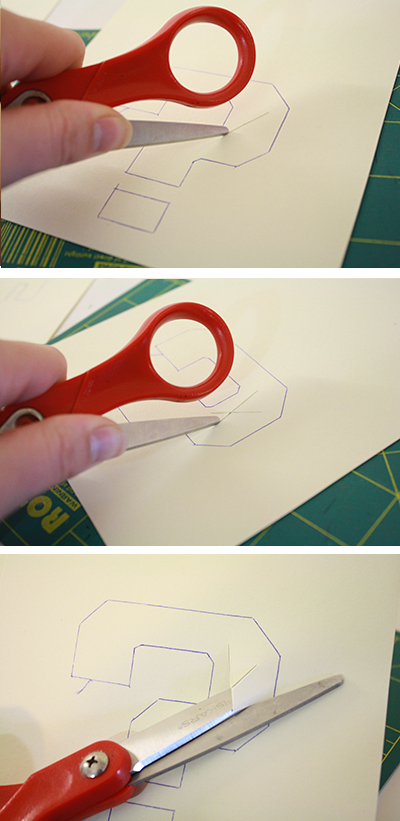
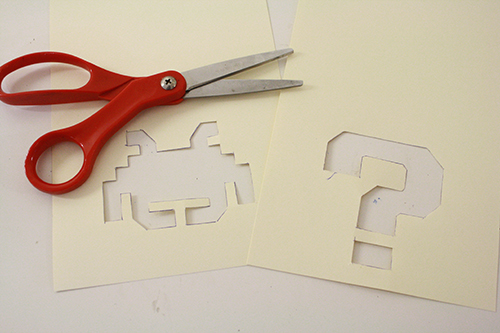
2) Now cut out those images from the paper to make your stencil. Of course, you don’t want to cut a line through the paper to get to those images, you only want to cut out the images themselves. There are a couple handy tricks for doing this.
First, you can always use an exacto knife. I find it harder to control one of those neatly than using scissors, but if it’s your preference, exacto knife away!
With scissors, put something under your paper to protect your work surface, then use one scissor blade like a knife, to cut a line through the paper inside the shape you’ve drawn. Then cut another line through the first one, making an X.
Now you should be able to stick your scissors through this X you’ve cut in the paper, and start cutting out the full image.
Note: To get the most control and cut the tidiest lines possible, cut with the back of your scissor blades, closest to the handle, not with the tip of the scissors. This gives you far more control, especially along tight curves. This is a generally good method when cutting out any shapes with scissors.
And now you have the base of your stencil:
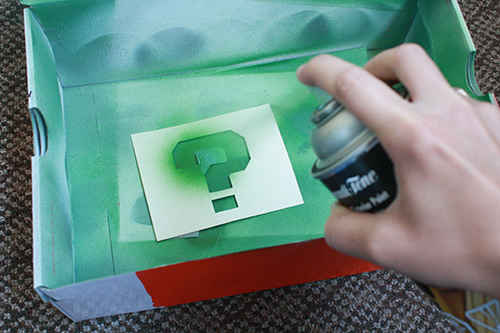
3) Now here’s the really nifty part. We need to make this paper more durable, so that it will stand up over multiple uses, and so that the paint or ink we use for stencilling won’t just soak into the paper and make it all soft and mushy and fragile. So, take your stencils, your spray paint and your drop cloth or newspapers outside*. Lay the drop cloth/newspapers down (or if your stencils are smallish, you can just spray paint them inside a cardboard box, which is what I do) to protect the ground from getting spray painted. Then lay your stencils down, follow the directions on your can of spray paint (the important points of which are usually to shake the can thoroughly, to do this outdoors or in a well ventilated area, and not to breathe the damn stuff in), and spray one side of the stencil. Spray it thoroughly, but don’t overdo it and soak it right through with paint.
*DO NOT use spray paint indoors. You may think oh, I’m painting such a small thing, it won’t have that much effect, I’ll be done quickly so it doesn’t matter. You are wrong. That stuff is potent. The smell inside will give you an insta-headache, and heaven knows what secret cancerous shit it’s doing to your lungs. Just take it outside, trust me on this. Wouldn’t hurt to use a mask or something too, though I usually just hold my breath since I’m not spraying for more than a few seconds at a time. But a mask is most certainly better.
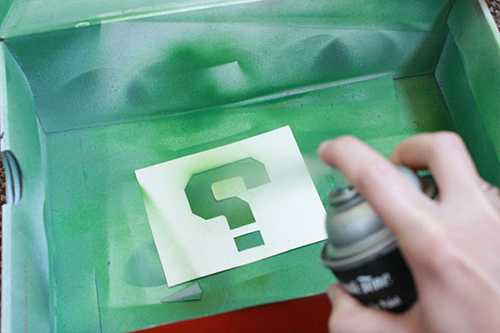
4) Go away and let the paint dry. Once it’s dry, come back, flip the stencil over and spray paint the other side of it.
Essentially, you want to create a full coating of spray paint around the edges of the stencil on both sides. It gives the paper an almost plasticky coating, making it much more durable. You may want to spray each side a couple of times – I usually do.
5) Once both sides of the stencil have been spray painted and are entirely dry, flip the stencil over so that, looking at it, the image is backwards. At least, if it’s an image (like letters) that doesn’t look the same both ways.
Spray this back side of the stencil thoroughly with your repositionable adhesive. Don’t drown it in the stuff, though. Then let it sit for 1-2 minutes. Do read the instructions on your sprayable adhesive to make sure you’re using it right – different types may vary slightly.
6) Now you can use your stencil! Lay it down on your fabric or paper or whatever you want to stencil, and press down firmly all around the edges of the image, to make sure the adhesive has it well stuck down.
Put the stencil and the paper or fabric behind it on a piece of scrap paper, cardboard or plastic, in case some paint leaks through.
You may want to do a trial run on a piece of scrap material, to make sure it looks right and to help get rid of any excess adhesive – sometimes if you spray a little too much adhesive onto the stencil, your first one or two stencilled papers will come away with some leftover sticky residue on them around the stencilled image.
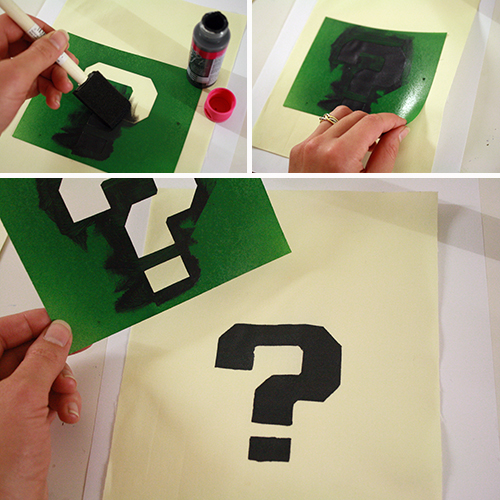
7) Now get some paint on your sponge brush, and gently dab it over the stencil, being sure to get paint into all the corners and right up to the edges. Don’t flood the stencil with paint though, or it may seep under the edges of the stencil and keep you from getting a nice clean image.
When you’re done painting, carefully peel off the stencil, and voila!
Note: If you’re stencilling a whole ton of images, you may need to apply more spray-on adhesive every so often. You may also need to wipe leaked paint off the underside of the stencil so it doesn’t automatically smear onto your next image.
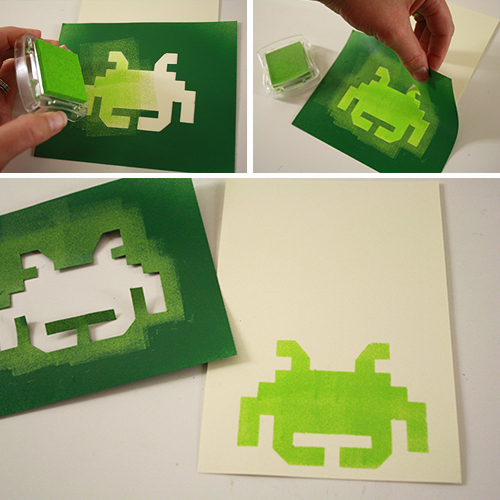
8) Here’s a different non-paint method to try on paper. Lay your stencil down like before, but this time grab a coloured stamp pad instead of paint and a brush. Dab the stamp pad all over the cut out area of the stencil, creating an image in ink. Then peel off the stencil to see your finished image:
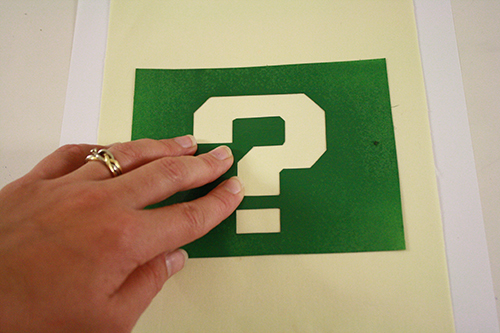
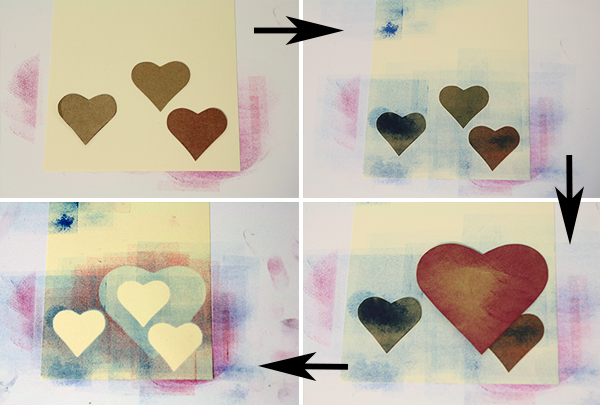
You can also try doing a reverse method of this, putting ink or paint around the outside of a cut-out shape, for a different effect. Like so:
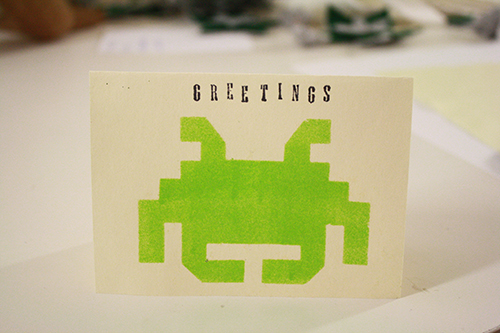
9) Add other embellishments and details as desired, to make cards, bags, etc:
Early next week, before the week’s regularly scheduled blog post also goes up, I will post a tutorial about how to make very quick and easy goodie bags, great for party favours and simple gift bags. (To make up for last week’s entirely missing post, you see.) That project combines super well with this simple stencilling technique!

