Well this is a bit embarrassing. Last time I put a proper tutorial up on this blog, it was Halloween season. And now it’s the Christmas season, with a big huge lapse of DIY silence in between. I’m afraid that with my day job, commission work and additional Desert Bus for Hope responsibilities this year, something had to give, and that turned out to be the blog.
On the bright side, Desert Bus raised over $500,000 this year, so that’s a whole lot of toys and games that’ll be going to improve the lives of sick kids and their families.
I do hope though that this will be the first, last and only such lengthy blog lapse – I’ve actually already started saving up posts for next Halloween and Christmas season, in the hopes of having things ready to post when the fall of 2014 attacks my schedule. In the meantime, my profuse apologies, and let’s get on with Christmas prep. Because oh holy night, Batman, it is coming up fast!
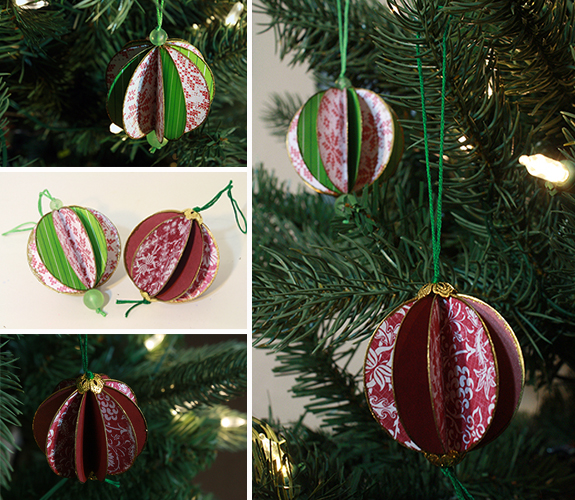
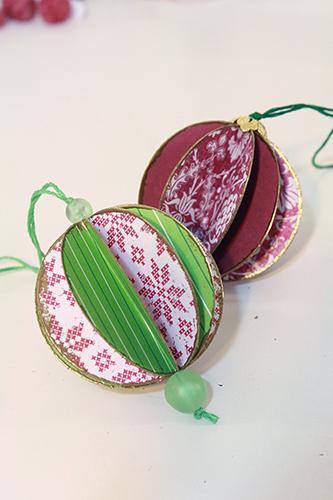
If your tree is a little sparse, or if you’re looking for a small simply gift idea, and especially if (like me) you still have previous years’ Christmas scrapbook paper (or old Christmas cards) hanging around, you might want to try your hand at these elegant little paper ornaments.
The first part of this tutorial is the exact same process as making the beach ball paper beads I posted years ago, only bigger. And then you add ornament-y bits and cord and put it on a tree and voila – you’re a DIY genius.
———————————————–
What you’ll need
materials:
- coloured or patterned card stock OR old Christmas cards (I used two different colours/patterns for each of my ornaments, but you could use as many different papers in one ornament as you like. You do need to use card stock weight paper – if you’re using two different alternating papers you can have one that’s not card stock weight as long as the other one is.)
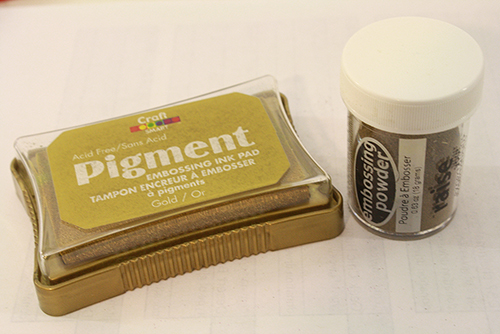
- embossing ink pad
- embossing powder (note: the powder does not have to match the ink pad – make sure the powder is whatever colour you want to show in the end, and the ink pad can be any colour as long as it’s an embossing pad – they’re just special ink pads that don’t dry as quickly and allow the powder to stick to the ink)
- a sheet of scrap paper
- embroidery floss / ribbon / string
- [optional] some pretty beads or bead caps
- large (as in 2″ diameter or larger) circle punch OR a circular object like a small lid or bowl, plus a pencil and scissors
- glue (You can use any kind you like for this, so long as it’s a good glue that actually, you know, works. I used a fast-drying superglue because I was in a rush, and also it’s super strong. When you heat things up for the embossing part of this project, weaker glues may not hold up against the heat as well, so you may need to experiment a bit with this. Also be careful with using white glue and other very liquid-y glues – sometimes they cause the paper to warp and bend, which you don’t want here.)
- tongs – like the kind you use in the kitchen – whatever you have will do. Even a pair of really large tweezers might work. They just need to be something that can get hot.
- large sewing needle
- scissors
- heat gun OR your stove (gas or electric will work – I’ve used both for embossing purposes)
———————————————–
Putting it all together
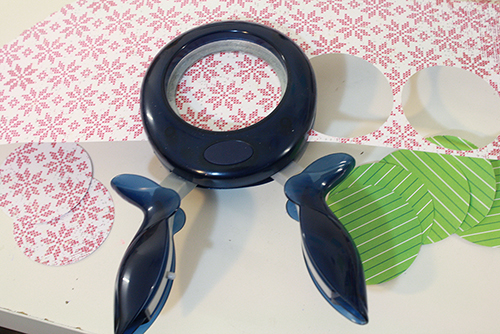
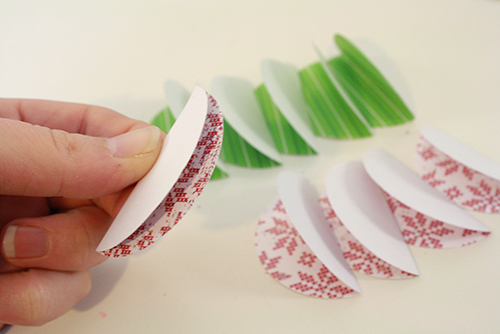
1) Start by cutting out a bunch of circles. You can do this with as few as 6 circles per ornament, but I think it looks nicest with 10-12. It’s really up to you. The more circles you use, the more of an overall round spherical look the finished ornament will have, but the less clearly each individual circle of paper will be visible.
If you’re using two different papers (as I have for my ornaments and this tutorial) then cut out half your circles from one paper and half from the other. See my notes in the materials list about paper types – you should be using card stock weight paper, other wise you’ll have bending and buckling issues and your ornament will look sort of uneven and floppy in the end. Also, velum paper is right out – it doesn’t do well with the heat (or the glue, for that matter). Trust me, I tried these things.
2) Fold each circle exactly in half, with the pattern facing inwards.
3) Apply glue to half of one of your circles. Make sure you get glue right up to the edges. (See my notes in the materials list about glue, and how to choose one. You may want to experiment on a couple of scrap paper circles and hold them over the heat once dry to make sure that your glue will hold up for the embossing process.)
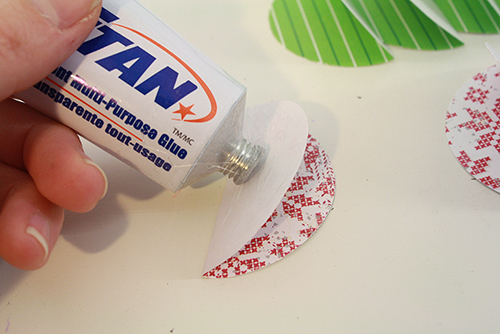
4) Now match up half of another folded circle piece with the glued section, making sure their folded edges and their outer, curved edges match as perfectly as possible. Press together along the edges to be sure everything is going to hold together.
If you’re using two different papers, you should be gluing together one circle of each paper her. So you’ll have two different papers stuck together now:
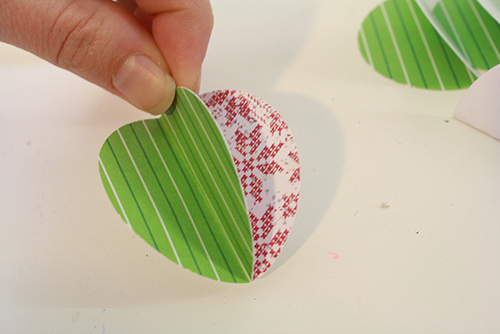
5) Apply glue to one of the sides of this new segment, then attach another folded circle of the alternating colour/design to it.
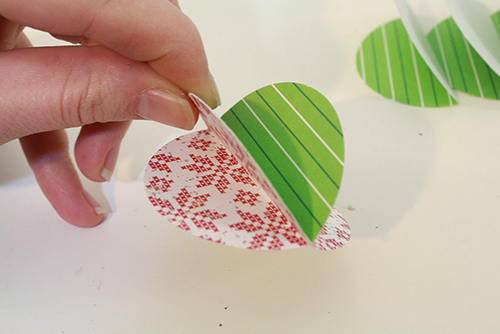
6) Now just continue doing this until you’ve used up all your segments. If any of your papers have a directional design (one that has a right way up, for instance something with words or letters on it), be sure you’re consistently facing that paper the same way up all around the ornament.
You may need to pause to let the glue dry a bit at some points before you continue on with adding more folded circles.
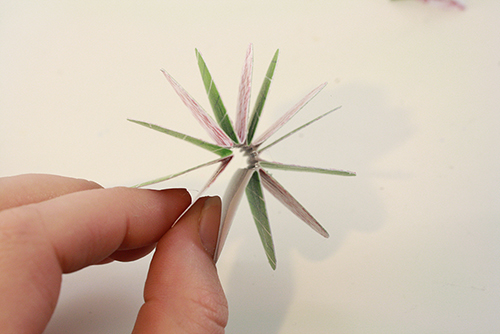
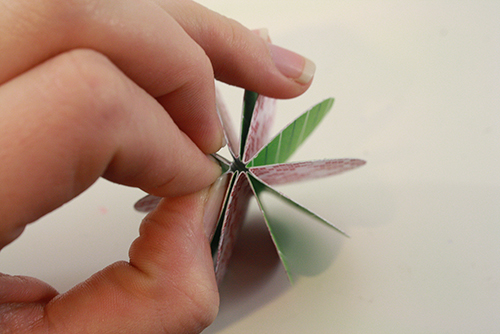
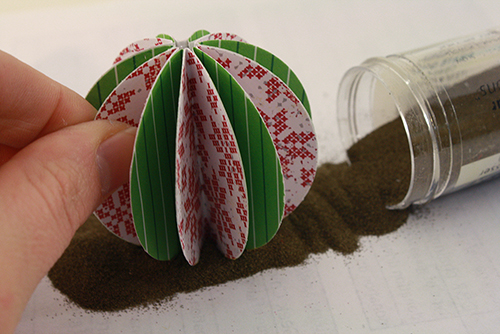
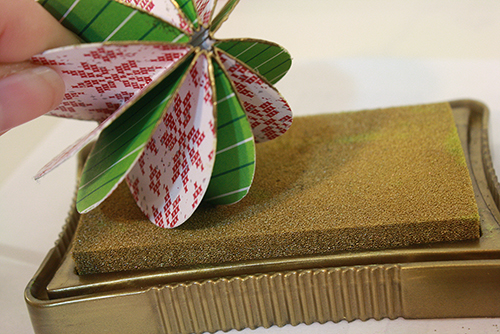
7) Once you’ve used all your folded circles, let everything dry. Then apply glue to the last two circle halves that remain unconnected, and hold in place with your fingers or with binder clips until the glue is dry enough to keep those final segments stuck together.
Using your fingers to press all the segments in towards the middle at this point will help those last two segments hold together, and give the ornament a nice even shape.
8) Now let the glue dry thoroughly. Once it has done so, you can start the embossing.
If you’re using an electric stove, go ahead and turn one of the burners on high. (If you’re using a gas stove or a heat gun you can just turn those on and back off as you actually need them.) Obviously make sure that nothing is on the stove, make sure anyone else in the house knows that you’ve got the burner on and it’s for a reason, and that no kids can accidentally stick their hand on it. And remember that you’ve turned it on so that you turn it back off again when you’re done.
If your stove is far away from your crafting area, you probably want to take your ornament, tongs, embossing pad and powder into the kitchen and just do this next bit on the counter right beside the stove.
About embossing:
If you’re already familiar with embossing then skip ahead to step 9. If not, here’s some basic information about it (and how it’s actually really simple to do).
Embossing is a quick, simple and inexpensive way of adding some super classy-looking detail to various paper goods. And it’s dead easy to do. You need an embossing stamp pad (it’s just an stamp pad with ink that’s a bit more sticky and slow-drying than the usual stuff) and jar of embossing powder. Ink pads are about $5 at our local craft store and embossing powder is about $6 a jar (and a jar will last you through a lot of embossing projects – probably upwards of a hundred). Pro tip: you do not have to have an ink pad that matches the colour of your embossing powder. The powder is the colour that will show up in the end. I recommend choosing a powder colour you think you’ll want to use a lot. And obviously you don’t need to have a special heat gun either – your household stove will work just fine. In fact that’s the only way I’ve ever done my embossing.
9) So, start by laying down your sheet of scrap paper and dumping a small pile of embossing powder down on it.
Now take your ornament and press one end of it into the ink pad. Roll it around a bit to get the edges of the ornament inked up as much as you can at that end.
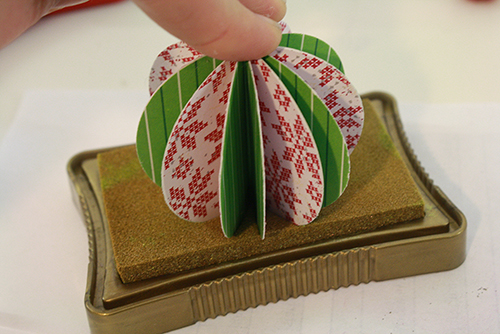
10) Now dip all that inked up area into the pile of embossing powder. The powder will stick to the ink.
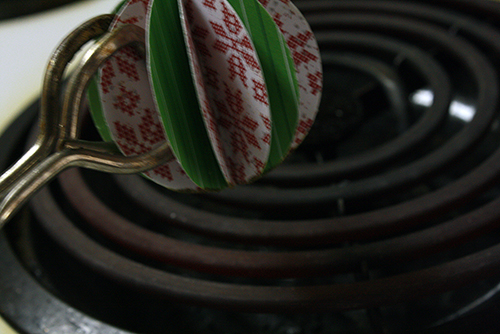
11) Take your ornament to the stove (or use a heat gun) and use the tongs to hold the ornament over the heat, with the powdered side closest to the stove. Hold it a good inch or two above the stovetop – you don’t want to scorch the actual paper.
Then just wait for the embossing powder to heat up and melt into a nice shiny coating. Over a stove on high heat this usually only takes 10-20 seconds.
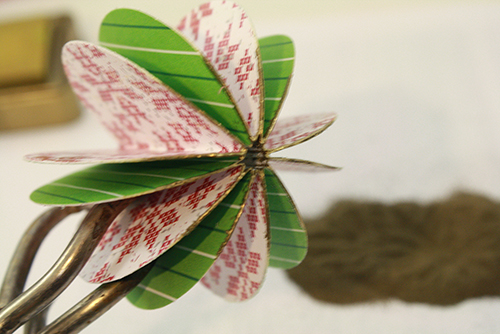
12) Now do the same thing with the other end of the ornament. If either of the ends didn’t get quite as coated as you wanted them to, just rub them on the ink pad and dip them in the powder again and re-emboss overtop of the first coat.
Note: give the embossed areas 10-20 seconds to harden before touching them, or they’ll still be a bit sticky and can get smudged. If this does happen though, just re-apply ink and powder and emboss back over them again.
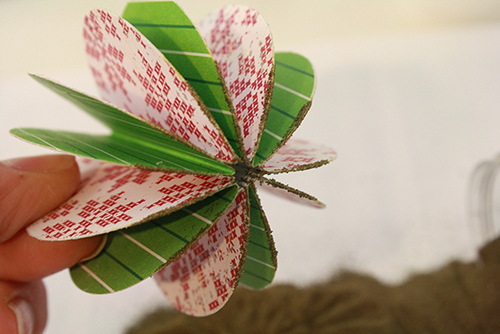
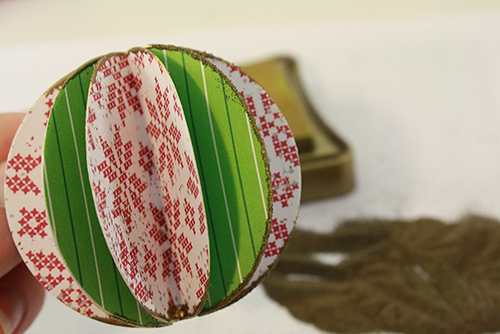
13) You should now have an ornament with shiny embossed bits on the edges at the top and bottom, and un-embossed edges in the middle. Take the ornament and rub one of the un-embossed edges in the ink, then dip it in the powder, then heat it. You can probably do the edges of 2 to 3 segments at a time to save yourself a bit of back and forth.
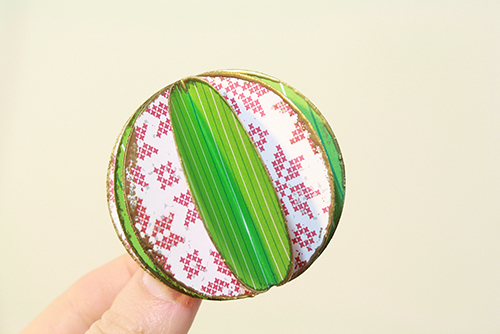
Continue until all the segments’ edges are totally embossed.
14) Turn your stove or heat gun OFF.
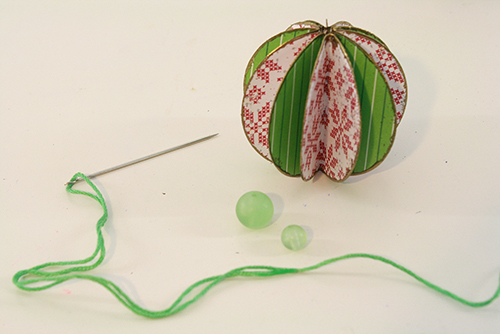
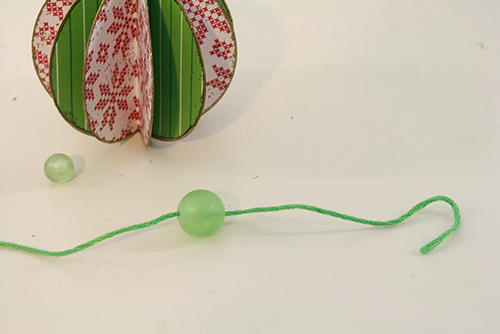
15) Now to string your ornament. Cut a length of embroidery floss/string/etc. about 15″ long, and thread it onto a large needle. Lay out any beads that you might want to add above or below the ornament.
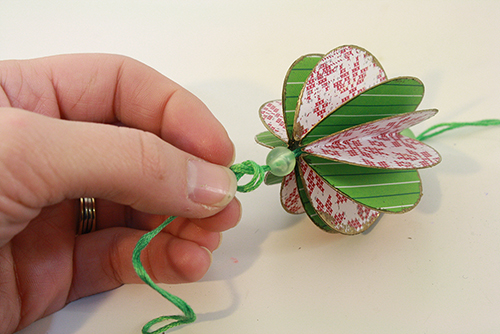
16) Thread your needle through the bead that you want to be below the ornament. Leave a tail of thread a couple inches long dangling from the bead (If you’re not adding beads, just thread it right through the ornament itself.)
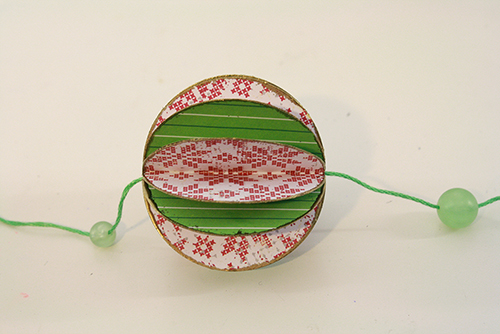
17) Now thread the needle through the ornament itself, and then (if applicable) through the bead you want to have resting on top of the ornament.
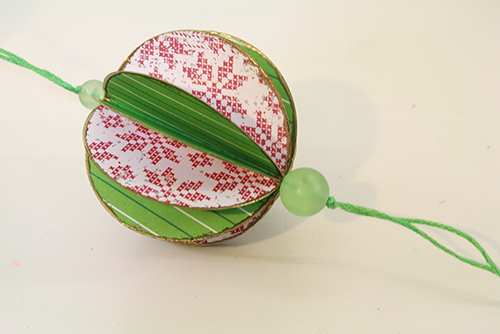
18) Thread the needle back through the top bead, but leave a loop of thread 4-5 inches long – don’t pull the thread all the way through.
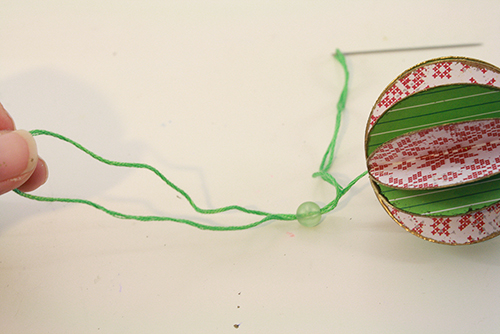
Continue by threading the needle back through the ornament and the bottom bead, still leaving that loop at the top.
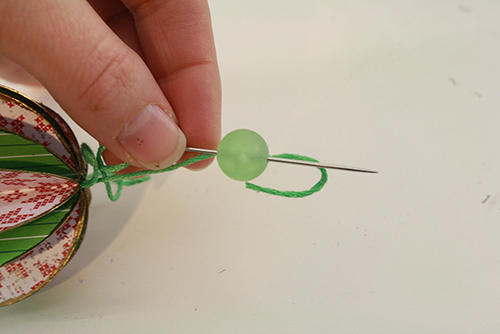
19) Now make a knot in the thread just above the top bead. If the knot is small enough that it can be pulled through the bead’s hole, make another knot or two on top of it.
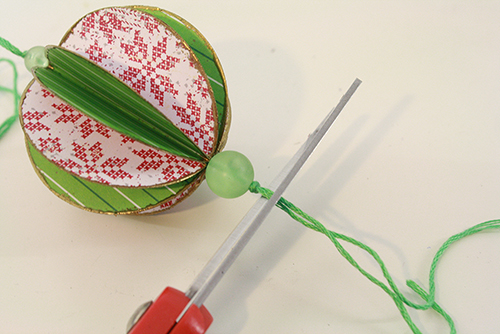
20) From the bottom of the ornament, push everything up until it’s pushing against that top knot, then tie a knot (double or triple if needed) directly underneath the bottom bead, to hold everything in place.
Trim the ends of the thread.
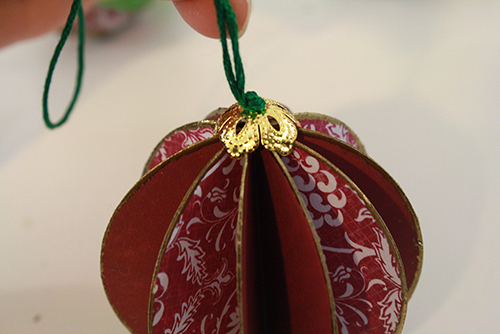
Note: Instead of beads, I’ve also found that putting bead caps at either end of the ornament looks very snazzy:
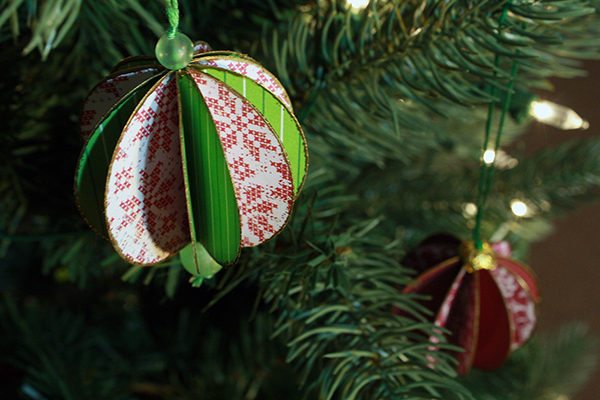
21) And voila, you have made an elegant embossed paper ornament!
Hang them on your tree or in windows, give them as gifts.
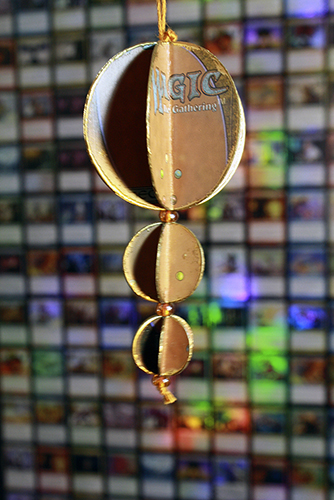
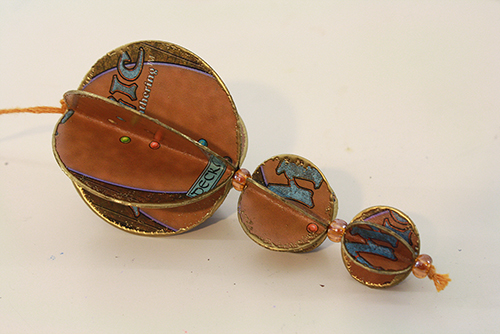
And perhaps, as with my other paper ornaments tutorial, you might want to try this with Magic cards, or some cool-looking playing cards. Or try stringing multiple paper balls of varying sizes together.