My friends and I have been playing a lot of Magic over the last few months. For those who don’t know, it’s a highly addictive fantasy-world card game that encourages you to buy way too many bits of beautifully decorated, heavyweight paper. Ie: cards.
Not only have we all been buying a lot of cards, my friends have also been sent a bunch of free Magic stuff from various people. So there are a ton of these little bits of pretty paper floating around. Far too many to use at once. What’s the most practical thing to do with pretty leftover things? Craft!
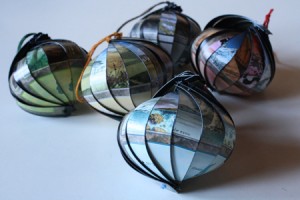
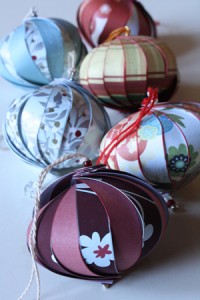
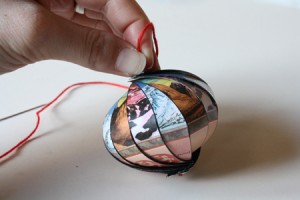
In combination with the Christmas season, I’ve taken to making ornaments out of some of the less valuable, more common Magic cards. These paper ornaments are pretty, elegant and very inexpensive to make, and you can make them out of pretty much any paper, not just Magic cards. They make lovely decorations for your tree, or simple handmade items to give as gifts.
(For other cool craft projects that use MtG or other playing cards, check out this post.)
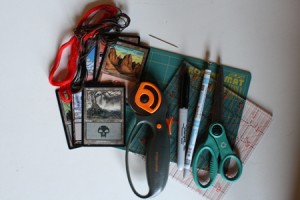
What you’ll need:
- paper – Magic cards (or any playing cards) happen to be a perfect size for this, but you can also use scrapbooking paper, magazine covers, etc. Old greeting cards can make beautiful ornaments. It’s best to use pretty thick paper, of cardstock weight.
- cutting mat & rolling cutter OR ruler, pencil and scissors
- scissors
- string, yarn or embroidery floss
- large sewing needle
- [optional] black or coloured permanent marker
Putting it all together:
0) Magic cards are the perfect size for this project, and for this tutorial I’ll be giving you instructions based on making ornaments out of Magic or other playing cards. To follow these instructions with other papers, cut strips that are 3.5 inches high and .5 inches wide. You’ll need 14 to 16 of these strips for each ornament, depending on the paper and how exact your width measurements are. You can use the same paper all the way around, or use 2 or 3 different papers.
You can also make smaller or larger ornaments, by cutting taller or shorter strips of paper. Just be aware that for smaller ornaments you’ll need fewer strips, and for larger ornaments you’ll need a larger number of strips.
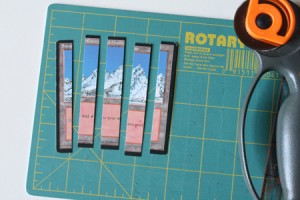
1) You’ll need three Magic cards for each ornament. I’ve used old land cards, which turn out looking really nice. Cut each card into five vertical strips that are each 1/2 inch wide.
2) Lay the strips of the first card out in order, with large gaps between each piece.
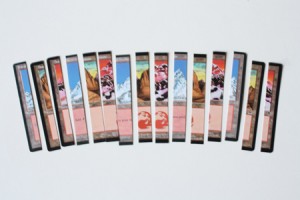
3) Lay the strips of the second card next to these pieces. Lay the strips of the third card in the remaining spaces. Your layout should look like this, with a strip from card 1, a strip from card 2, a strip from card 3, then another strip from card 1, and so on.
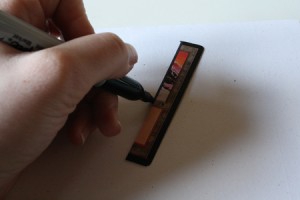
4) Optional step: Use a permanent marker to draw a thin line along the vertical edges of each strip. I think this gives the ornament a more finished look. You do this simply by bumping the tip of the marker up against the edge of the card, and pulling the marker along the edge. You’re essentially drawing a line beside the edge of the card, while also creating a narrow line on the card’s exact edge. You’ll need a piece of scrap paper underneath the card for this, obviously.
I use this technique for nearly everything I make out of paper. It adds a nice clean visual edge to things.
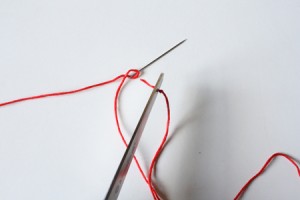
5) Thread your needle with about a foot of thread/yarn/embroidery floss. Knot the end and trim off the extra. (Unless you want to tie a bead on the end, in which case do that now. Then knot the thread on either side of the bead.)
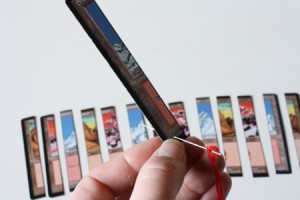
6) Take the first card strip and pierce it with the needle at the bottom of the strip, on the front side. String it onto your thread.
7) Repeat step seven with every card strip, in order.
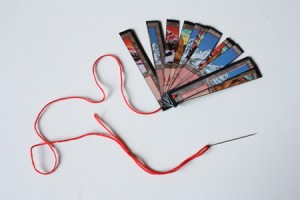
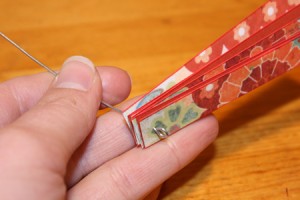
8) When all the strips have been strung, your ornament should look like this:
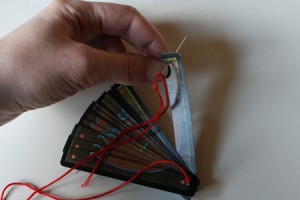
Flip the strips over so you can see their back side, and tie a knot in your thread as closely as possible to the last strip of paper. There should be a knot on either side of the stack of card strips.
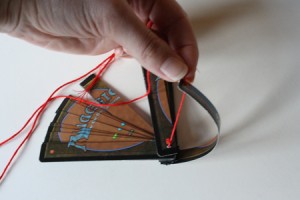
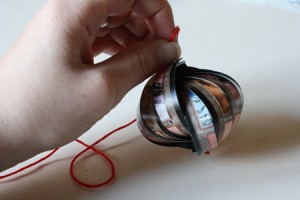
9) Take the strip on the bottom of the stack, and pierce it from back to front with the needle. String it on and push it down so it curves outward into a half circle shape.
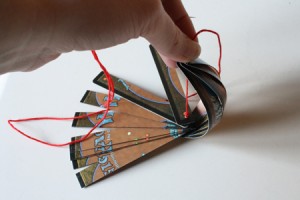
10) Repeat this process with each strip from the bottom of the stack to the top. Use one hand to keep the strung-on strips in their curved, half-circle shape while stringing on each new strip with the other hand. (If this is proving too tricky, you can always use a needle to poke a hole in the top and bottom of all the strips before stringing them.)
You want the top end of each strip to be on top of the strip before it, not below or beside.
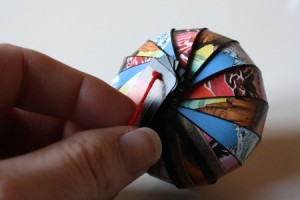
11) When all the strips have been strung on, you will have a spherical ornament, with a spot on one side where the strips meet up that’s slightly open and uneven, like a seashell.
Push the top down as much or as little as you wish to create a flatter or a more oblong shape. Then, keeping the strips in place by pushing down with one hand, tie a knot in your thread as close to the top end of the ornament as you can.
12) Make a loop with your remaining thread and tie a knot in it, again close to the ornament. Trim any excess thread.
13) Deck the halls!
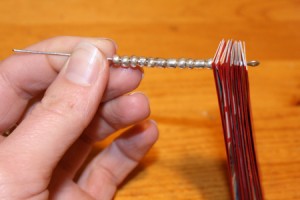
Note: You can also make these ornaments with wire on the inside, which allows for more easily and elegantly hanging beads from the bottom. You’ll need some needlenosed pliers for this, plus wire and extra beads. You’ll also have to use a needle to poke holes in the tops and bottoms of all your card strips ahead of time.
Make a loop in the bottom of the wire, then follow steps 6 and 7 to string all the card pieces onto the wire. Then, since you can’t tie a knot in the wire to keep the strips in place, place a line of beads on the wire.
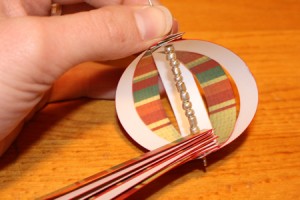
Next, follow steps 9 and 10 to string the tops of the cards onto the wire. When this is done, use your pliers to make a loop at the top of the ornament, and cut off any excess wire. Add a string for hanging, and dangle beads from the loop on the bottom of the ornament.

