PAX is coming! While I have an exciting collection of hopes and plans to attend some new (to me) conventions in the next year, PAX is always my biggest convention experience of the year. First because it’s just so big in general, and second because it’s the convention at which I’ve made (or been granted, really) a tradition of hosting a wonderful crafting panel, where creative types gather and ask questions, share ideas and meet likeminded makers-of-things.
This year’s crafting panel is titled The Love of Crafting: Life, the Universe and MAKING ALL THE THINGS, and will be held at 12:30pm on Friday, August 29 (kick off your PAX with a wonderful creative gathering!) in Wyvern Theatre.
This year, my lovely panelists are:
Sara Chicazul – Seamstress, Maker of Things
Emily Jarrett – Knitter, Painter, Alpaca Wool Purveyor
Katrina Keller – Bag Designer & Creator
Meris Mullaley – Fabric Alchemist & Cosplayer
We hope you will join us for a wonderful hour of craft talk!
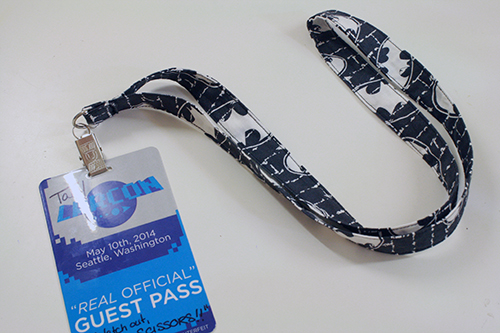
Getting the panel together is not my only PAX preparation, though. I’m working on a dress, in the same costume-esque clothing vein as last year’s R2D2 dress, and I’m using up fleece scraps on a bunch of goofy wee monster plushies that I plan to leave here and there for people to find and take home. I also decided I’d like to have a custom lanyard this year, one that will perhaps keep a better hold on those precious Pinny Arcade pins.
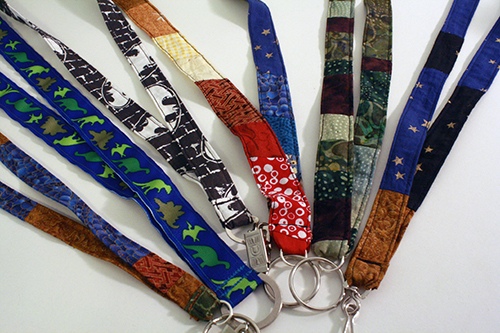
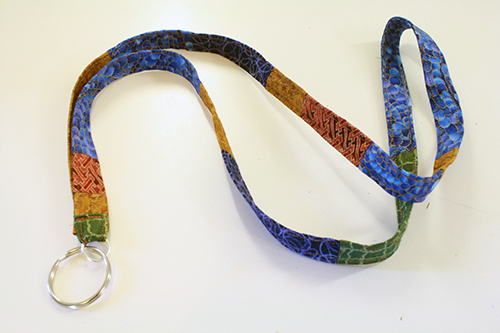
So I tried out some lanyard-making this week, and discovered that it’s a number of wonderful things:
First, it’s quite easy.
Second, it’s a brilliant way to use up fabric scraps.
Third, it’s quick. Which is why I’ve so far made half a dozen of them and have pieces cut out for three more. So I now have an excess of fancy homemade lanyards. To solve this “problem,” I’m going to give out or two one or two out during my craft panel. The rest I will give away to whoever comes up and asks me for one, until I run out. So if you’d like a homemade lanyard, come find me at PAX next weekend!
Or, try making your own! Keep reading to learn how.
Note: after the fabric lanyard tutorial, I’ve also written instructions for making a quick and easy lanyard out of ribbon, if you want to give that a try instead.
———————————————
What you’ll need
materials:
- non-stretch fabric – you’ll need a strip that’s 36 – 40 inches long by 2.5 inches wide, or a bunch of smaller pieces you can sew together to make a total piece 36-40 inches long OR ribbon (same length as the fabric, width doesn’t matter as long as you don’t go super narrow)
- thread to go with your fabric choice(s)
- badge-holding hardware – if you don’t have an old lanyard to pilfer these from, just get some keyrings and maybe a very large thick jump ring. Or the hardware that attaches decorations to a zipper pull. A very small carabiner might also work.
tools:
- sewing machine (though if you’re patient you could do one of these by hand – if I have time I’ll give a quick bonus tutorial this weekend on how that’s most easily accomplished)
- cutting mat + rotary cutter + ruler OR fabric scissors + ruler + pencil/pen
- straight pins
- large safety pin
———————————————
Putting it all together
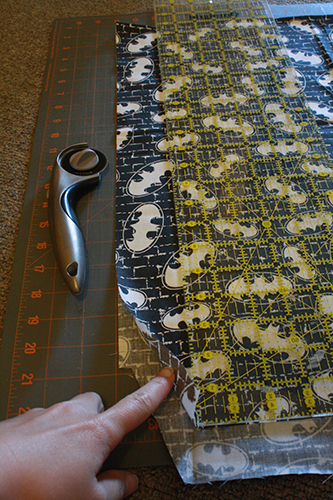
1) Start by cutting a rectangle of fabric 36-40 inches long and 2-2.5 inches wide.
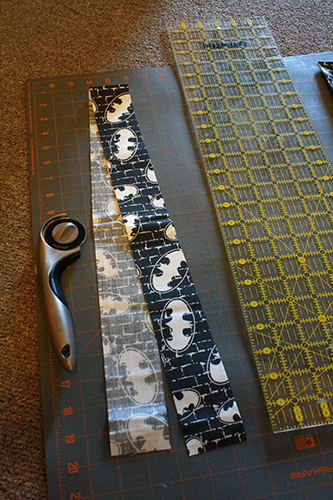
Ok, some details about that. First, it’s easiest to cut a piece of fabric that long by folding it in half and then cutting an 18-20 inch piece that starts at the fold.
Second, exact length depends on how large your head is and how far down you want the lanyard to go. It needs to fit over your head, of course, and the rest is personal preference. With the finished lanyard, you’ll lose about 1/5 inches of length off your raw strip of fabric.
Third, exact width depends on, well, how wide you want your lanyard. But given the method we’re using to make this, I recommend 2.25 – 2.5 inches if you’re going to make your lanyard out of multiple, patched-together fabric pieces (see my fourth comment below), or a fairly thick fabric (not that I would recommend using thick fabric for this in the first place – a light cotton or similar is your best bet).
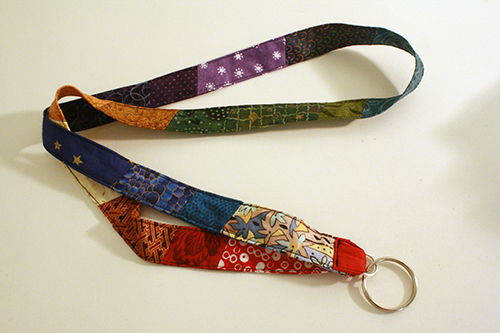
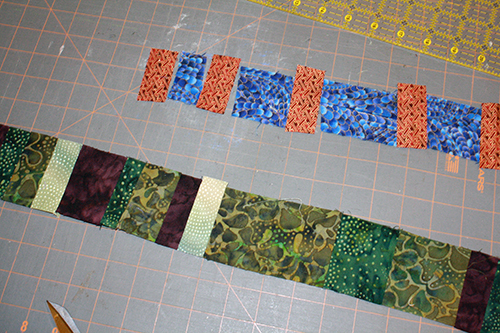
Fourth, you can also piece together different smaller bits of fabric instead of cutting one long strip. This is more work, but it can yield very fun & pretty results, and it’s a great way to use up small fabric scraps. Just cut a bunch of pieces however long and still 2-2.5 inches wide, stitch them together in a line (pin two pieces together with right sides facing, then sew their edges together, open them up and repeat this with another piece, etc. etc.) and then treat that as your one long strip of lanyard fabric. You should iron all those little seams, too – it’s a pain but it’ll make the lanyard sit flatter.
2) Fold your fabric in half lengthwise (with right sides facing together!) and pin it, all along its length.

3) Sew a line down the pinned-together edge, using a 1/4 to 3/8 seam allowance (if in doubt, just match the edge of the presser foot up with the fabric edge – that should be 3/8 inch). DO NOT sew the ends closed.
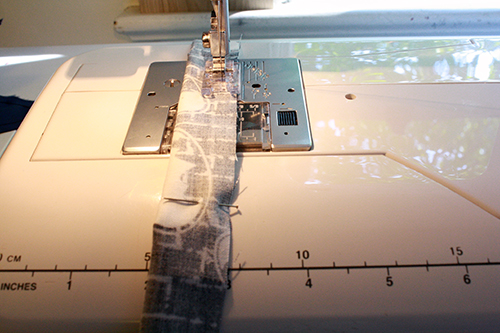
You should now have a long narrow tube of inside-out fabric, with open ends.
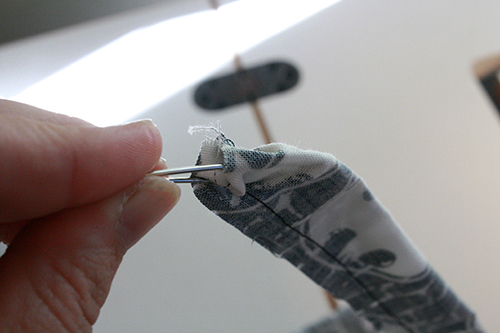
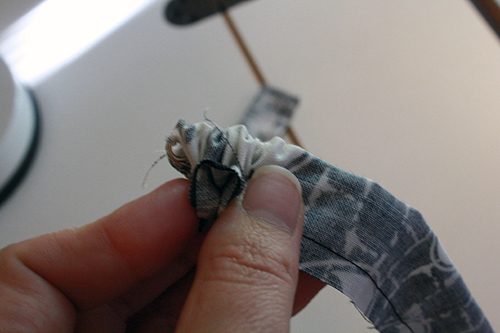
4) Grab your large safety pin and pin it at one open end of the fabric tube. Don’t pin right at the end – put the pin through the fabric about 1/2 inch away from that open end of the fabric, so it won’t tear through the fabric in the next step. Close the safety pin.

5) Now insert the head of the safety pin into the fabric tube. You’re going to bunch fabric up along the safety pin (going from the front to the back of the pin) and pull it behind the pin, effectively turning the tube right side out as you go. The first bit can be a little tricky as you ease the fabric tube inside itself, following the back of the safety pin, but once you get past that it should go pretty smoothly. Just don’t bunch up too much fabric at once or it’ll get stuck.
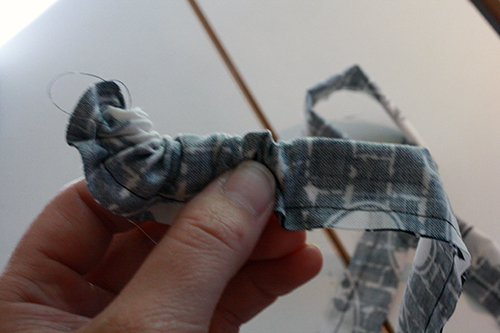
If you’re doing this with a fabric tube of smaller patched-together fabric pieces, there might be a little more finicky-ness and needing to ease and coax the fabric over all the little seams. This is why it’s good to make those patched-together lanyards a little wider, as it makes this bit smoother.
This is the step where this fabric lanyard tutorial gets notably different from any other I’ve seen. The other ones are fine too, but if you’ve checked out how they work, here’s what I like about using this method instead: There’s no folding-and-ironing, which can be finicky and also doesn’t necessarily create as straight lines. It’s easier this way to get nice straight, even edges on your lanyard. Also, it keeps the lanyard from being quite so thick. Not that thickness is necessarily a problem, but it can be a little bulky and not hang as smoothly, plus it uses more fabric. And finally, this is a generally handy technique for making fabric tubes, which can be useful for many things, and I always like finding an opportunity to a new technique on this blog.
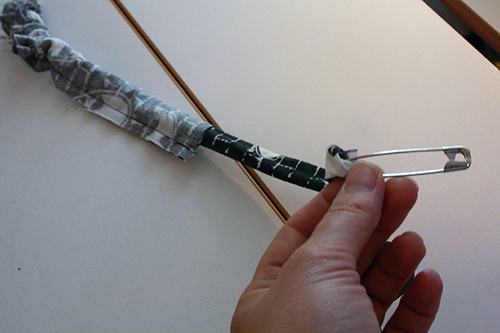
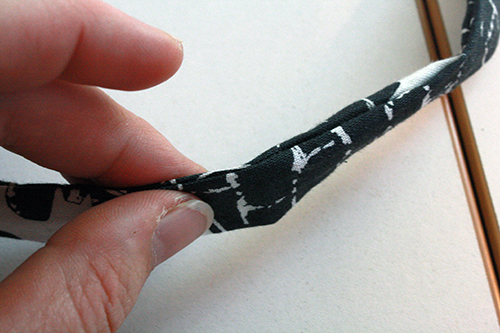
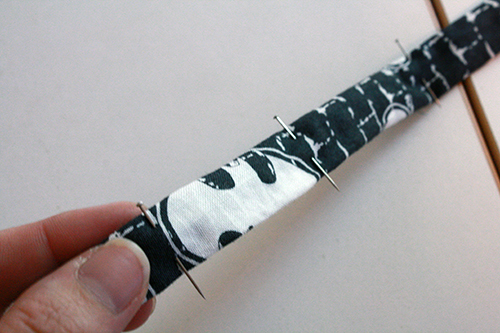
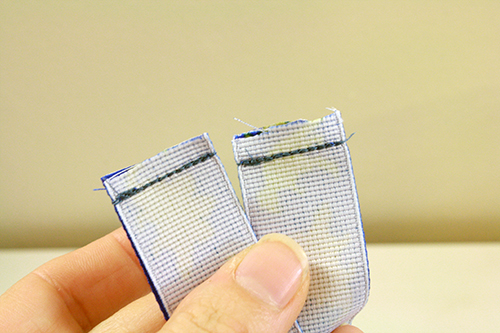
6) When you’ve pulled the tube completely right side out, detach the safety pin. Then tuck the raw ends of the tube neatly inwards and pin the ends shut.
Continue along the length of the tube, sort of rolling the fabric between your fingers so you get it smoothed out right to the seam, then pin it.
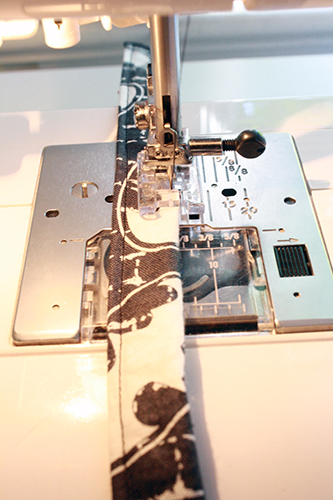
7) Starting at one end of the tube, sew a straight line all the way around the tube, along the end, one side, the other end and back down the other side of the tube till you get to where you started. Sew just a little ways in from the edge of the fabric.
The fabric should actually be quite flat by the time you’ve done this, but if it’s still a little bulky or crumpled anywhere, just give it a quick ironing.
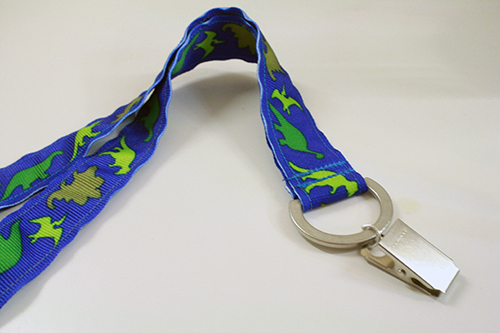
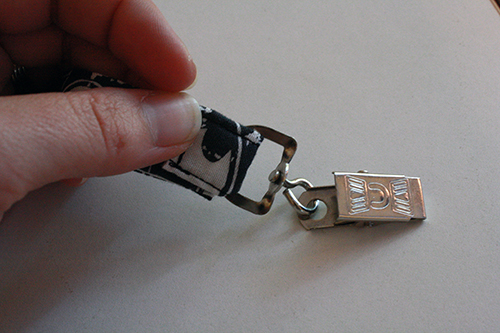
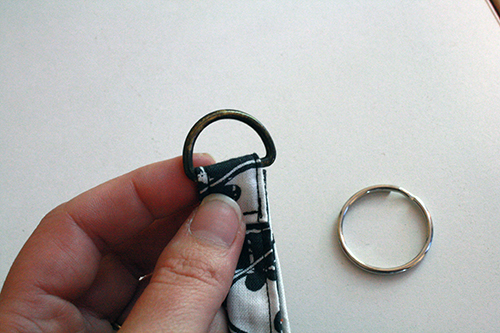
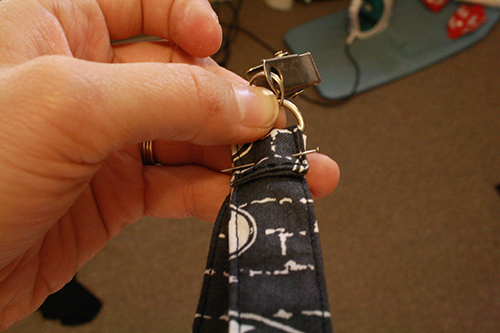
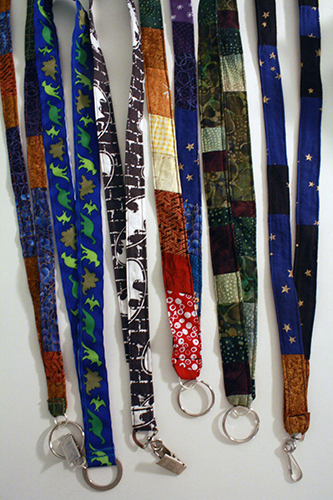
8) Choose your hardware.
Here are a few visual examples you could use, and as I said earlier a small carabiner could work as well. Or a large and thick jump ring. You can find things like in the pictures below at fabric and craft stores, and sometimes bead shops as well. They’re frequently used for making bags. I also really like using key rings for this, which you can probably find at a craft store, bead store or fabric store, or go buy a cheap keychain at a dollar store and pilfer the keyring part. (I also snitched some from old not-homemade convention lanyards.)
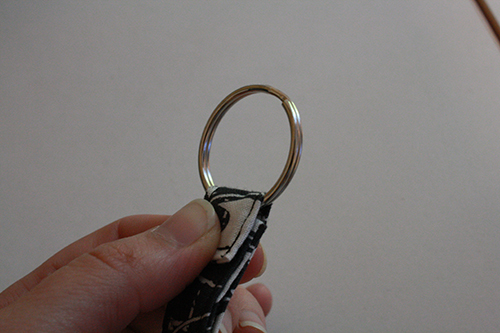
I like keyrings in particular because, unlike some kind of hook or clip, there is no chance that your badge will fall off your lanyard, not unless the badge itself snaps. This is particularly important at places like PAX, where it’s so completely sold out that you will be pretty well SOL if you lose your badge. Not that I’ve ever lost a PAX badge, but I always worry I might.
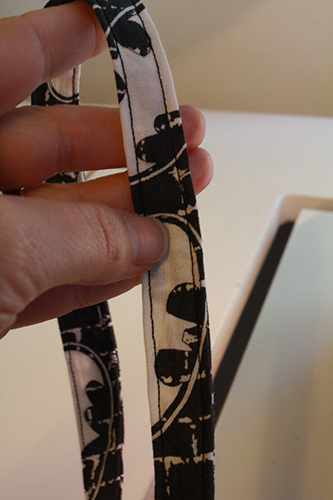
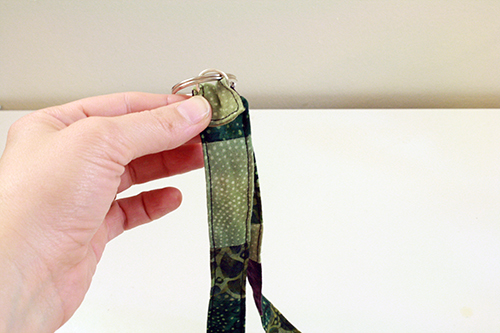
9) Now for the twist. Literally. This is where you’ll attach the two ends of the lanyard. To get them to lie flat in front and along the back of your neck, lanyards have one twist in them, and you want to get it just right.
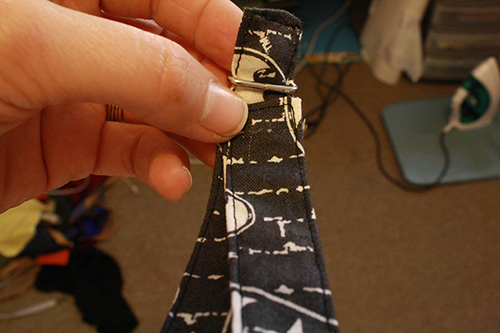
Loop one end of the lanyard through your chosen hardware. Make sure the rest of the lanyard proceeds in a flat line from there, no twists, and bring the other end up beside the first.
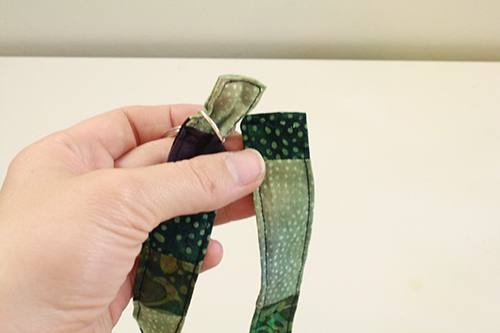
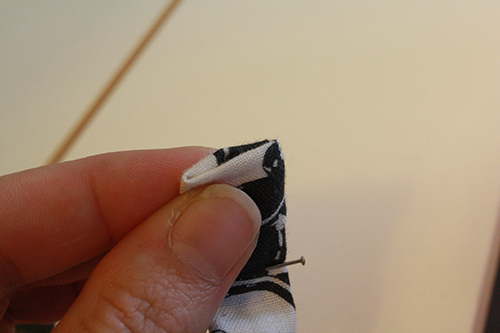
Flip that second end over, creating one twist in the lanyard, and lay the second end on top of the first, about 1 inch from the end.
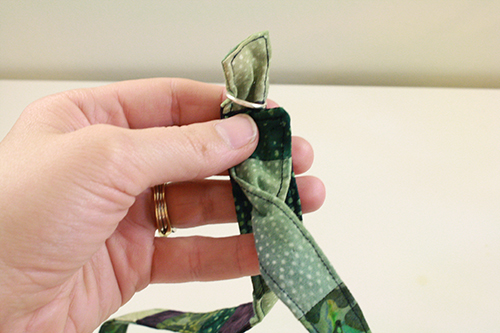
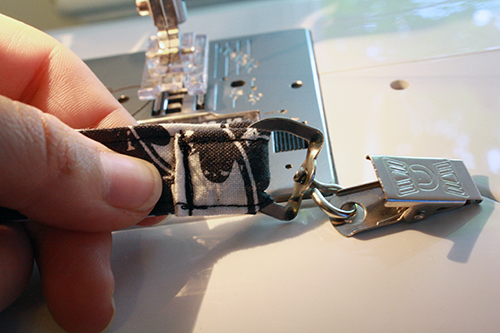
Fold the first lanyard end overtop of the hardware and lay it flat on top of the second lanyard end. Pin the layers together and in place.
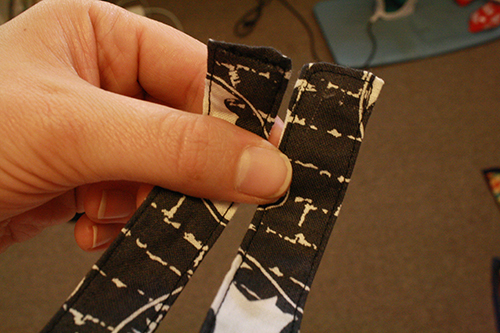
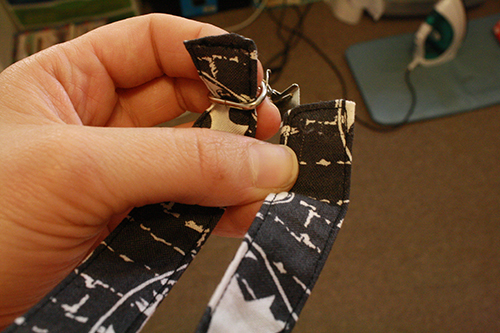
Here’s a better set of visuals of exactly how that fold-over goes, but it doesn’t show the twist:
You can also just put the lanyard around your neck while you do all this, to make sure that it’s going to lie flat the way you want it to, both in front and on your neck.
10) Sew those layered lanyard ends in place and you’re all done.
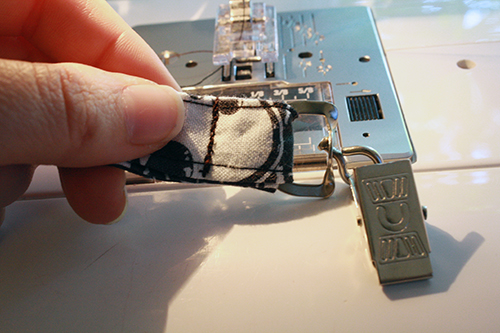
11) Attach your badge, decorate with buttons and pins, and wear proudly!

Get carried away and make more, lots more! Hey, your friends will want a nice lanyard too. As mentioned earlier, I’m going to give one or two out during my craft panel, and the rest to whoever asks for one after that.
Note: From limited experimentation, it seems that these lanyards allow things like official Pinny Arcade pins to hold on better, with less risk of falling off. As perfectly fine as the free PAX lanyards generally are, these just have more substance and a finer weave for the pins to grip into.
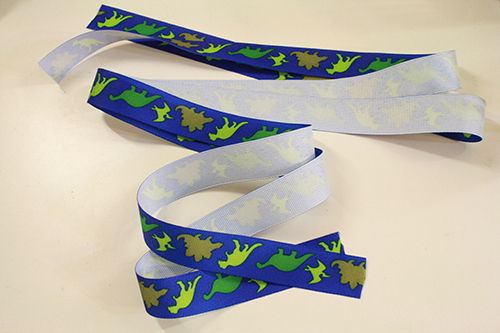
easy peasy ribbon lanyard
If that looked like a little too much work, or if you have some really awesome decorated ribbon you want to use up, here’s a very quick and easy way to make a lanyard out of a couple lengths of ribbon instead.
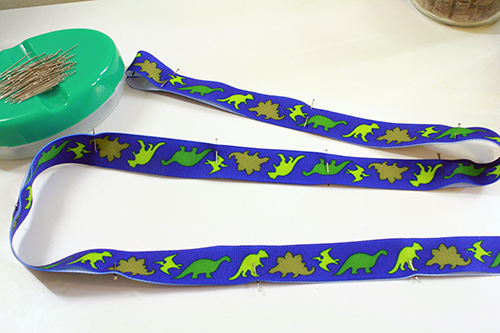
1) Choose your ribbon – you can use two different ribbons if you like, they just need to be the same width.
2) Cut two lengths of ribbon, 18-20 inches long (see notes at the start of the fabric lanyard tutorial about exact length).
3) Lay one length of ribbon on top of the other with their right sides facing. Match up the ends and pin them together. Then sew the ends together – just the ends.


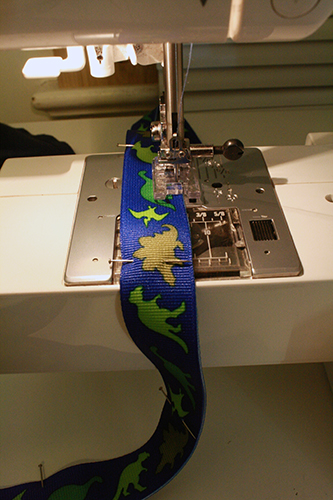
4) Flip the ribbons so that the right sides are now facing outwards, and pin the ribbons together all along their length. Then sew right along both edges of the pinned ribbons.
5) Follow steps 8-10 in the fabric lanyard tutorial to attach your hardware and connect the lanyard ends, creating one attached, wearable loop.