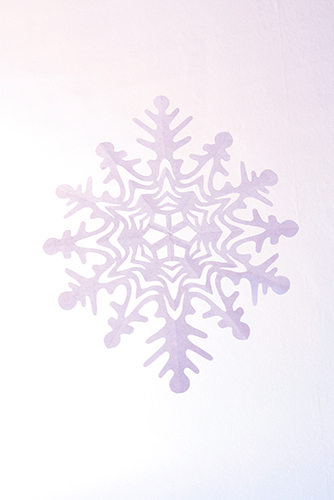
Christmas is my very very favourite holiday, and one of my very very favourite things about this holiday is decorating. The lights and decorations (within tasteful reason) are a large part of what creates the magic of the season for me.
Last year, @thatlaurachick asked me if I had any advice for hanging paper snowflakes, because that’s how she wanted to decorate her home. I didn’t, because I’d never really tried it before, only stuck them on windows. It had been years since I’d even made paper snowflakes. But you know me, always up to try a new thing. I was nannying at the time, so I spent several days at work making paper snowflake after paper snowflake, teaching the 2 1/2 year old the basics of the craft so she could make her own little toddler versions alongside me. (She did remarkably well at it, actually, and a few months later when she went off to pre-school and I got a new job, I heard that her teacher couldn’t believe how good she was at handling scissors and admired her fine motor control. Heck yeah! Lasting influence! I kept telling her parents that stuff was useful! And boy did cutting apart bits of paper keep her occupied for long stretches of time…)
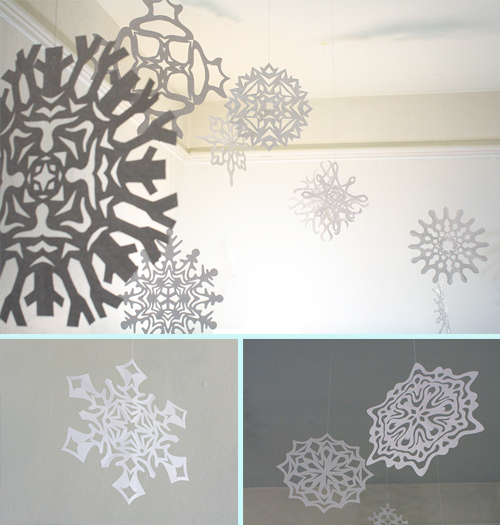
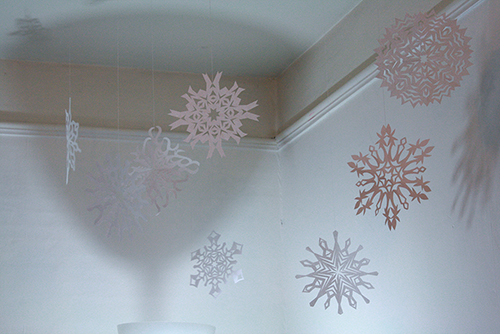
Anyway, I put a blizzard of snowflakes up in our apartment, which looked gorgeous. This year we’re in a different apartment, one with high ceilings and crown moulding and lots of character (meaning it’s pretty + a bit rundown + our heating bill is outrageous + there’s an actual backyard with an apple tree… pros and cons), so I bought a stepladder and lengthened the threads on last year’s snowflakes (to deal with those higher ceilings) and hung them back up, plus some new ones I’ve made this year. And voila, we have a winter wonderland indoors again. Which, for those of you living in places with actual proper winter, is lovely because we totally don’t have that outside.
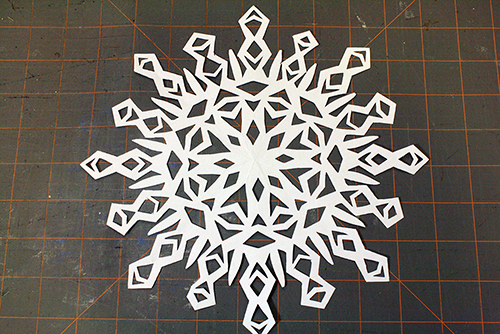
It’s some of the cheapest, simplest and – I think – most gorgeous Christmas decorating you can do. There are two “tricks” to decorating with paper snowflakes. First, how to cut them out and make them actually look pretty and lacey and nice (my first few last year were pretty awful, really and truly). And second, how to get them really nice and flat so they’ll hang flat and not all folded like they get from their creation process. Keep reading, and I’ll tell you how to accomplish both these things.
What you’ll need
materials:
- white printer paper
- white thread
- scotch tape
tools:
- scissors (make sure they’re decent quality and not all dull, but you don’t need anything special for this, just regular paper scissors – heck I did half of last year’s snowflakes w/ a little pair of kid-sized scissors, just ones that actually had decently sharp blades)
- sewing needle
- iron & ironing board
- [optional] pencil
Putting it all together
1) Step one is prepping your paper. You need to start with squares of paper, so either use a paper cutter or a ruler + pencil + scissors to cut your paper into squares. Any size, but if you cut them down too small it’ll be hard to make detailed and interesting designs.
2) Once you have your paper trimming squared away (I’m not even sorry), you’ll need to fold it for cutting. There are three basic options for this: folds for 4 or 8-sectioned snowflakes and folds for 6-sectioned snowflakes. All work, all have their advantages and disadvantages. Mainly:
6-sectioned snowflakes tend to come out looking more actual snowflake-like. If you’ve tried snowflakes before and they just don’t turn out looking like you want, I’d give the 6-pointed folding method a try and see if it gives you better results. They’re just a little more balanced, usually more round-shaped. Also, because of this, they are somewhat less likely that the 4-sectioned ones in particular to curve back in on themselves at the sides over time as they hang.
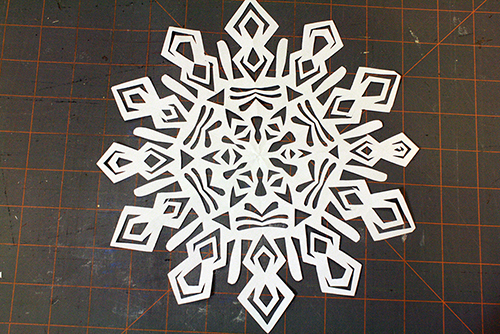
4-sectioned snowflakes are the easiest to physically cut (and to fold) because they have the fewest paper layers to cut through. This means you can get more precise and intricate control with cutting the snowflake shapes, which means you run less risk of cutting through parts you don’t mean to, and allows you to cut more curvy, intricate shapes. Generally the more folds and layers of paper you have, the more difficult it’s going to be to neatly cut anything other than straight or just slightly curved lines. 4-sectioned snowflakes also often have the most distinctive look with clear points, sort of compass-like, which may be to your taste or may not.

8-sectioned snowflakes get very thick in the folding, so you can’t usually get the same amount of intricate detail in them as in the 4 or 6-sectioned ones, and the cuts don’t look as clean. The size of the cuts may vary more too – a folded part of the paper on the opposite side from your scissors may have a smaller cut in it that the folded paper nearest your top scissor blade. Now that said, because you’ve got more folds in there you kind of don’t need as much intricate detail – the folds will multiply each of the cuts you do make, creating a more intricate look anyway. These snowflakes often turn out looking the most lace-like.
4 and 8-sectioned are also easier to fold evenly and accurately. But 6-pointeds really aren’t that bad once you know the trick and get the hang of it.
Honesty, the 6-sectioned variety tends to be my favourite, but I still like doing some of each. Results in more snowflake variety. I say just try them all out and decide for yourself what you think works best.
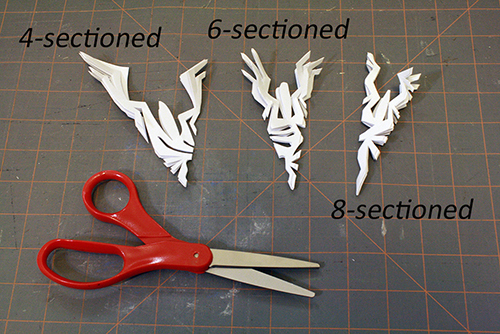
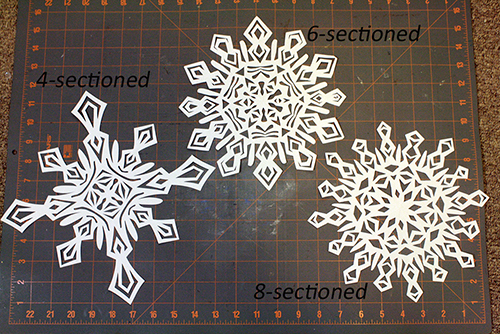
Here’s an example of 3 snowflakes I cut, each with a different number of folds, but using as much the same pattern of cuts as possible from one to the next:
You can see how the results vary, and all of them are nice, just different.
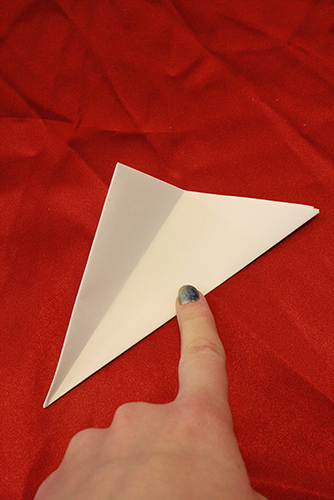
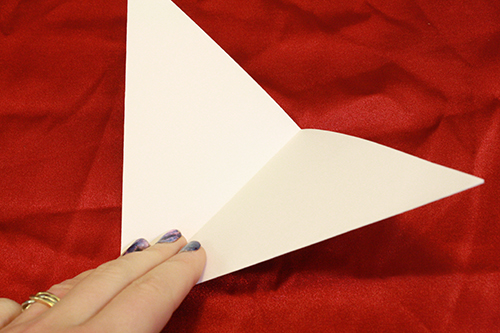
And now, actual how-to-fold instructions finally. For all the types of snowflakes, start by folding your square of paper diagonally in half.
Then fold it diagonally in half again, corner-to-corner.
And one more time.
If you’re doing a 4-sectioned snowflake, you’re now done folding, go ahead and start cutting.
For an 8-sectioned snowflake, fold it in half one more time, trim the top off (either flat or at an angle) so the entire top part is the same length, and then start cutting.
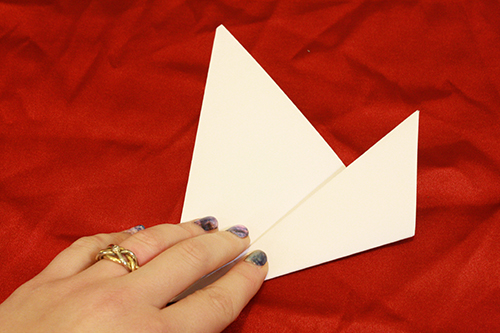
For a 6-sectioned snowflake, you (to review) fold your square diagonally in half once, then a second time, then a third time. Now unfold that third fold you just did, so the fold is gone but you can see the mark it made.
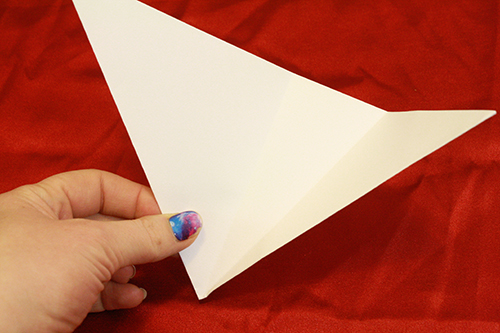
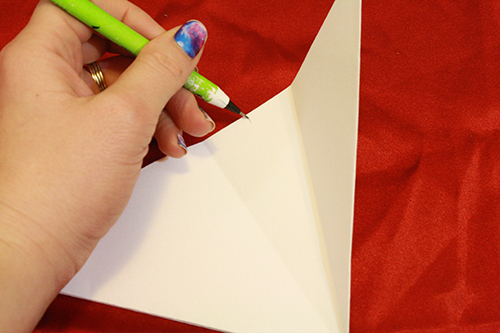
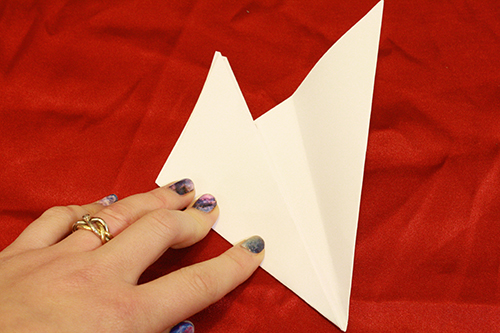
Take one side of the paper and fold it in to that fold line that you can see in the middle of the wedge. Crease the top of this new fold down, then unfold it as well, so you’re again back to the previous larger wedge shape, now with two fold lines visible on it.
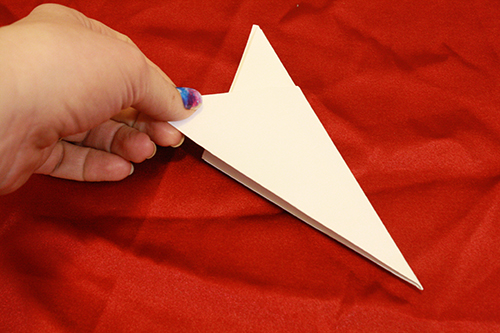
Now take the other side of the wedge and fold it right to the midpoint between those two previous fold marks (you can make a light mark with a pencil first to show yourself just where to fold it to. Crease this fold and leave it in. Then fold the first side of the wedge over to match the previous fold, so you now have a smaller wedge. You can adjust the fold lines slightly if needed to make both folded bits match up and be the same size.
Now cut off the top section of the wedge, where the paper layers are different lengths, so that you have a wedge where all the paper is the same size and all its edges (sides and top) match up. You can cut that top section off straight, or at an angle, or wavy – whatever you like.
And then you’re also ready to start cutting for the 6-sectioned snowflake.
3) As to the cutting part, it’s best to just do some experimenting, till you get a sense of what cuts will produce what shapes.
Some tips: make two pointed areas at either side of your wedge and cut away much of the area between them. This will give your snowflakes nice points all the way around and more shape.
Obviously you never want to cut all the way through the wedge, except perhaps at the top edge and possibly in the very centre. But cutting almost all the way through in one or two places can give your snowflake some nice intricate delicacy, and/or create a circular line around the snowflake.
Remember to cut shapes out starting from both sides of the paper wedge, not just one. And play around with different random whirly, curvy, zigzagy shapes, don’t just stick to lines and triangles. See what crazy results you get!
My personal feeling about cutting instruments for this is stick to scissors. A good pair of paper scissors that are nice and sharp, but I wouldn’t start fiddling around with exacto knives. Way more finicky trouble than it’s worth, and easy to pull to hard on the paper with the knife and rip through layers. A very important tip though: cut with the BACK of your scissors, right up near where the blades go into the handle. This will give you way better control as well as cutting power.
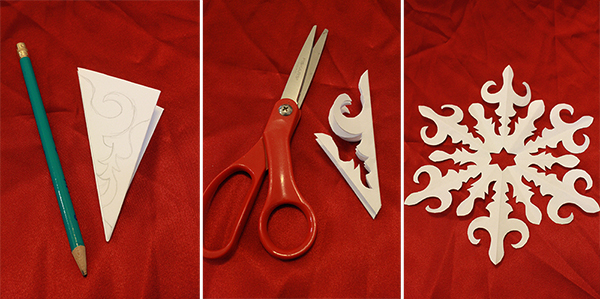
Again, I really found it’s best to experiment. If you want, you can lightly draw pencil lines onto your paper wedge where you want to make your cuts, if you’re not totally comfortable just winging it.
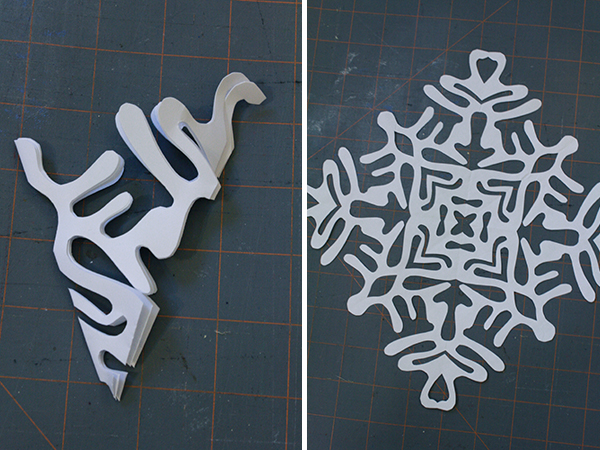
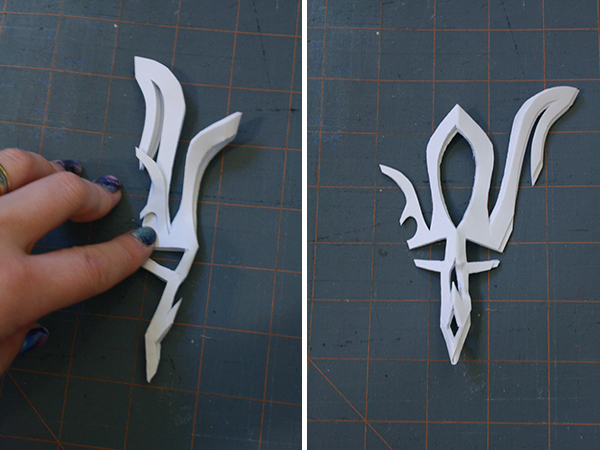
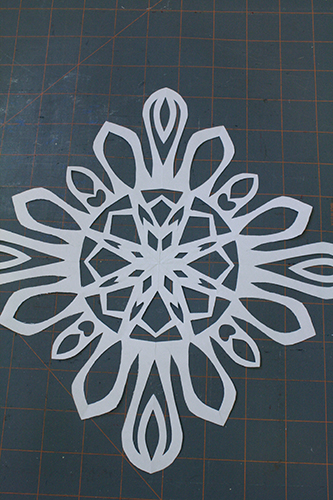
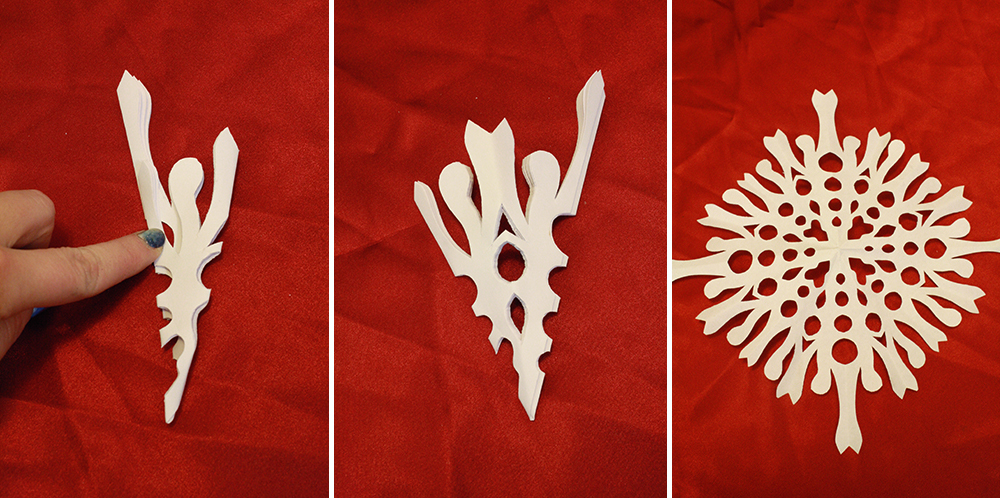
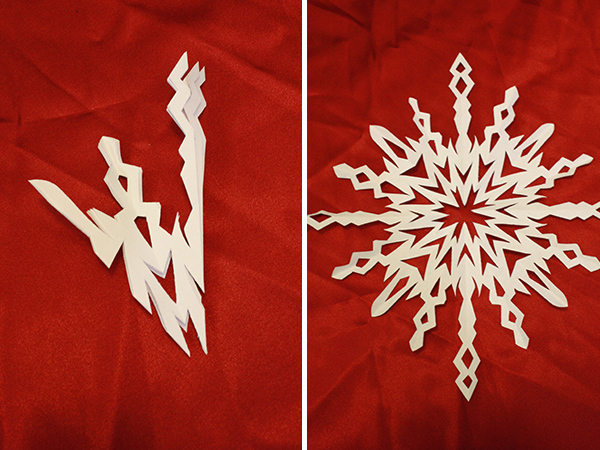
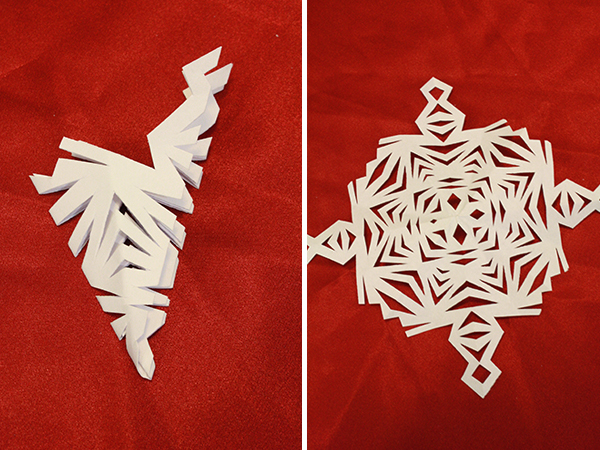
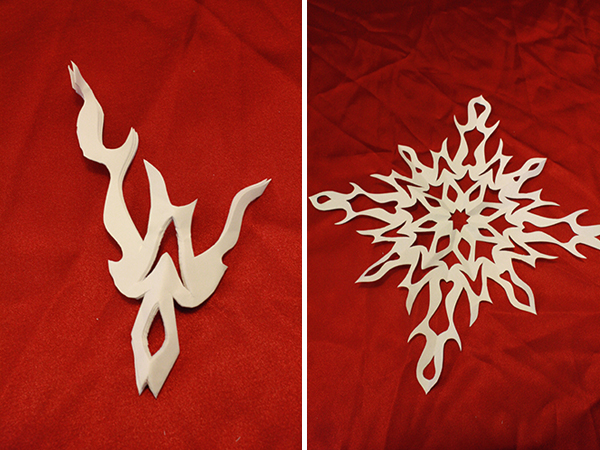
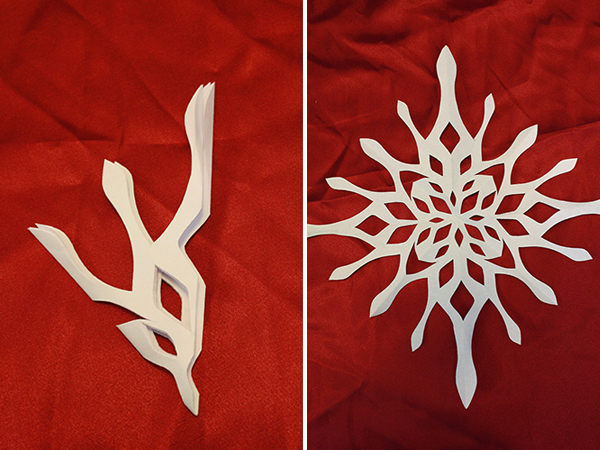
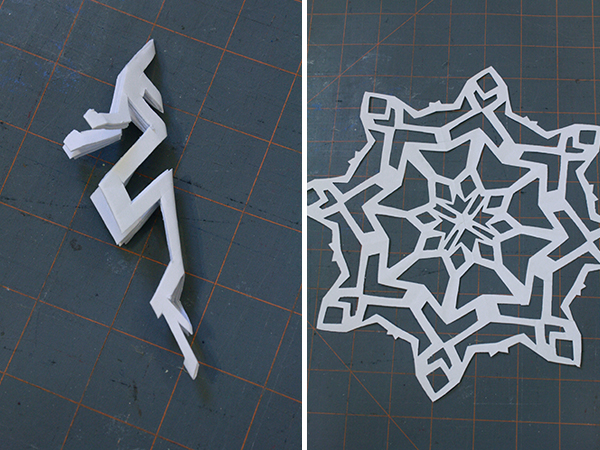
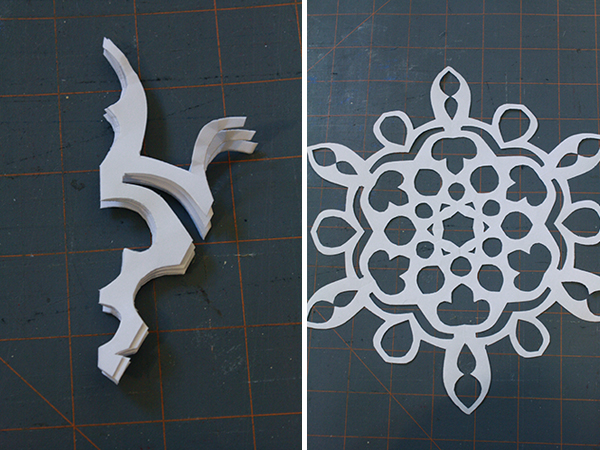
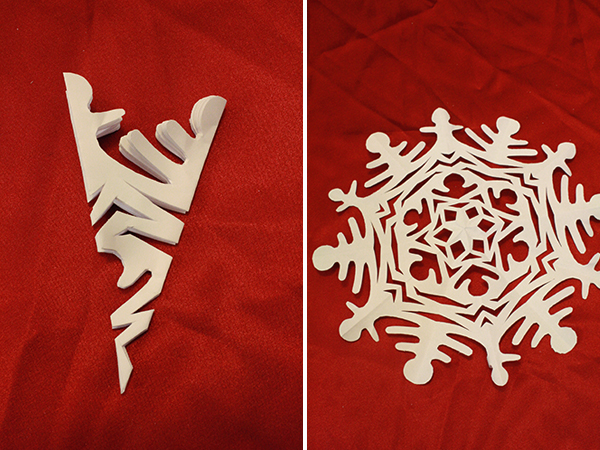
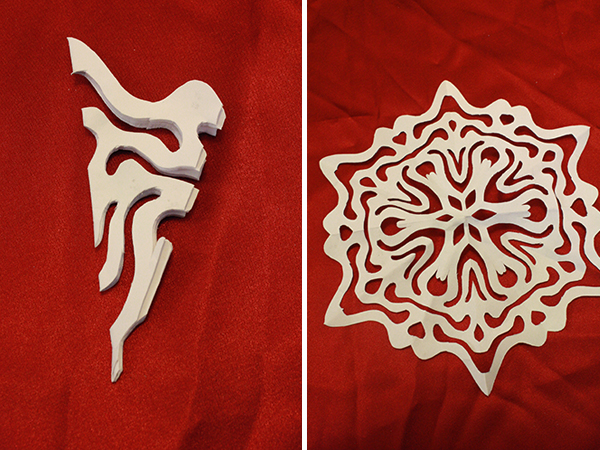
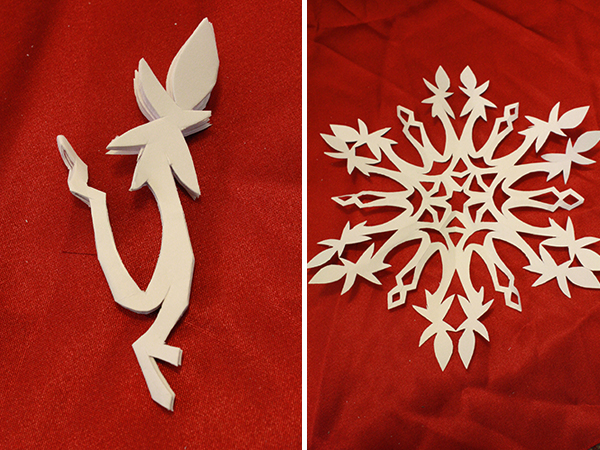
Below are several images of snowflakes I made, showing how the cuts looked when they were folded up, and what that translated into when the snowflake was unfolded. Perhaps they will give you some ideas and inspiration.
A 4-sectioned snowflake:
Note that you can put an extra fold in the paper, make some cuts and then unfold that one fold and do some more cutting, so you’ll have some patterns repeated 4 times, and some 8 times, for example. Here are details of two I did like that, so a partially 8-sectioned and partially 4-sectioned snowflake:
Here are some other 4 to 8-sectioned snowflakes where I did the same thing:
And some 6-sectioned snowflakes:
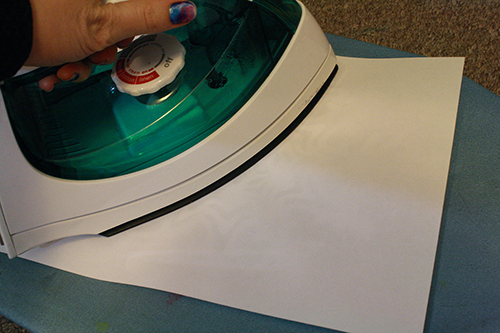
4) Once your snowflakes are cut out, you need to flatten them, and here’s the easiest way. Get another piece of blank, uncut paper, and turn your iron on to a low setting (like the one for silk or synthetic). Stick the snowflake under the uncut piece of paper and run the iron over it a few times. And bam, your snowflake is nice and flat! The paper keeps you from accidentally catching the iron on any of the intricate cut-out bits of the snowflake and tearing them.
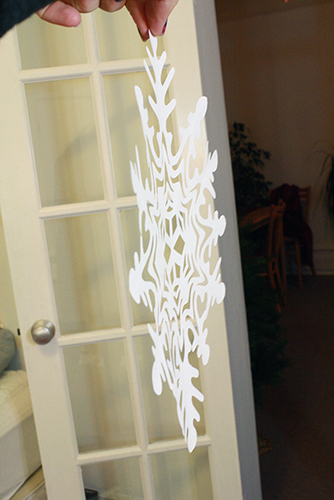
See? Nice and flat!
Why ironing and not something else? Well, setting them under a stack of heavy books is a) less effective and b) takes a lot longer (and just to be less effective anyway). Spraying them with some kind of starch or a white spraypaint or anything else I’ve come up with that would actually add a stiffening element also makes the snowflakes heavier, which means they pull on themselves as they hang and then they don’t hang flat anyway, starch or no.
So what I’ve found works best is just to iron them. Some of the snowflakes may curve inward a bit again as they hang, but most of them only do so noticeably after a couple weeks, and many of the never do at all. You can always take them down and iron them again (or just iron them again before re-hanging them next year). And oh yeah, keep them for next year. Store them flat between a couple pieces of cardboard, with all their strings hanging out one side and taped neatly to the top layer of cardboard. Easy peasy.
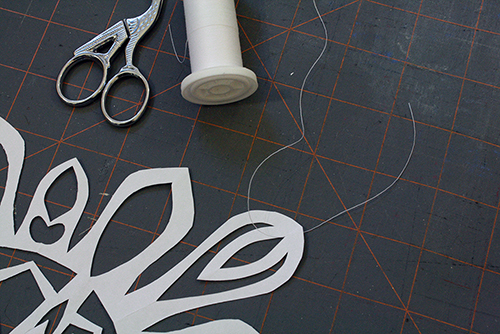
5) For hanging the snowflakes, you’ll need pieces of white thread of varying lengths. If the snowflake has a a cut-out section very close to its outer edge, you can just run the thread through that. Knot the ends together and tape the top of the thread to the ceiling.
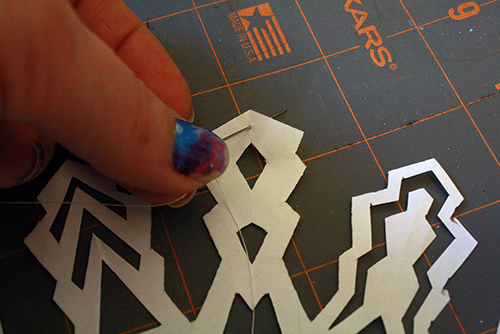
If the snowflake doesn’t have a cut-out bit near the outer edge, just put the thread onto a needle, run that through the top outer segment of your snowflake, then match up the thread ends, knot them, and tape the snowflake up.
6) And that’s it, all you need for a beautiful winter wonderland in your home! This has become one of my favourite seasonal decorating methods. And unlike the Christmas tree and other very Christmas-specific decorations, you can super easily justify leaving the snowflakes up for a good long time. I feel it makes taking down the other decorations a little less sad, and the resulting room feel a little less barren.
