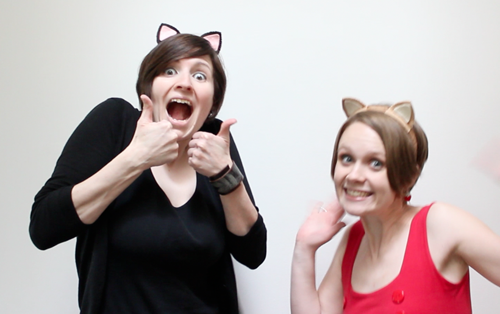
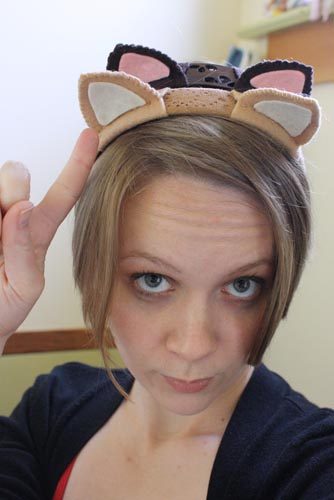
They’re cute, they’re fun, they’re multifunctional – wear them for Halloween, to anime conventions or just because you feel like it. Cat ears are awesome. They’re also super quick and easy to make, as I will demonstrate to you.
But why cat ears, and why this week? Well, it goes back to last November, when the week-long charity event Desert Bus for Hope was held here in Victoria, BC. Currently preparing for its fourth year, Desert Bus was begun by my pals over at LoadingReadyRun. Every November we get together, play the world’s dullest video game 24/7 and stream the whole thing online. The point is to raise money for the wonderful Seattle-based Charity Child’s Play, which donates toys and games to children’s hospitals worldwide.
Today, we’re announcing Desert Bus 2010 craft-along news over at LoadingReadyRun.com. This is a chance for crafters and artists to donate their original work to Desert Bus to raise even more money. Check out the details (and a silly video) here.
So that’s the “why now” bit. But why cat ears?
It’s kind of a long story. Suffice it to say that last year a generous if quirky individual (who we love!) donated several hundred dollars to Child’s Play in return for myself and Kathleen wearing cat ears for several days of the event. But we didn’t have any cat ears. So naturally, I made some.
The whole point behind the construction of these ears was that I be able to make them quickly, on-site (so without a sewing machine) and using materials I already had at home.
And now, here is how to make your own pair of Desert Bus for Hope cat ears. Meow!
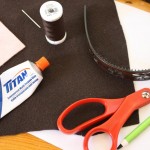
What you will need:
- headband – doesn’t matter what it’s made of or what it looks like, though you may want one the same colour as your cat ears, or as your hair. You do want a thick headband, about an inch to an inch and a half wide. Those super thin ones won’t work too well.
- felt in 2 colours – one will be the main colour of the ears, the other the colour of the ears’ inside. Sure you can do these in normal cat-ear colours (perhaps matching your own hair colour, perhaps in contrast to it), but you can also have bright pink or purple feline headgear, or any other colour. Why not?
- paper – feel free to use stuff from the recycling bin – it’s just to draw a pattern on.
- pen or pencil
- scissors
- straight pins
- small sewing needle
- thread or embroidery floss – in the same or a similar colour as the main colour of your cat ears
- superglue
Putting it all together:
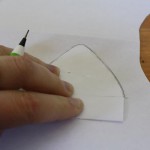
1) Fold your paper in half.
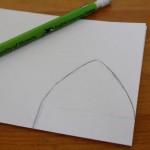
2) Draw a line parallel to the folded edge of the paper. The distance between the line and the folded edge should be approximately equal to the width of your headband.
3) Starting on the line you’ve drawn, sketch a triangular cat ear shape. Make it a little bigger than you think you’ll want your ears to be; you will lose a bit of the size with the sewing step.
4) Cut out the ear shape, including the rectangular space between the bottom of the ear and the paper’s folded edge. This is your cat ear pattern.
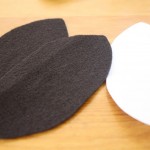
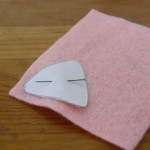
5) Pin your ear pattern to your chosen colour of felt. Cut around it.
6) Repeat to get the second ear.
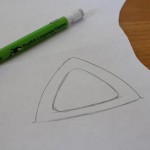
7) Grab your paper again and trace your cat-ear pattern. Only trace the triangular part, not the rectangle below it.
8) Sketch another, smaller triangle inside the first one that follows the same lines, but about 1/4 inch in.
9) Cut this out and set it aside. This will be your pattern for the inside of your ears.
10) Thread your needle.
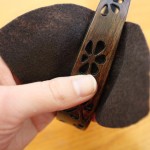
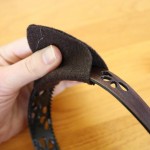
11) When you have both of your ears cut out, wrap one around one side of the headband. Make sure you figure out exactly where you want it to sit before you start sewing it in place in the next step. Especially if your headband has those little teeth on the inside, because once you sew the felt onto one of those suckers, it’s gonna be a nigh-impossible pain in the ass to shift it to either side.
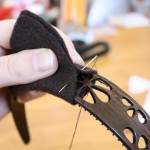
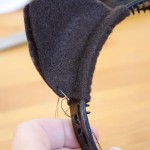
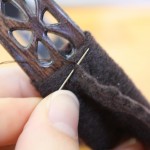
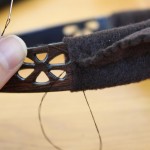
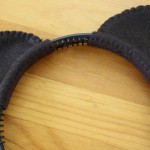
12) Match the two sides of the ear together. Hold them in place as you start sewing. Starting at the base of the ear, pinch both sides together tightly and insert the needle. Stitch across the entire base this way. The bottom of the ear should now be pretty firmly attached to the headband, the ear itself sticking up from the middle of the headband.
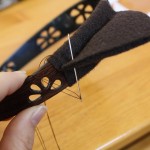
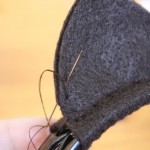
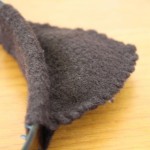
13) Stitch around the outside of the ear, sewing the two sides together.
Now I’m gonna assume for a minute that while many or most of you reading this post know how to do basic hand sewing, some of you may not. So here’s a brief explanation of exactly what this stitching looks like.
- a) Starting, your thread is dangling from one side of the felt.
- b) Insert your needle into the other side of the felt – the side opposite from where your thread emerges. You’ll want to insert the needle just a bit further along the felt from where that thread emerges on the opposite side.
- c) Pull the needle through. Pull the thread tight, but not too tight. You don’t want the thread to be loose, but you also don’t want the edges of the felt to pucker to much and take on a scalloped shape.
- d) Repeat. (It should look a bit like you’re wrapping your thread around the outside edge of the felt.)
14) Once you have made it all the way around the ear, knot your thread and cut it off.
Again, a quick how-to-knot-thread tutorial for any who don’t know:
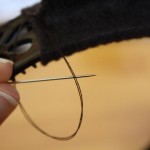
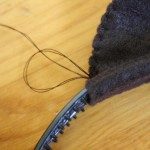
- a) Pull your needle through the felt, but do not pull the thread all the way through.
- b) Looping back around, insert the needle through the loop of thread.
- c) Now pull the needle tight. Repeat this two more times for a secure knot.
15) Repeat steps 11 – 14 with the second ear.
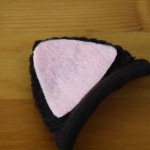
16) Once both your ears are sewn on, take your inner ear pattern and place it on top of one of the sewn ears.
17) Trim the pattern as necessary to fit inside the ear.
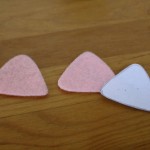
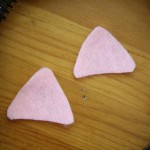
18) Pin inner ear pattern to the second colour of felt and cut around it.
19) Repeat.
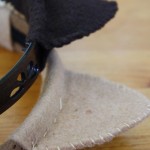
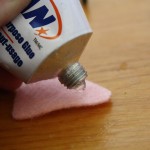
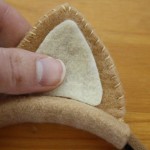
20) Glue each inner ear piece to the middle of each cat ear.
21) You’re finished! Wear your ears everywhere you go! Use them to raise money for the children
Meow.

