Much of life flips upside down and backwards when moving house. To remind me of this, two weeks ago I discovered I couldn’t remember where I’d packed any of my nice dress purses. I had a wedding to go to the next afternoon and couldn’t find anything but my dirty, everyday bike bag to hold my phone and lipstick and emergency needle and thread and other important items. Stellar.
It worked out, I found a purse and didn’t have to do any emergency sew-a-new-purse nonsense that night. It’s not a great purse though, and since I’m wearing the same outfit again this Saturday to a different wedding (that thing about how all your friends suddenly getting married all at once, that’s true, it really happens, and I can’t be to smart ass about it either since we got right on board that train ourselves), I decided I’d make a new one.
Not just any old purse though. I wanted to make something that would be a special project and really stand out. And maybe be used again at next winter’s Child’s Play Charity dinner (oh my gosh for once I’m doing some of my sewing for that months ahead of time, hallelujah!). Also, this is the sort of wedding where a D20 handbag will be absolutely perfectly appropriate.
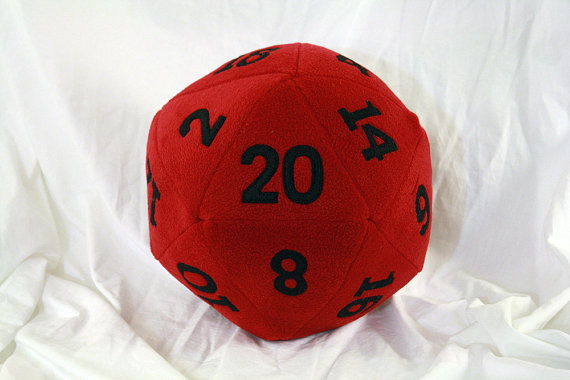
I’ve seen D20 purses on Etsy and othercraft sites and been wanting to try making one myself for a while now. I’ve made big D20 pillows, and while they’re time consuming they’re quite straightforward to sew.
D20 purses are less so.
When it came to the making, I chose a font & printed out some backwards numbers & traced those onto HeatNBond then ironed that to wool felt then cut the numbers out of that, etc. etc. That was the first and the easy part. Then I went to make a pattern.
I have this complex, this problem, this mind game I play with myself. I make myself feel that if I use a pattern I didn’t create myself, that it’s “cheating” somehow, and less impressive. Which is obviously bullshit. And I don’t hold anyone else to this – I don’t look at someone else’s sewing and think that if they used a pattern they’re not good enough at what they do. It’s just me that I’m stupidly hard on. Dunno if other crafters are full of crap that way or if it’s just some idiot creative hangup I have, but it’s kind of ridiculous.
Anyway, I was all set to figure out a pattern, when it occurred to me that, being short on time (when am I not) and needing to save my mental energy for other projects, maybe I should see if someone else had a pattern & helpful instructions out there already, so I wouldn’t have to think so much about this and could just get going and sew. And what do you know, someone did. And for once I allowed myself to chill out and use their pattern and directions and it was marvellous, actually.
So if you want to sew a D20 purse, here’s the lovely set of instructions I used, from Lenore on evilmadscientist.com, and it even comes with free printable pattern pieces. Or a kit, if you don’t want to cut your own pieces!
If you’re going to try this out yourself, I have a few thoughts to offer. First, it definitely requires at least a moderate sewing skill level, it’s not a beginner project. Second, maybe sew a D20 pillow first, just to get the general feel of how these things go together. That will be much more straightforward as it has only one layer (no lining to worry about) and no zipper.
Second, the pattern provided gives not-quite-triangle shapes for the main outer and lining pieces of the D20 purse – triangles with their tips cut off. For D20 pillows, I just use straight up triangles, and in the end I wish I’d done that for the purse too. Why?
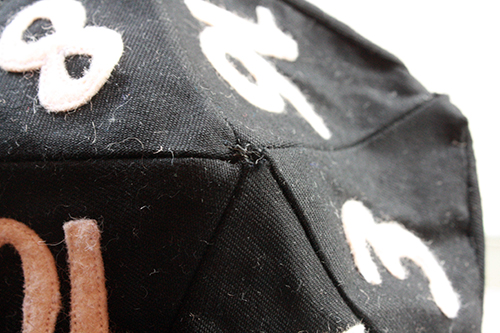
Ok, well the point of having the tips cut off on the triangle pattern pieces is presumably to make the places where 5 triangles join less bulky and messy, which makes sense. However, practically speaking, this means you need to get your seams perfectly placed on every single side of every single triangle, which is pretty much impossible here, since you need to be using canvas or a nice stiff, thick cotton or similar. Heavy fabric, is what I’m saying.
What this leads to is having little bits of unsewn fabric from the very corners of these 5-triangle meeting spots that poke out and look untidy. I improved the worst of these with a few hand stitches, and dabbed clear nail polish on them to keep them from fraying any more. But if I had this to do over again, I’d just extend those pattern pieces out so they were fully pointy triangles, and use those. You can trim the bulky ends off afterwards, but know that all your pieces will connect all the way up.
Numbers placement
The one thing the instructions don’t provide is clear direction on how to place your numbers. If you don’t care what numbers are where, then it doesn’t matter. But if, like me, you want your purse to be an accurate representation of a randomized D20, this is important.
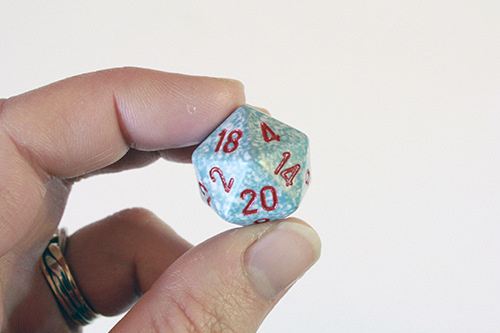
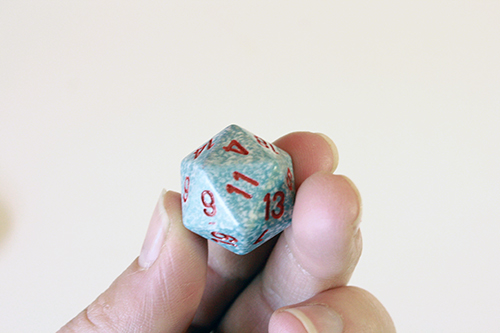
It’s fairly easy to figure out, you just have to give it some thought and get yourself a real D20 to look at.
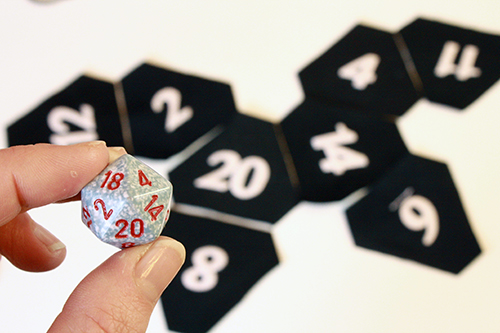
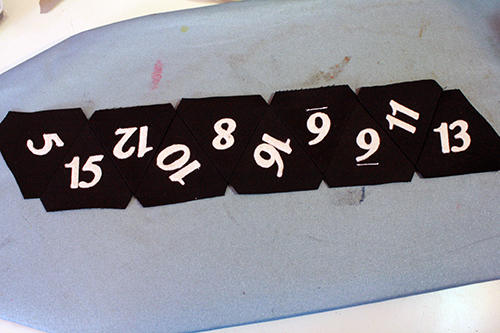
First, choose the specific set of 5 sides/numbers that you want to have as the lid of the purse. I chose a set with the number 20 included, as I wanted that to be prominent when carrying the purse. Pull those numbered triangles out of your pile.
Then have a look at the numbers below the five you chose, that share a side with your first five numbers, and pull those triangles out of your pile too.
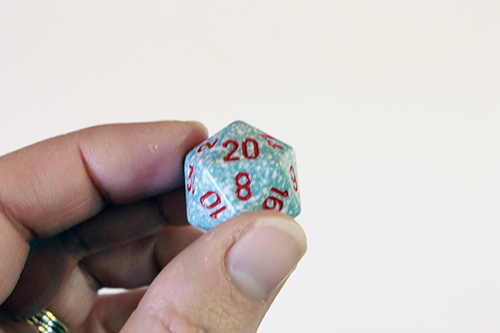
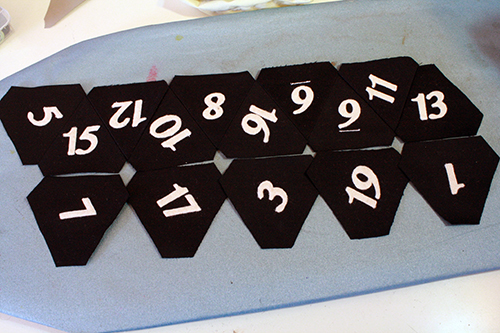
And so on – there will be 5, of course. So you’ll end up with a pile of 10 numbered triangles. Pull one number from the first set of 5 out – that’s where your lid will attach to the body of the purse, and where there won’t be any zipper. Remove it and the number that shares a side with it from your set-aside pile of numbered triangles. You can lay the rest out like this, to see where they go in relation to each other.
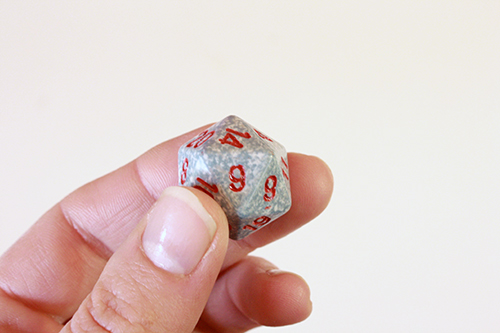
All the triangles that are left are the ones you’ll iron the smaller interfacing triangles onto. Then you just keep looking at your example D20 when figuring out how to attach all the pieces.
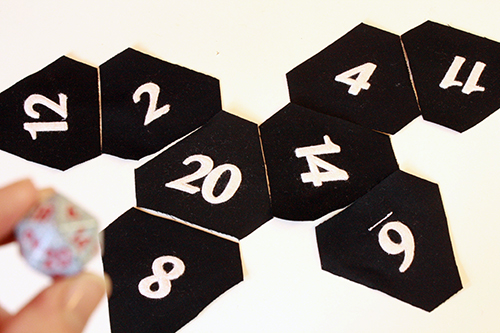
To make it even easier, if you just want to make a properly randomized D20 purse the same way that I did, with the same numbers on the lid part, here’s the exact layout instructions for how to piece all the numbers together.
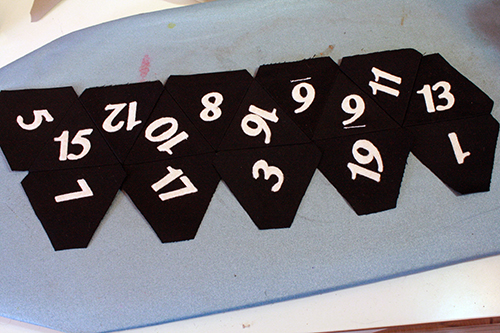
Lay out these numbers like so. They’re your body pieces.
Sew them together, like so:
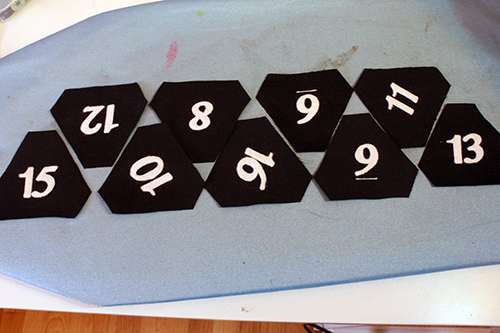
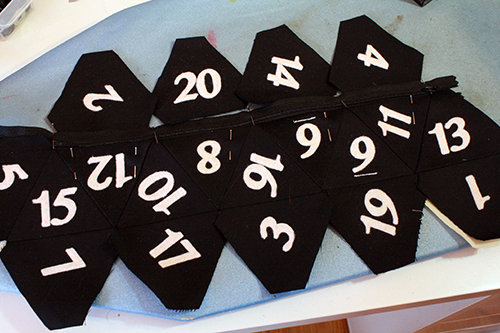
Now add these ones:
And sew them on:
You sew those and the matching lining piece to the zipper, as per the instructions over on evilmadscientist.com. Then you add these (and matching lining) pieces on the other side of the zipper, in this configuration, and sew them on:
The number 18 triangle then gets sewn to the number two triangle, but the zipper should end at the edge of the number 18 triangle, which gets its bottom edge sewn to the number 5 triangle, rather than the zipper. Then proceed with the instructions over on the other site, and that’s how you get all your numbers laid out as they should be on a randomized D20.
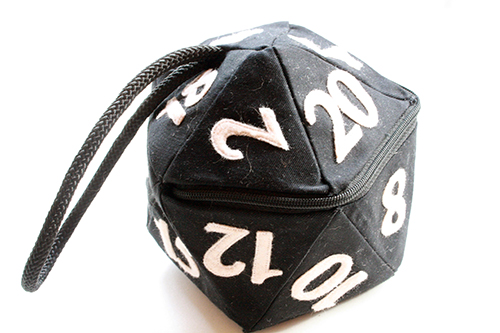
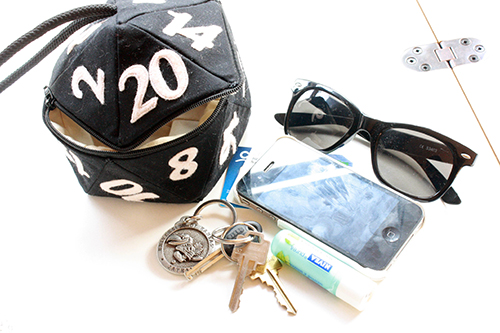
And then you have a purse! Which (I just can’t resist, I really can’t) will guarantee you a natural 20 on your accessorizing roll!

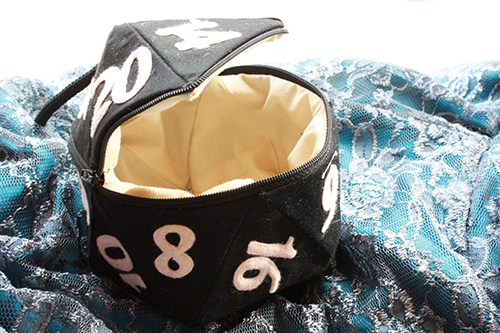
Functionality review: It ends up about the same overall volume as your average ladies’ clutch purse. I could fit my credit card & ID, sunglasses, keys, phone and chap stick in there, with definitely some more room for a few other little things if needed.
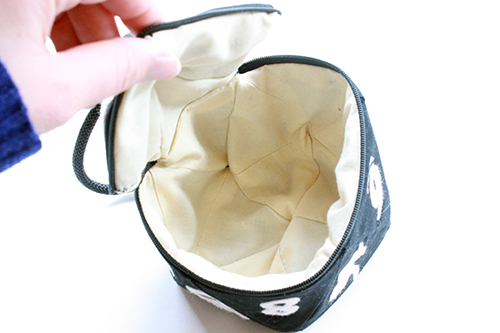
It’s obviously not a one-movement, straight-line quick zip to open and close, so it’s not the kind of purse you want to be constantly in and out of. But it’s not a major pain to open and close either. It doesn’t hold its shape stiffly, and there’s really no way around that unless you want to sew the lining in entirely by hand (once it’s pieced together), in which case you could glue cardboard or another completely stiff lining layer to the inside of the outer shell. Which could be worth it, depending on how fussy you are about it always looking exactly right.
I think if I did this again I might mess with the handle placement, and perhaps sew each end of the handle into different sides of the lid, to get it to hang a little more nicely from my wrist.
I’m definitely looking forward to using this purse on Saturday, and it will be so much more fun and interesting to carry around than my boring old found-on-a-sale-rack-in-university-years black clutch.
———-
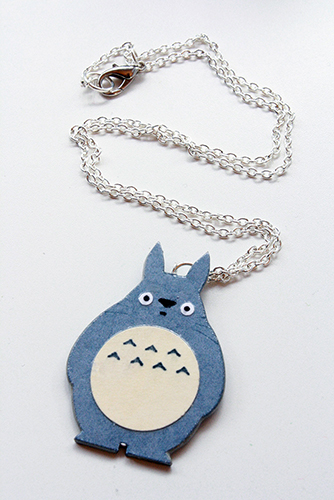
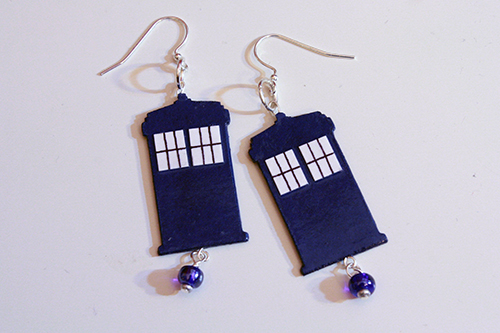
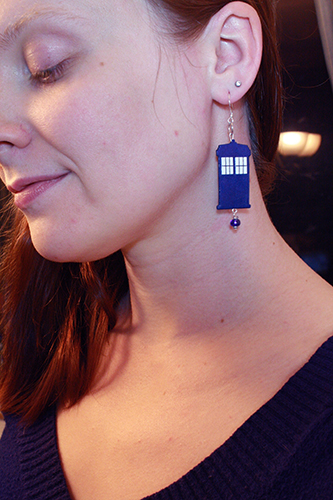
Bonus for-me craft from this week: I was working on some commissioned Totoro earrings (like this, but earrings), and thought while I was doing all that paper sanding and varnishing (same process as in this tutorial) I’d supplement my own geeky earrings collection. So I made some little Tardises. Think I’ll wear them to LRRcon in Seattle in a couple of weeks. All my best geek wear gets brought out for Seattle visits, come to think of it. It’s just that kind of place. Meaning awesome.
And here’s Totoro. What a cutie.