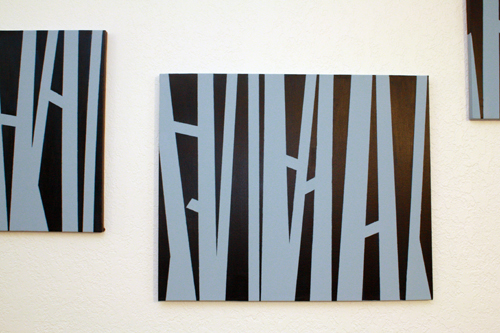
The apartment war continues, my friends. This week, those white walls get dealt with.
Dedicated readers may remember my horror over the endless stretch of blank white living room wall when we moved into this apartment back in June. A Great White expanse, sterile and soul-sucking, and – since we’re renters, not owners – taunting my inability to paint it.
There were several problems inherent in the decoration of this space:
- Since it’s such a large wall, no one painting or picture can reasonably fill it, thus we need many paintings/pictures/etc.
- An offshoot of the above problem is that they had to be the same many items – with the rest of the room the way it is, I was convinced that too many different things on that wall would turn the space into visual chaos and an instant headache.
- We’re in a rental apartment, so painting the wall is out.
- There’s a heater that runs the entire length of this freaking wall, so we couldn’t, say, hang curtains along the wall or lean several floor-to-ceiling monocoloured canvasses up against it (and where would I find that big a canvas, and how much would it cost, and how in heck would I get it home if I did find one??)
- I wanted to keep this relatively cheap, since who knows if we’ll need these decorations in a future space, and what if whatever I tried to make just didn’t work and was a waste of material?
You may also remember that I chose to give our living room a blue colour scheme, and to decorate with maps. So I’ve been agonizing for months over how in heck to deal with this wall of ours, given the problems outlined above and the fact that whatever we did needed to go with the decor. But not compete with the decor. I thought of putting up more maps, but as pretty as maps are, they’re also chalk full of little detail, so I was concerned that an entire wall of them would make the space much too busy. And make us look like some bizarre travelling interior decorating agency.
I finally spent about $60 on six different sized canvasses at a local art store, planning to decorate them in a matching manner and hang them along the wall. These have sat in my crafting den for the last six months as I agonized over what to put on them. I am not a painter, and with six blank canvasses staring at me, it seemed a poor time to attempt a debut series of matching masterpieces.
After months of throwing out various ideas and sporadically searching the web for inspiration, I decided to keep it super simple, with lines in two colours that would go with the rest of the room. What follows is a very basic process, good for a little background decor – the kind that adds colour and depth to a room, but isn’t meant to be specifically, individually admired and stared at.
——————————————————-
What you’ll need
materials:
- paint in at least two different and fairly contrasting colours or shades
- blank canvasses in whatever size(s) you wish
- wire and nails and such for hanging your paintings when finished
- old newspapers or a plastic dropcloth for painting on top of. I didn’t use any. I probably should have. My boyfriend says I definitely should have. He’s an endlessly patient fellow, but he prefers our dining room table sans paint dribbles.
tools:
- large paintbrushes – just the cheap foam brushes you can get at craft stores and dollar stores will work fine
masking tapepainter’s tape (an actual knows-how-to-paint friend of mine has informed me that painter’s tape – which I avoided because of previous experiences with it not wanting to actually stay stuck to things – will prevent paint bleeding under its edges much better than masking tape)- [optional] old (clean) plastic tub for mixing paint in, if you can’t find a tube of paint just the right colour, or want to experiment making your own hues
- pencil, measuring tape, nail gun, wire, hammer, etc – whatever you need for hanging the paintings when finished
——————————————————-
Putting it all together
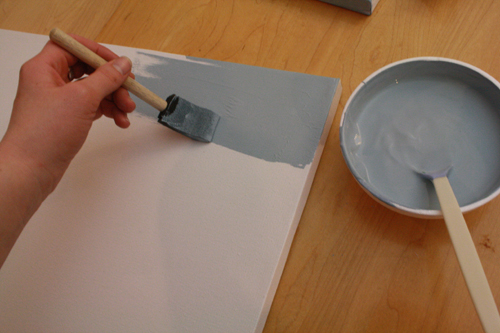
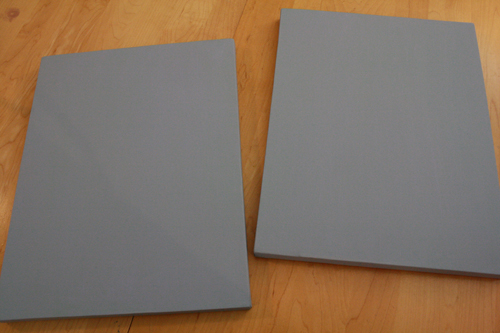
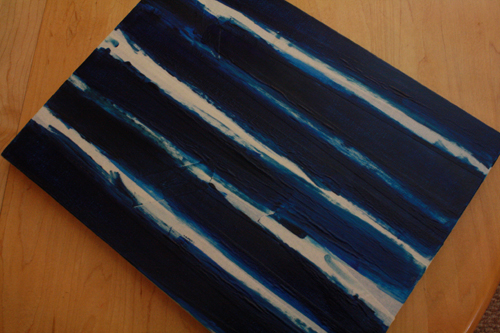
1) Begin by painting your canvasses one solid colour. In the end, this colour will constitute the tree shapes, with your other colour making up the negative space between the trees. It’s a good idea to make this base colour the lighter of the two shades, as it will be easier to paint over with the second colour. Try to make all your brushstrokes in the same direction. In this case, you probably want them to go in the same direction that you plan to make the trees go. It is up to you whether or not to paint the edges of the canvas – I decided they’d look nicer painted than left white, since they’re pretty visible in the end.
Let the first coat dry, then paint a second coat. (So you won’t need to worry about that first coat being absolutely perfect or anything.) Apply a third coat if needed.
As far as type of paint goes, I recommend simple water-based acrylics. They’re fairly cheap, easy to clean up, dry fairly quickly and come in lots of colours. They’re also easy to mix, should you want to make your own colours.
I do not recommend doing what I did, which was mixing a whole bunch of different paint types together because that’s what I had on hand. Not that it didn’t work, but that also probably contributed to some of my fuzzy edges, plus some of the paint flaked a bit at the end (probably didn’t mix together well) and in particular, acrylics that are meant for fabric screenprinting do not mix especially well with other paints, nor do they dry quickly. Basically, do not attempt some kind of weird paint alchemy because you’re too lazy to go to the store and buy new paint. Like me.
Make sure you have a bit of paint left over at the end in case you need to do any touch ups later on.
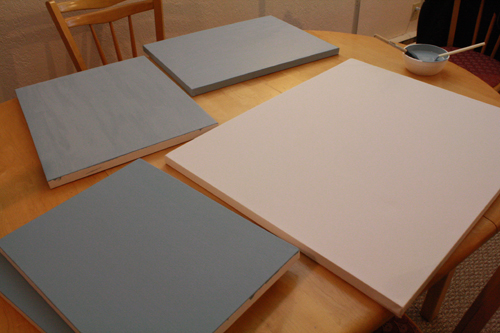
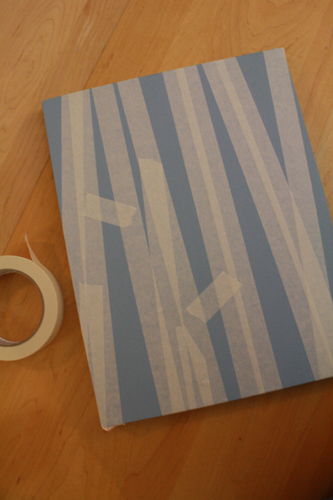
2) Once the base colour coats are completely dry, make lines across your entire canvas with pieces of masking tape. You’re basically creating a tree motif here, so you want to make some of the taped lines thicker and some thinner, some of them straight, some crooked, some leaning one direction or the other. You can also add branches sticking out to the side here and there. I would advise making a double layer of tape along all the edges of your taped off areas – I didn’t do this, but I had some paint leak under the edges slightly, giving me more fuzzy, less perfectly sharp lines. Double taping would likely help to prevent this. Also, run a fingernail down the edges of the taped off areas, to make sure they are well stuck to the canvas.
The tape should go off the front of the canvas and wrap around the edges to the back.
I decided to vary the direction of my canvasses, having some of them tall, and making others wider across – you can go either way, obviously. It’s also up to you whether or not you paint your second colour onto the edges of the canvas. My ultimate decision was not to paint the spaces between the tape on the bottom and top edges of the canvas, but to go ahead and paint the second colour onto the side edges of the canvas where appropriate.
3) Using your second (recommended darker) colour of paint, paint over the parts of the canvas left visible between the lines of tape. Overlap onto the tape a bit (or a lot), to be sure you’re covering all the way to the edges of the visible lines of canvas.
4) Lather, rinse, repeat. Depending on your paint, your colours and your desired effect (solid colour, or a bit of variation showing through), you’ll probably want 2 – 4 coats of this second colour of paint. Make sure you let it dry completely between coats.
Again, be sure you have paint left over in case of later touch ups.
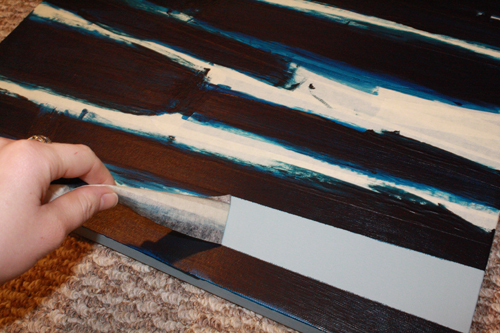
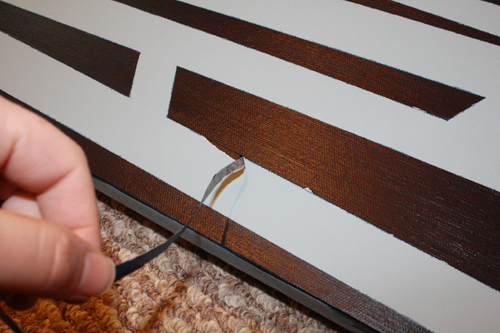
5) When the paint is completely dry (best to let it dry at least overnight), carefully peel off the layers of tape.
The tape may tear and not come off perfectly, in which case just keep peeling all the bits away until it’s all gone.
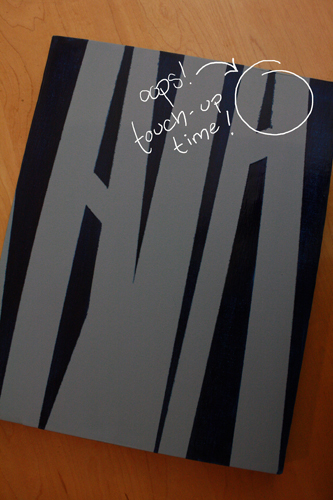
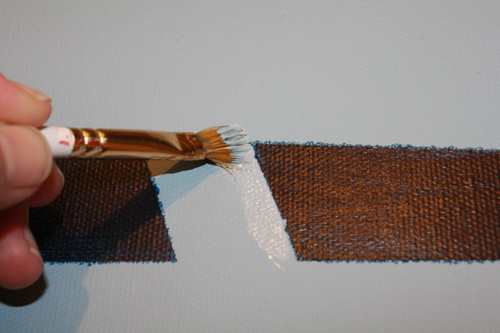
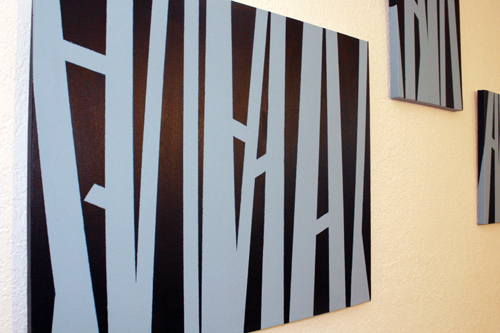
6) Make any touch-ups necessary – as you can see from the pictures, I certainly had to do a few. If you follow my earlier instructions about double taping and not being absurd about paint types, you’ll hopefully only need to touch up a couple places on the edges of the paintings where your brush went a bit too far, that sort of thing.
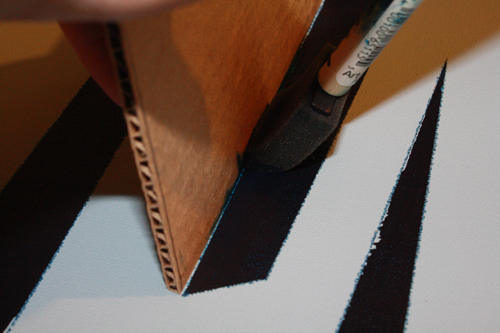
For touch ups, you can freehand them (as seen above), or retape just the areas that need touching up (as seen below), or grab a solid straight edge (I used a scrap piece of cardboard), line it up right along the line you want to follow, and paint right up against it (as seen two photos down).
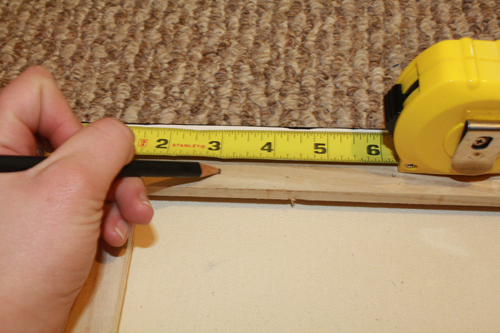
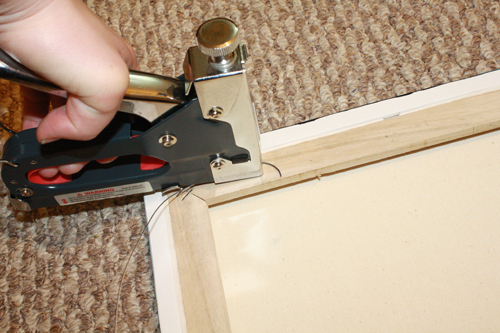
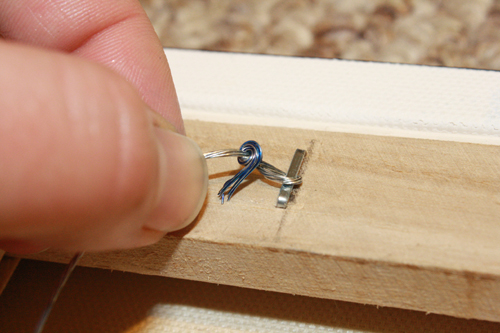
7) Apply necessary hardware to the back of the canvas frames. I used some simple wire that came with the canvasses, and figured this was a good time to play with the staple gun. Wheee! Carefully, of course. I measured an equal distance (about 3 to 5 inches, depending on the size of the canvas) down from the top of the canvas on each side, made a mark, laid the wire along the frame and shot a staple over top of the wire right on the mark I’d made. Then I wound the wire around itself (like using a twist-tie), and did the same thing on the other side.
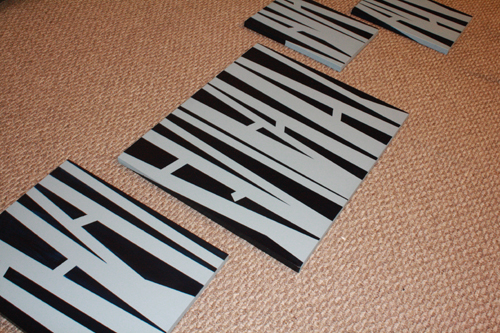
8) Decide how you want to hang the paintings. Since you don’t want to start knocking holes in walls for a possible but not certain arrangement, I suggest laying all the paintings out on the floor at the base of the wall they’re to go on. That way you can get a sense of how the paintings will look next to each other in any given order or configuration, as well as a sense of how much space they’ll take up on the wall, how far along it they’ll reach.
9) Make holes in walls as needed. You’ll probably want to have some putty on hand to fill in the extra nail holes left from where you put them in too high, or too low, or crooked. It nearly always happens. Putty is to this process as a seam ripper is to any sewing project. It’s bound to be needed at some point.
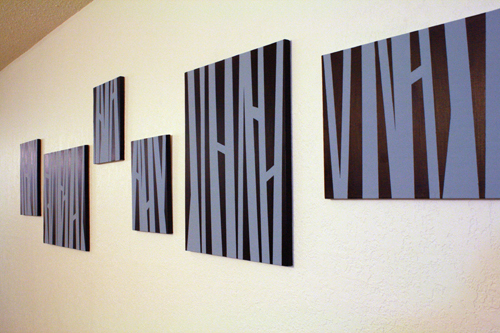
10) Hang and enjoy! Farewell and good riddance to the sterility of endless white walls, and hello to a bit of colour and decoration. Ahhhh.
Now we just need some new furniture under the paintings, and we’ll be set…
For more ideas, have a look at some of these other painting-with-tape designs I’ve seen around the internet:
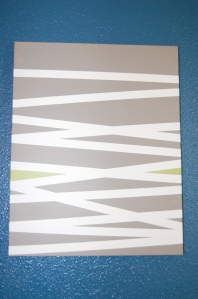
Criss-crossed lines by DIY Project-aholic:
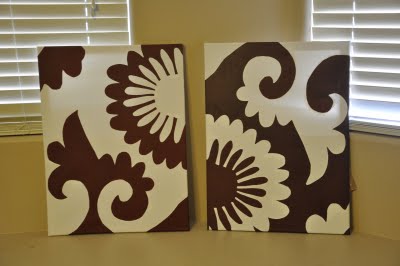
Whole complex shapes made out of painter’s tape, by All Things Thrifty:
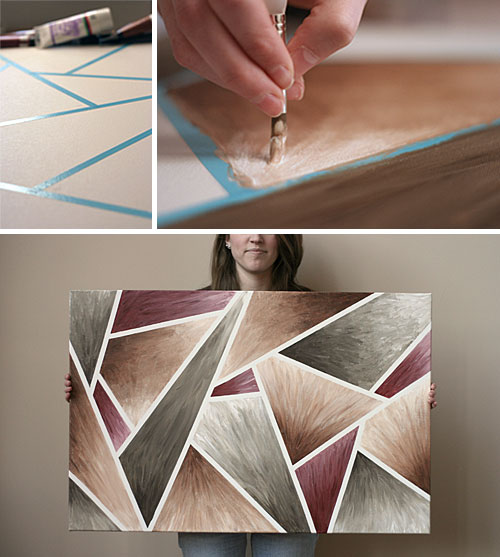
Geometrical multicoloured patterns, from Wit & Whistle:
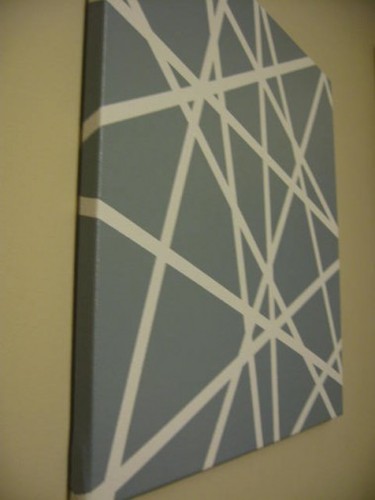
Starburst-y lines, spotted at vi.sualize.us:
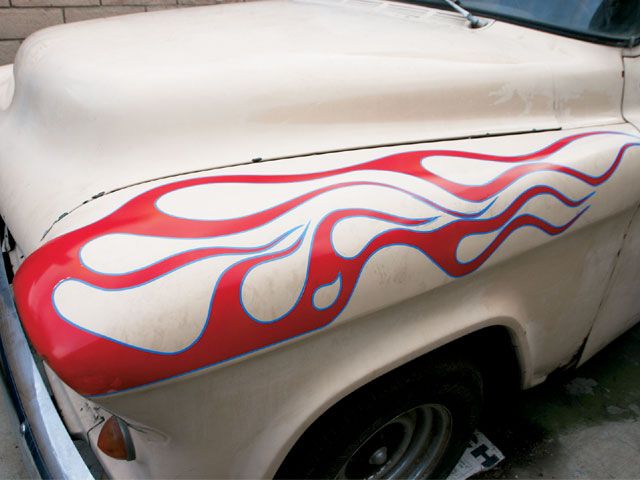
Heck, you can even use this technique on your truck, as demonstrated by customclassictrucks.com:
Happy painting!

