It sure has been a week. Yes it has. There were social engagements nearly every evening, tons to get done at work, I spent a couple days fighting off some kind of cold that wanted to subdue me, I finished two commission projects, we had a 4-hour Desert Bus 6 meeting on the weekend, and there was Mother’s Day.
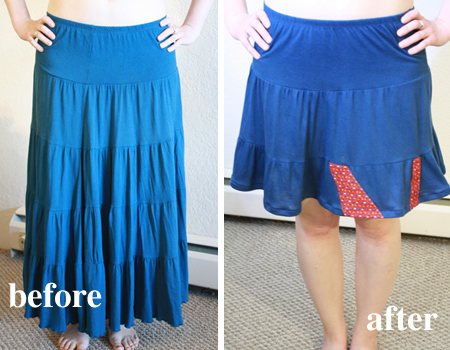
If that weren’t enough, I also did a closet cull this week, saying farewell to many old articles of clothing. I’ve been making myself so many new garments over the past year that some of the old stuff just had to go. Anything I hadn’t worn within a couple months was up for serious review, but among those unworn items was a skirt I love. I got it somewhere years ago in early university, probably on sale. It’s comfortable, it’s swishy, it’s a pretty colour, and always seemed to garner compliments when I wore it (rather oddly, for such an ordinary piece of clothing). But it’s long, and now that I bike everywhere, long skirts are just not practical. I decided instead of getting rid of it, I’d shorten it to a more functional length.
So that was the intent. I meant to modify this skirt and demonstrate for you how to shorten a skirt (keeping it even all the way around, which is the trick), and show you a clever (I think) trick for hemming garments that are made of stretchy or slippery materials, which are often rather bothersome to hem.
Partway through, it became clear that I’d have to add a third component to this tutorial: how to patch a long and not deliberate cut up the side of your skirt. I got a little too keen on cutting with my fancy new scissors, and failed to notice that I was slicing through more than one layer of material. So now you can also learn just how to fix an idiot move like that, instead of giving up and throwing the whole skirt away.
So welcome to the tutorial of skirt shortening, skirt hemming, and massive screw-up fixing.
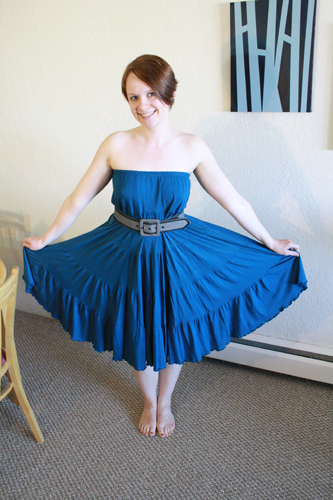
Before we start, I’ll just mention that there’s one other very easy thing to do with a long skirt like this (at least if it has an elastic waistband), and that’s to hitch it up over your bust, add a belt, and make it into a cute strapless summer dress. However, I don’t have that many appropriate opportunities these days to wear dresses so skin-showingly informal, and it seemed to me I’d get better use out of a shortened skirt. But this is certainly a possibility with many long skirts:
——————————————
What you’ll need
materials:
- a skirt to shorten, re-hem and hopefully not screw up like I did
- thread to match the skirt
- ribbon – enough to go all the way around the bottom of your skirt
additional materials for fixing screw-ups:
- a stiff drink – you already messed up the project without having anything to drink, so might as well add alcohol into the mix now and see if it helps, since it’s too late for it to hurt.
- thread to match the patches you’ll be adding to your garment
- HeatNBond (make sure it’s the sewable kind)
- white crayon (for a dark coloured skirt) or a pencil
- sewing machine
- sewing scissors
- straight pins
- iron & ironing board
- white crayon or a pencil
- sewing gauge* or ruler (*A sewing gauge is really just a fancy ruler for specifically for sewing, because all specialized crafters feel more awesome and secure if they can have specialized tools for their area of expertise, and because then the companies that manufacture crafting supplies can keep their CEOs out of the office and lying on tropical beaches for more months of the year. Anyway, a sewing gauge is like a small ruler (usually 6 inches long) that has a moveable slider in the middle, so you can mark the distance you want to measure on the gauge. It’s handy, but an ordinary ruler will work fine as well.)
——————————————
Shortening a skirt
There are two ways to do this. If you have a tiered skirt, like the one in this tutorial, you can pretty easily just cut the skirt off at the edge of one of the tiers, using the seam line to make a straight, even cut.
If you have a plain skirt without tiers, you’ll want to do the following:
1) Determine how much material you want to remove (eg: 3 inches), and use a sewing gauge or ruler and a crayon or pencil to measure and mark that amount all the way around the skirt.
2) Use a ruler to draw a straight line between all the little marks (or if you made marks quite close together, you can probably draw a line from one to the next without even needing a ruler), then cut along that line.
——————————————
Patching that spot where you sliced the garment open like a total %#@*ing moron, *sigh*
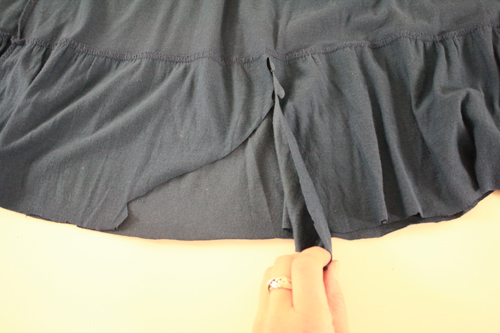
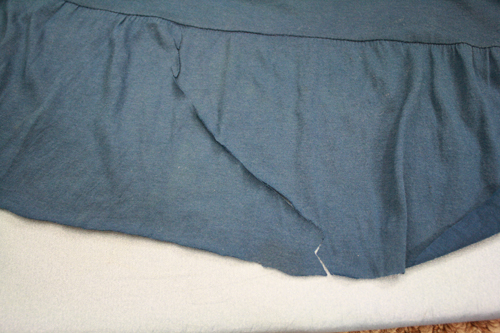
Right after that first step of cutting the skirt shorter, I spread the skirt out and realized I’d done that thing that my mother always warned me not to do, under any circumstances: I’d not paid enough attention to my cutting, and had sliced right through a double layer of skirt, making a nice long crooked gash on one side of the skirt. Great.
I just about gave up and decided this skirt was not meant to be. But it’s such a good skirt! And I still needed a blog post for this week! So here’s how I fixed it, and (depending on the exact details of the screw-up) how you might be able to do the same, should you ever make a similar mistake. (The very best solution: do not make a similar mistake in the first place.)
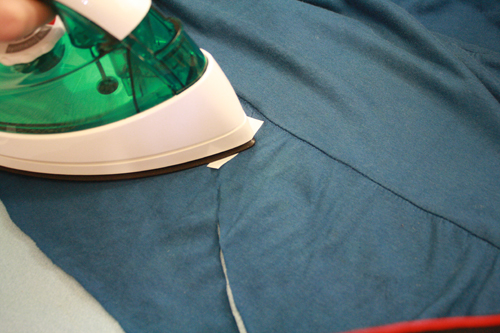
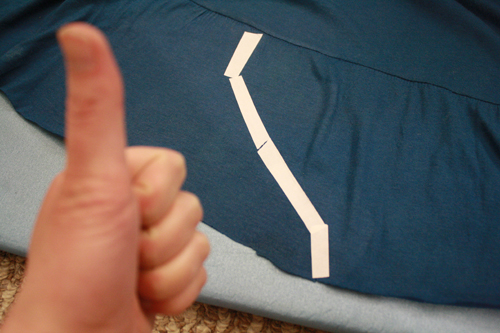
1) I “taped” up the gash. I did this with little pieces of sewable HeatNBond, because unlike, say, scotch tape, sewable HeatNBond is actually appropriate for sewing projects and won’t gum up your sewing machine, and will hold the pieces of fabric together, which scotch tape probably wouldn’t do at all, really.
To do this, I laid the skirt out with the sides of the gash matched up as neatly as possible, then used the iron to apply HeatNBond to the outside of the skirt. I put it on the skirt’s exterior so that I could then fuse the up-facing side of the HeatNBond to the patch I planned to apply to the skirt. Because the HeatNBond isn’t strong enough to reliably hold the gash together by itself through many future wearings and washings, and it needs to be fused and hidden between two fabrics anyway, and the exterior of the skirt would still show the gash – if faintly – unless I covered it with something… like a patch.
HeatNBond is generally very useful stuff anyway, and I recommend having some on hand if you do a lot of sewing, especially if you want to try any appliqué. I describe using it in a somewhat more conventional, on-purpose way in my fleece sad panda mask tutorial and my romantic Zelda health bar hat, among other things.
2), Next, I cut a piece of paper, laid it over the gash, then cut and trimmed it some more, till I had a patch shape that covered the gash and was a decent-looking shape. I used this as a pattern, pinning it to some other fabric and cutting out a patch.
I peeled off the paper from the top of the HeatNBond, and fused the patch fabric onto it with the iron. Then I pinned the edges of the patch in place.
3) I then cut out two more “patches” that weren’t really patches, but would go on other bits of the skirt to make this whole fiasco look more like deliberate artistic fashion fun and not a the sad result of an inattentive idiot who can’t use her scissors properly. I pinned these into place. One went beside the Actually A Patch patch, and the other went on the back side of the skirt.
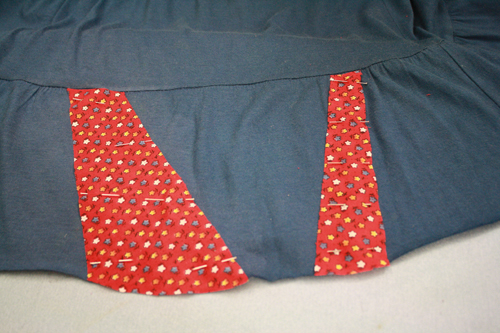
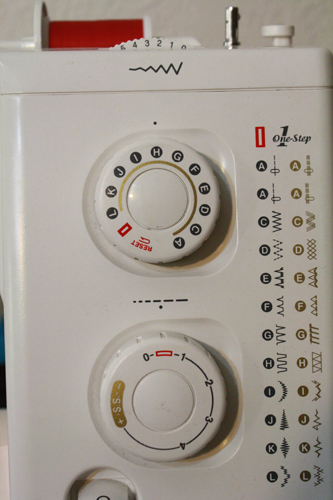
4) And then I used a very close-together, narrow back-and-forth stitch (second or third cousin of the simple zigzag stitch, which could also be used for this) all along the edge of each patch to stitch them into place.
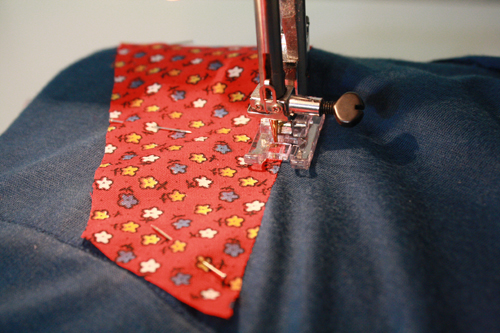
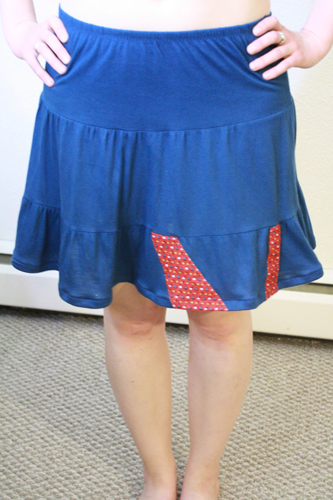
5) Voila! In the place of “Oh shit I screwed up,” we now have artistic fashion fun! Now we can finally get back on track and hem the darn thing.
——————————————
Putting a new hem on a shortened skirt
Obviously to put a hem on a skirt, you fold the edge up evenly all the way around and sew it down. Basically. But stretchy materials especially are difficult to work with when it comes to hems, and any kind of cotton knit (like t-shirt material) is often even more annoying because the edges curl up so it’s an infuriating chore to get your hems even. This trick I describe below is one I find very helpful in dealing with hems on such materials.
This is also a way to avoid measuring when hemming, which is a total pain, so avoiding it is an absolutely excellent idea.
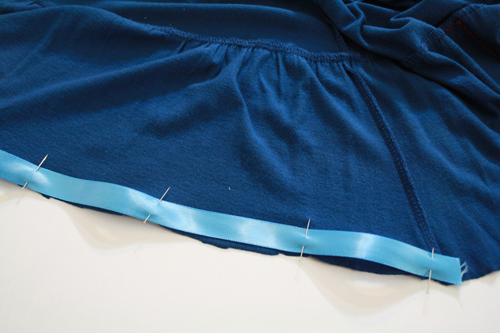
1) With the skirt inside out, pin a piece of ribbon* all the way around its bottom edge, matching the edge of the ribbon with the edge of the skirt. Pin frequently. It’s probably best to do this on a flat surface (as opposed to holding it in your lap), as that will keep the fabric flat and help it not to stretch. You do not want to stretch the fabric between pins.
*The width of the ribbon is up to you, but if it’s very narrow it’ll be much harder to pin. I recommend a 1/2 inch to 1 inch ribbon width. Keep in mind that you will lose two times your ribbon width in skirt length. So if your ribbon is 1/2 inch wide, your skirt will get an inch shorter.
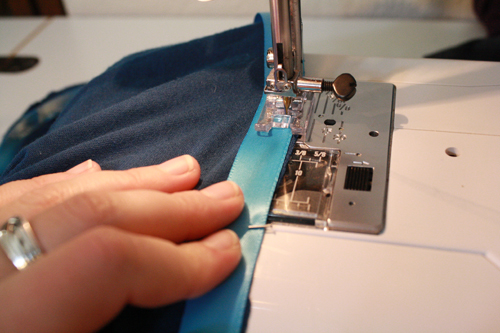
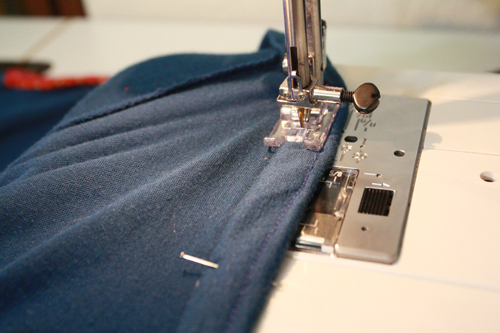
2) Stitch in a straight line along the bottom edge of the ribbon and fabric, removing pins as you go.
3) Fold the bottom of the skirt up, using the ribbon as your measurement. Fold the skirt right along the upper edge of the ribbon, and pin in place.
4) Repeat step 3, folding the skirt up once more and using that ribbon edge (which you’ll still be able to feel through the fabric) as your measurement. Pin in place and stitch along the top edge of the folded-up bit. This hides that raw edge of fabric and wraps everything up all nice and neat and pretty.
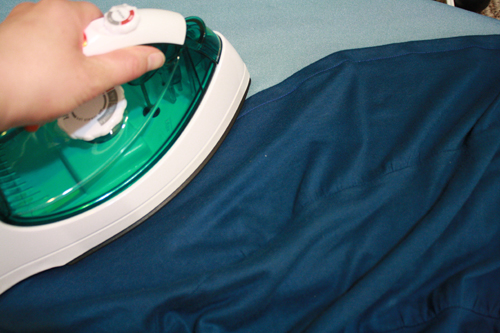
5) Give the whole hem a quick once-over with the iron.
6) And now you have a shortened, hemmed, and possibly artistically patched embellished skirt. Wear with flair!

