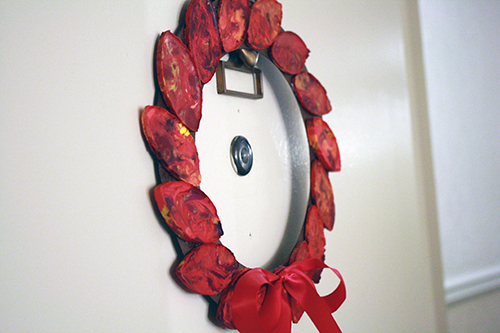
When I was a kid, I figured being a grownup was basically about eating as much ice cream as you want and staying up as late as you like. And it is. Except for where that obnoxious word “responsibility” comes into it. And then, as you get all responsible and mature, you can forget how to be totally goofy and outrageous (or at least how to do it on purpose). Or forget that being totally goofy can be good for you. You can get kind of… boring.
When I was a kid, I’d have dreams that I was Peter Pan. They were the best dreams ever, except for maybe the one where I was got to explore the castle from Beauty and the Beast. Or the one where my friends and I broke into King Solomon’s candy vaults (look, you know he had them – King Solomon had everything).
Now I’m 27. A few weeks ago, I had a dream about folding laundry. And not long after that, I dreamed I was washing dishes.
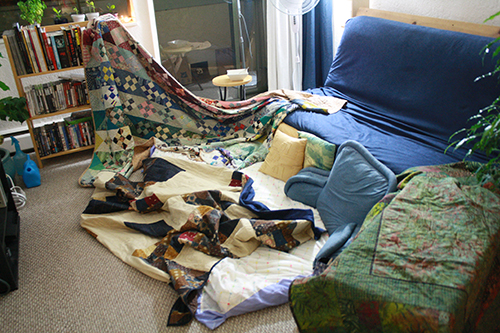
So last weekend after dinner I made chocolate cake, and then I built a blanket fort in the living room, and Jeremy and I sat in the blanket fort eating chocolate cake and watching Community. And, I kid you not, that night I dreamed I was Sherlock Holmes’ assistant, out solving a case in downtown LA (I don’t know why LA – dreams are just like that).
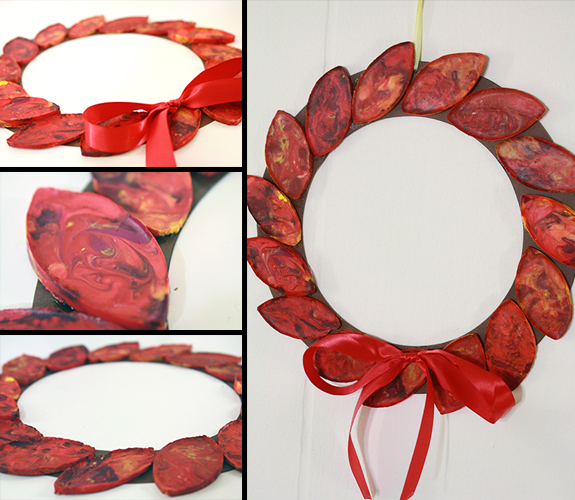
And after that I didn’t want to do anything very taxing in craft world for at least a day or two, so I started melting crayons, which led to this tutorial. Crayons are happy, wonderful things, things that were designed for kids, but you would be foolish to forget that they are wonderful creative tools for people of all ages.
Now, because we’re all adults here (well I don’t know who all of you may be, but I’m an adult at least, on alternate Tuesdays and whenever else the mood strikes), we’re going to play with crayons and fire. Ok, well, not fire exactly, but a hot oven. It’s almost as good. Sorta. And you can play with crayons and ovens as late as you want, while eating as much ice cream as you want.
——————————————
What you’ll need
Materials:
- crayons (ones you’re ok with destroying, whether they’re old ones, extra ones or bought-just-for-destroying ones)
- wax paper
- toilet paper tubes or paper towel tubes
- superglue
- string
- card stock
- scissors
- knife
- cutting board
- baking tray
- toothpicks
- oven (NOTE: you can also do this using a microwave instead. See my reply about this substitution in the comments at the end of the post.)
- oven mitts
- 2 circular objects, one smaller than the other
- pen
——————————————
Putting it all together
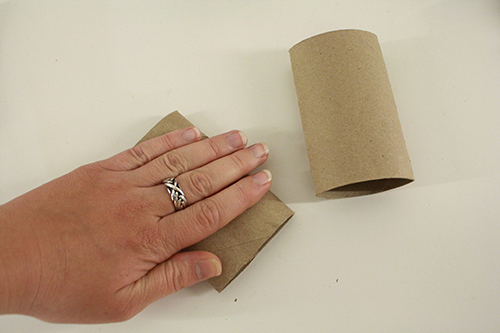
1) Start by squishing your toilet paper tubes flat, so they have fold lines down either side.
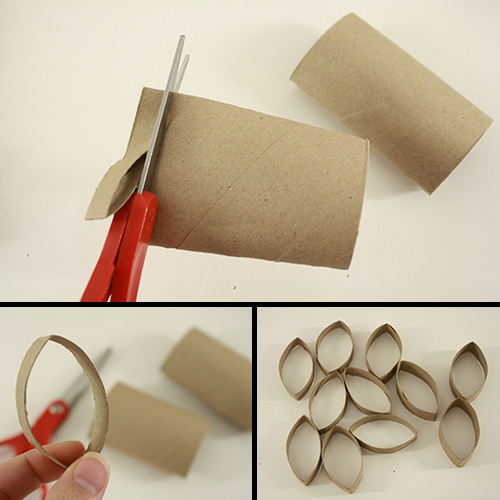
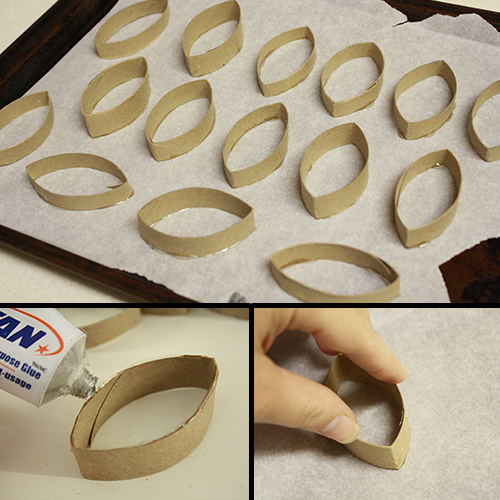
2) With your scissors, cut across the tube, making a cardboard leaf shape. Continue until you have cut up the entire tube this way and have several cardboard leaf shapes. Try to cut as straight across as possible, as this will help the cardboard pieces to sit flat on the baking tray. You also don’t need each cardboard piece to be taller than about 1/4 to 3/8 inch.
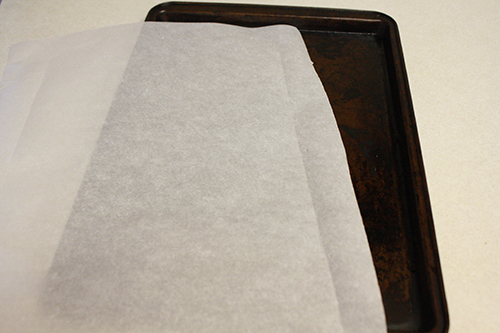
3) Grab your baking tray/cookie sheet and a piece of wax paper big enough to cover it. You may actually want to trim the wax paper down so that it fits nicely inside the raised edges of the cookie sheet. This will help keep it and your crayon leaves from sliding around during prep.
4) Arrange your cardboard pieces on the wax paper. Optional: Apply a bit of superglue to the bottom edge of each cardboard leaf shape before placing it on the wax paper. The glue will melt in the oven, yes, and it will not help especially with keeping the melted wax from seeping under the edges of the cardboard pieces. BUT I found it handy in that it kept things from getting messed things up whenever I bumped or jostled the tray or one of the cardboard pieces full of wax.
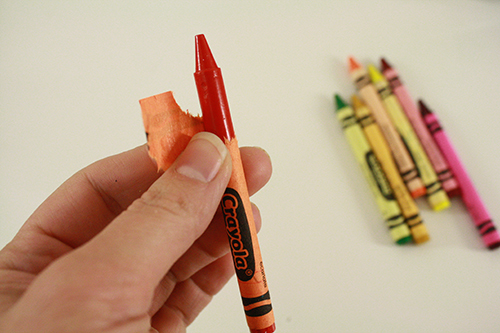
5) Choose a selection of crayons in colours you like and want to mix together a bit. Peel the paper off them.
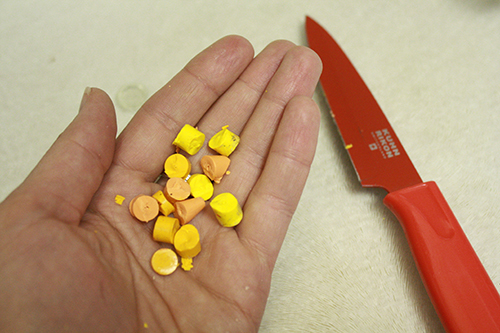
6) On a cutting board or other knife-safe surface, cut the crayons up into little pieces. A little note: one nice thing about crayons is that their kid-safe. As in non-toxic. As in technically edible without causing harm. I mean, kids who eat crayons do sometimes turn out kind of weird, but that’s usually because they were the kind of kid who ate crayons, not because they ate those crayons, if you get what I’m saying. Then again, why wouldn’t a kid want to eat crayons? Everyone knows that bright pretty colours taste good. Except green, which tastes like vegetables. Ew. Anyway, what I’m saying here is that, while you probably want to use old cutting boards and knives because wax is kind of a bitch to clean off of things, you don’t need to worry about contaminating utensils otherwise used for food. Stray bits of coloured wax won’t exactly add flavour to your meals, but they won’t hurt anything either.
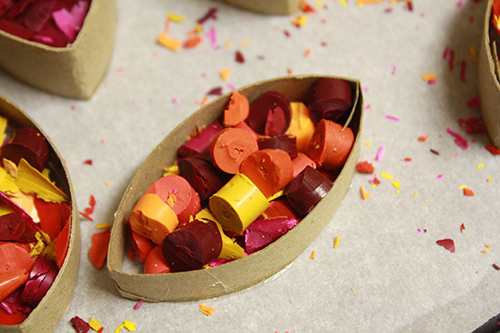
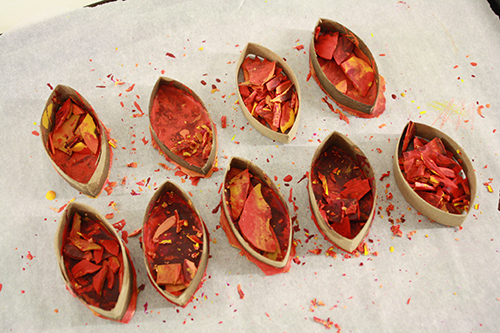
7) Dump the crayon pieces into the cardboard leaf shapes.
The amount of crayon pieces in the photo above was more than enough – you use fewer pieces for a thinner leaf. Too thin and it’s likely to break, of course, so you may have to experiment a bit to get them to turn out just the way you want. Then again, if they’re quite thin, you can hang them up in a window and get a bit of a stained glass effect.
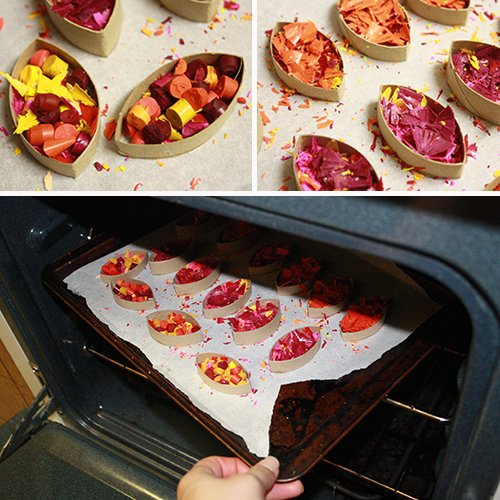
8) Fill all the cardboard shapes this way. Then place in the oven, which should be set between 200 and 300 degrees F.
(As noted in the What You’ll Need section: you can do this using a microwave instead. See my reply about this substitution in the comments at the end of the post.)
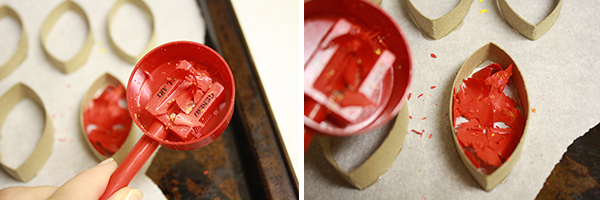
Now, you’ll note in the photos above that many of my cardboard shapes are filled with crayon flakes instead of chunks. I also tried the method of putting the crayons through a pencil sharpener, but in the end I decided the better method is to just chop them up small with a knife. The pencil sharpener method (seen below), is much much slower, plus it takes a lot of shavings to fill up one of the cardboard shapes, and even when you think you have enough you usually don’t, as they melt down to take up far less space. The shavings give a more blended colour look in the end, but there is an easy way to make this happen with the chunks as well, which you’ll see in the next step.
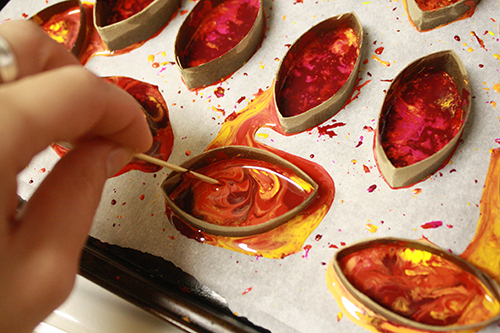
9) Keep an eye on the crayons, and when they are fully melted, pull the tray out of the oven. This may take a minute or two, and it may take several minutes, depending on how large the crayon chunks are and how high you set your oven.
You will inevitably have some melted crayon oozing out under the edges of the cardboard pieces, but if you pull the tray out as soon as everything has melted and don’t let it sit for extra time, you’ll have less oozing.
If desired, give the melted crayon a bit of a stir with the end of a toothpick, to mix the colours together better and add some swirls.
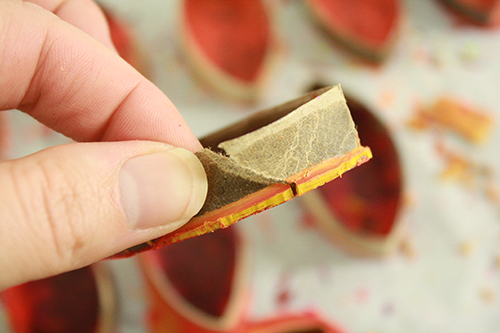
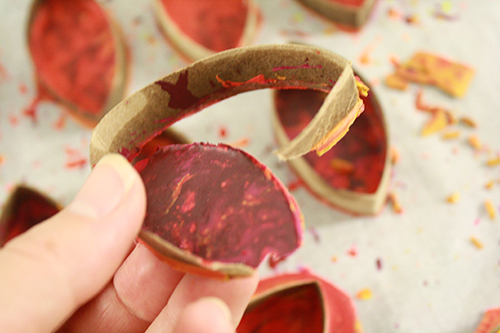
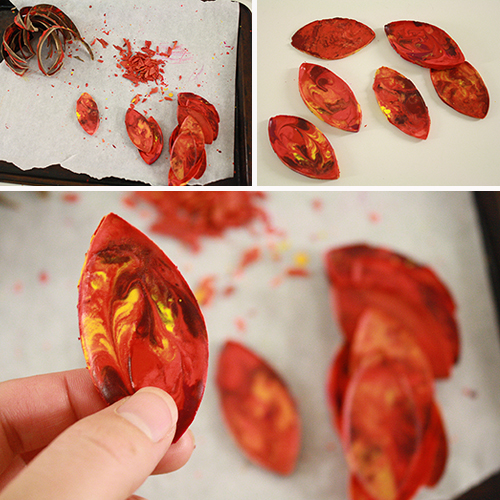
10) Let everything cool and harden. Once the crayon has set again, pick up one of the leaf shapes and pull off any large crayon bits attached to the outside of the shape. Then gently tear the cardboard on one side, and peel it off from the edge of the crayon.
11) For any pieces that break, or are too thin or didn’t have enough crayon to fill the entire leaf shape, just put down a new cardboard shape and fill it with the broken pieces and the crayon bits that melted out from under the cardboard. Then stick these back in the oven and melt them again.
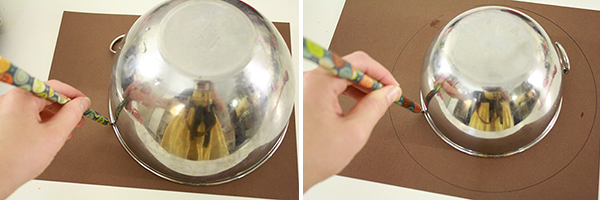
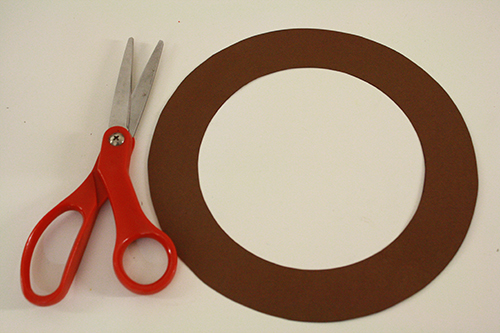
12) To make these into a wreath, find a medium to large circular object (a bowl or plate should work well) that fits on your piece of card stock, and trace it. Then find a slightly smaller circular object, center it inside the first traced circle, and trace it as well.
13) Cut around the outer circle, then cut out the inner circle, so you have a paper wreath shape.
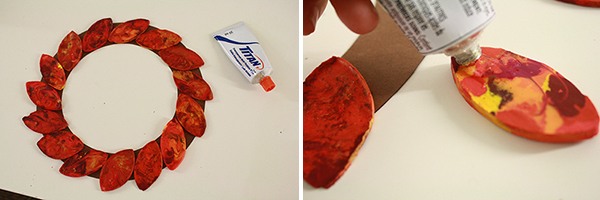
14) Arrange all your leaves on the paper as you want them. Then, one by one, glue each leaf in place.
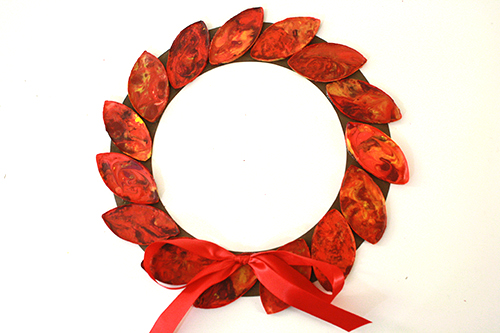
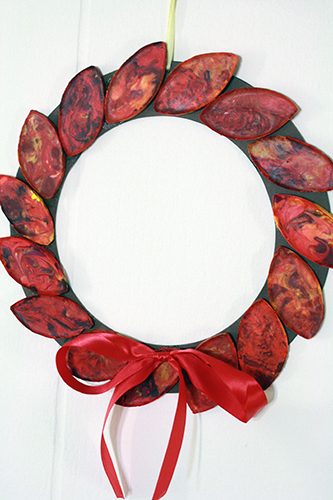
15) Add a bit of ribbon at the bottom if desired. Once all the glue is entirely dry, poke a hole at the top of the wreath with a large needle, and pull some thread or ribbon through the hole to hang the wreath from.
16) Do the quick significant other/housemate check (“So, I’m gonna hang this stunning piece of art on our door for the world to see – that’s cool, right?”), then put on display!

