Birthday season is approaching! I hear people remark that all their friends seem to have birthdays at the same time, whether that’s in October or June or whenever. I think of this as birthday season, and everyone’s birthday season is a little different, depending on their friend group.
For me, birthday season is in March/April, when not only my own birthday happens, but also seemingly the birthdays of at least half the people I know. Some of them sneak right up on a person (every year I learn of at least one more I’d previously been unaware of), so it’s good to be prepared.
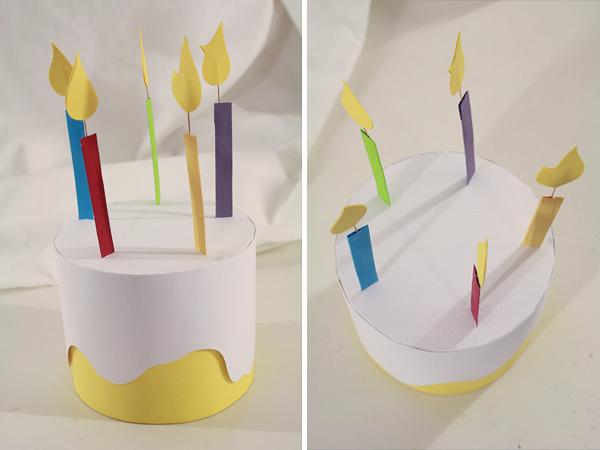
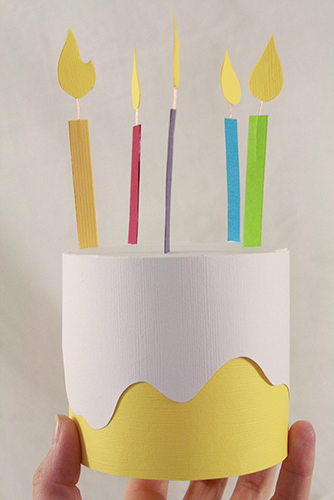
This sweet (pun intended) birthday cake box can be made for a specific upcoming birthday, or put away for an as yet unknown future celebratory need. You can customize it for anyone, with what treats you put inside it and even the colours you use.
And while a few of the steps are a little finicky, I found it way easier to get perfect icing on this thing than on any actual edible cake I’ve ever attempted to decorate.
Check out the end of my recent tutorial on etched glass jars for ideas on possible box fillers, both sweet and savoury, edible and not. And if your birthday person is one of those pie-is-superior-to-cake types, well you can always make them one of these with a candle instead.
———-
More “birthday season” tutorials:
Need some other birthday crafts for upcoming parties? Make the lucky celebrant a felt birthday cake crown, a crazy colourful party hat made from recycled plastic containers, or this simple paper construction.
You could put together an epic scavenger hunt, whether for kids or grownups. Make quick and easy customized treat bags with this tutorial, and decorate with a sewn paper garland, this funky scrap paper garland or a pretty fabric garland.
And for a more conventional treat box, featuring a window through which to see the goodies inside, check out this tutorial.
———-
And now, on to the paper cake baking!
———————————————
What you’ll need
materials:
- 12 x 12 inch card stock in 2 colours (1 for the cake part, 1 for the icing) – 1 sheet of each colour
- card stock or other paper scraps in 1 or more colours (for the candles)
- card stock or other paper scraps in yellow or orange (for the candle flames)
- thin wire
- scotch tape
- strong, quick-drying glue
tools:
- scissors
- mechanical pencil
- ruler
- exacto knife
- wire cutters (or a pair of needle nosed pliers that have a wire cutting edge at the back)
- paper birthday cake box template – number 21. under Paper Patterns & Templates
———————————————
Putting it all together
1) Print the template and cut out the pieces.
2) Cut a long rectangle from your cake coloured card stock that is 3 inches wide and 12 inches long.
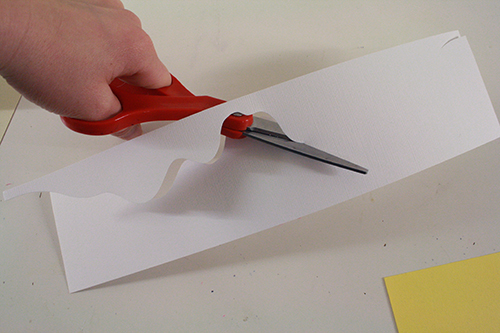
Cut the same size rectangle from your icing coloured card stock as well. Then match up the ends of the icing card stock (but do not crease the fold).

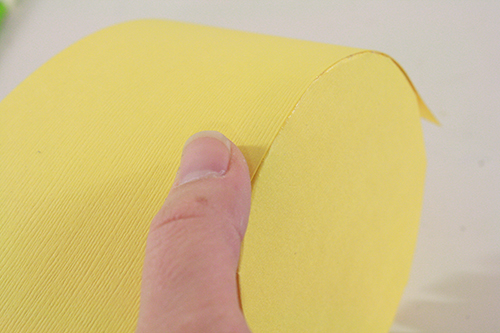
3) Make a cut through both sides of the bent card stock, slightly curved and about an inch long.
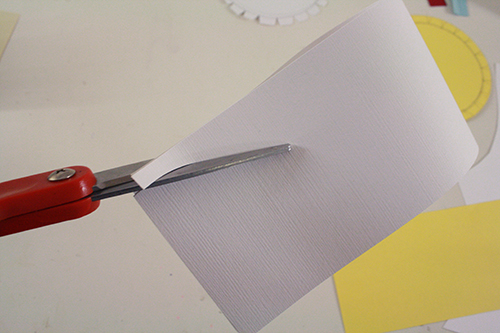
Then unbend the card stock and continue cutting from one end of the rectangle to the cut at the other end, making random hilly bumps in between.
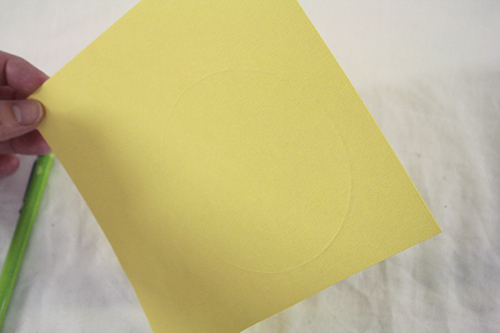
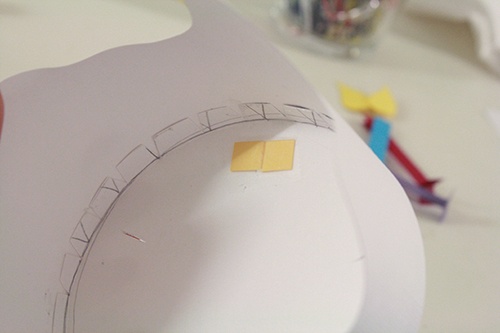
4) Trace the cake box bottom piece onto your cake coloured card stock, and the cake box top onto your icing coloured card stock.
But before you cut those cake box bottom and top pieces out, use your mechanical pencil (WITHOUT any lead showing) to score along the interior circle on both those piece.
This means you pull the tip of the pencil along that line, pressing firmly, to make a slight indent into the paper.

See that slight outward-dented mark on the reverse side of the paper? That’s what you’re creating.
5) Then cut those pieces out, being sure to cut the little v-shaped tabs out as well.
You now have all the pieces for your cake bottom (the box bottom) and your cake top (the box lid) cut out.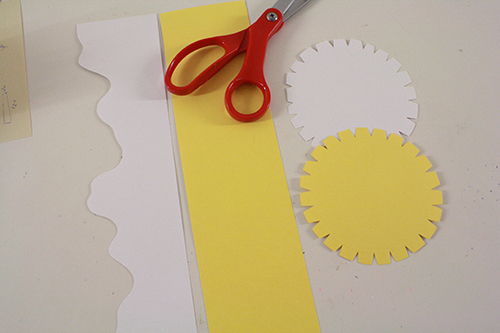
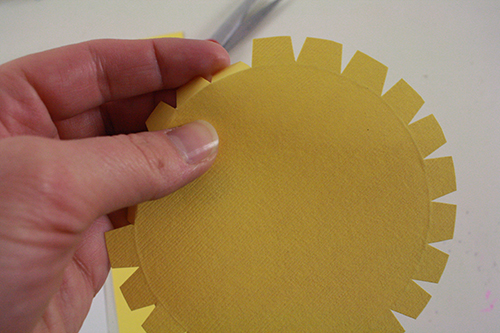
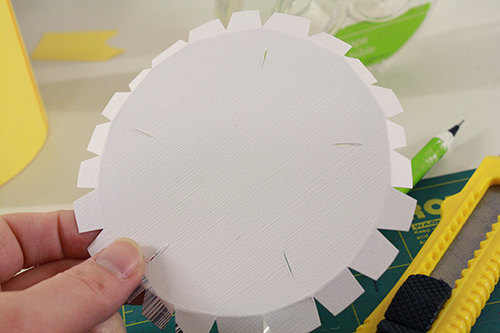
6) On the round cake bottom and top pieces, bend the tabs in all the way around the circles.
This will be very easy to do since you scored that inner circle beforehand.
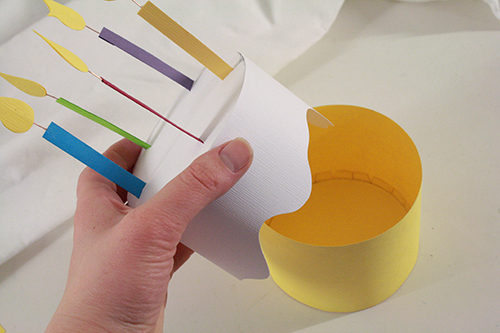
7) Apply strong glue to a few of the tabs on the cake bottom piece…
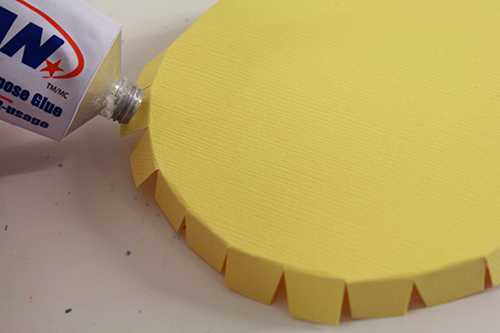
… then line up one long edge of the cake coloured rectangle with the base of the folded tabs. Hold it in place till it’s dry enough to stay on its own AND/OR put some tape over the tabs on the inside to hold it in place while the glue dries. This is the finicky bit of the project, and the faster drying glue you have, the less tedious this bit will be.
Here’s how that step looks on the outside:
And here’s how it looks on the inside:

Continue like this all the way around the circle till you get back to where you started.
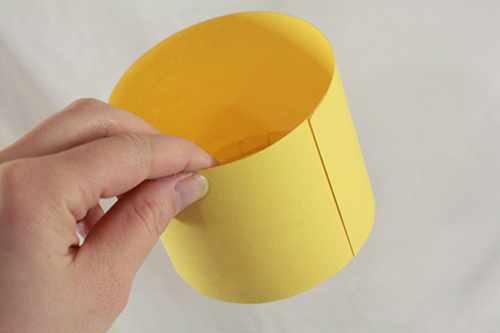
8) Apply strong glue to the short end of the rectangle, and tuck it underneath the other end of the rectangle, taping it or holding it in place while it dries.

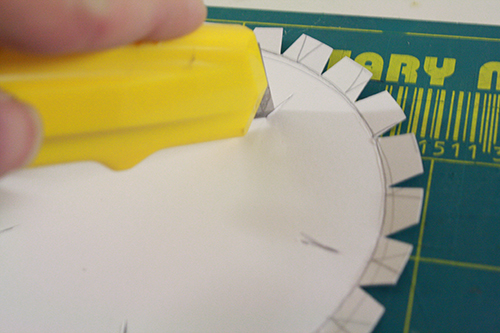
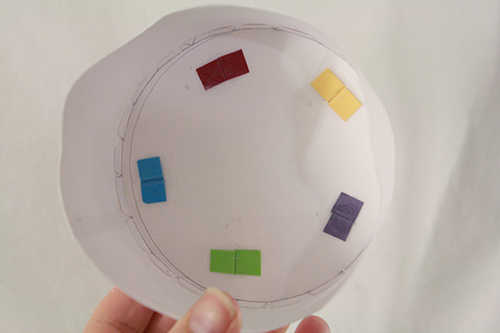
9) Take the cake box top and flip it wrong side up. Draw evenly spaced 3/8 inch long lines around its edges, one for each candle you intend to make and put on the cake.
Then make a cut right along each line with an exacto knife.
10) Attach the cake box top to the icing coloured rectangle just as you did with the cake box bottom.

11) Now for the candles! Cut a piece of coloured paper 2 1/2 inches long by 3/4 inches wide for each candle (or just trace the candle shape on the provided template).

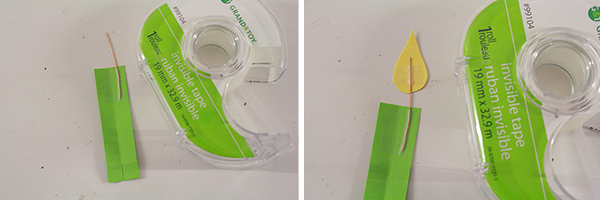
Also, cut a short piece of wire (about 1 1/2 to 2 inches long) for each candle.
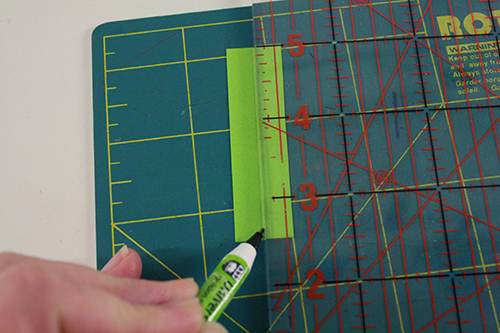
12) Use a ruler and your mechanical pencil to score a line down the middle of each candle piece.
Fold each piece in half, along that scored line.
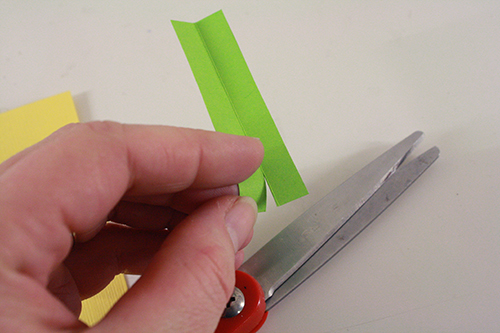
13) At one end of each candle piece, cut a 1/4 inch long slit along this middle fold line.
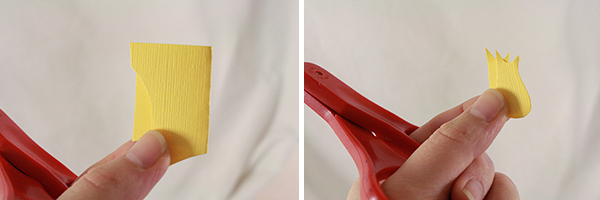
14) Hold two small pieces of yellow or orange paper together and cut a flame-shaped piece out of them, so that you have two candle flames exactly the same shape.
Do this once for each candle.
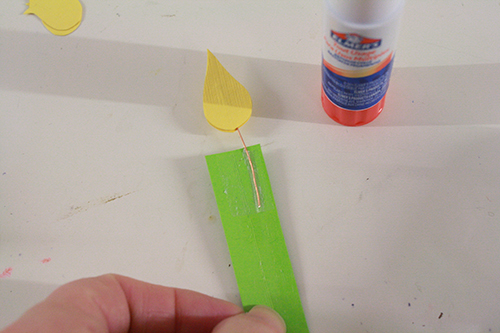
15) Tape a piece of wire to the middle of one side of the candle piece, and tape a flame piece to the other end of the wire.
(The slit cut in the candle paper should be at the bottom of the candle.)
16) Apply glue to the flame, overtop of the wire. Place the matching flame shape overtop and press down firmly, holding till it stays in place on its own.
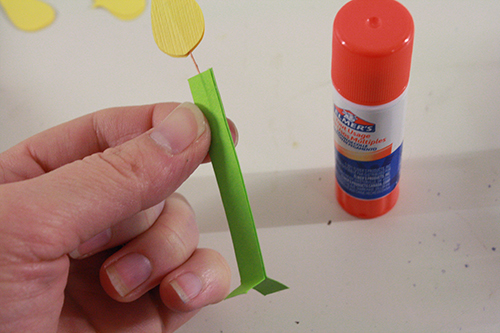
Apply glue to the inside of the candle, down until you reach the slit cut in the bottom end of the candle. Fold the paper over and hold it in place, or use binder clips or paperclips to hold it in place till the glue dries enough.
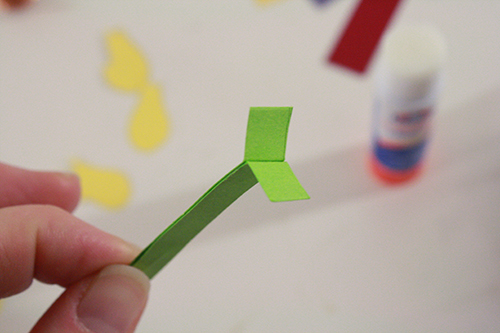
17) Take the little tabs created by that slit cut at the bottom of the candle, and fold them outward.
Repeat these steps for each candle you wish to make.
18) Now to put the candles on the cake. Take a candle, flatten its bottom folds back together, and slot them through one of those slits you cut in the top of your cake box, from the outside through to the inside.
On the inside of the cake top (the lid), fold the tabs open again, and use a little piece of tape to secure them in place, flat against the underside of the take top.
Put a candle through each slit in the cake top this way.
19) Fill the box with goodies, then slide the lid on overtop of the cake bottom, and give to the lucky birthday boy or girl, possibly accompanied by singing.